
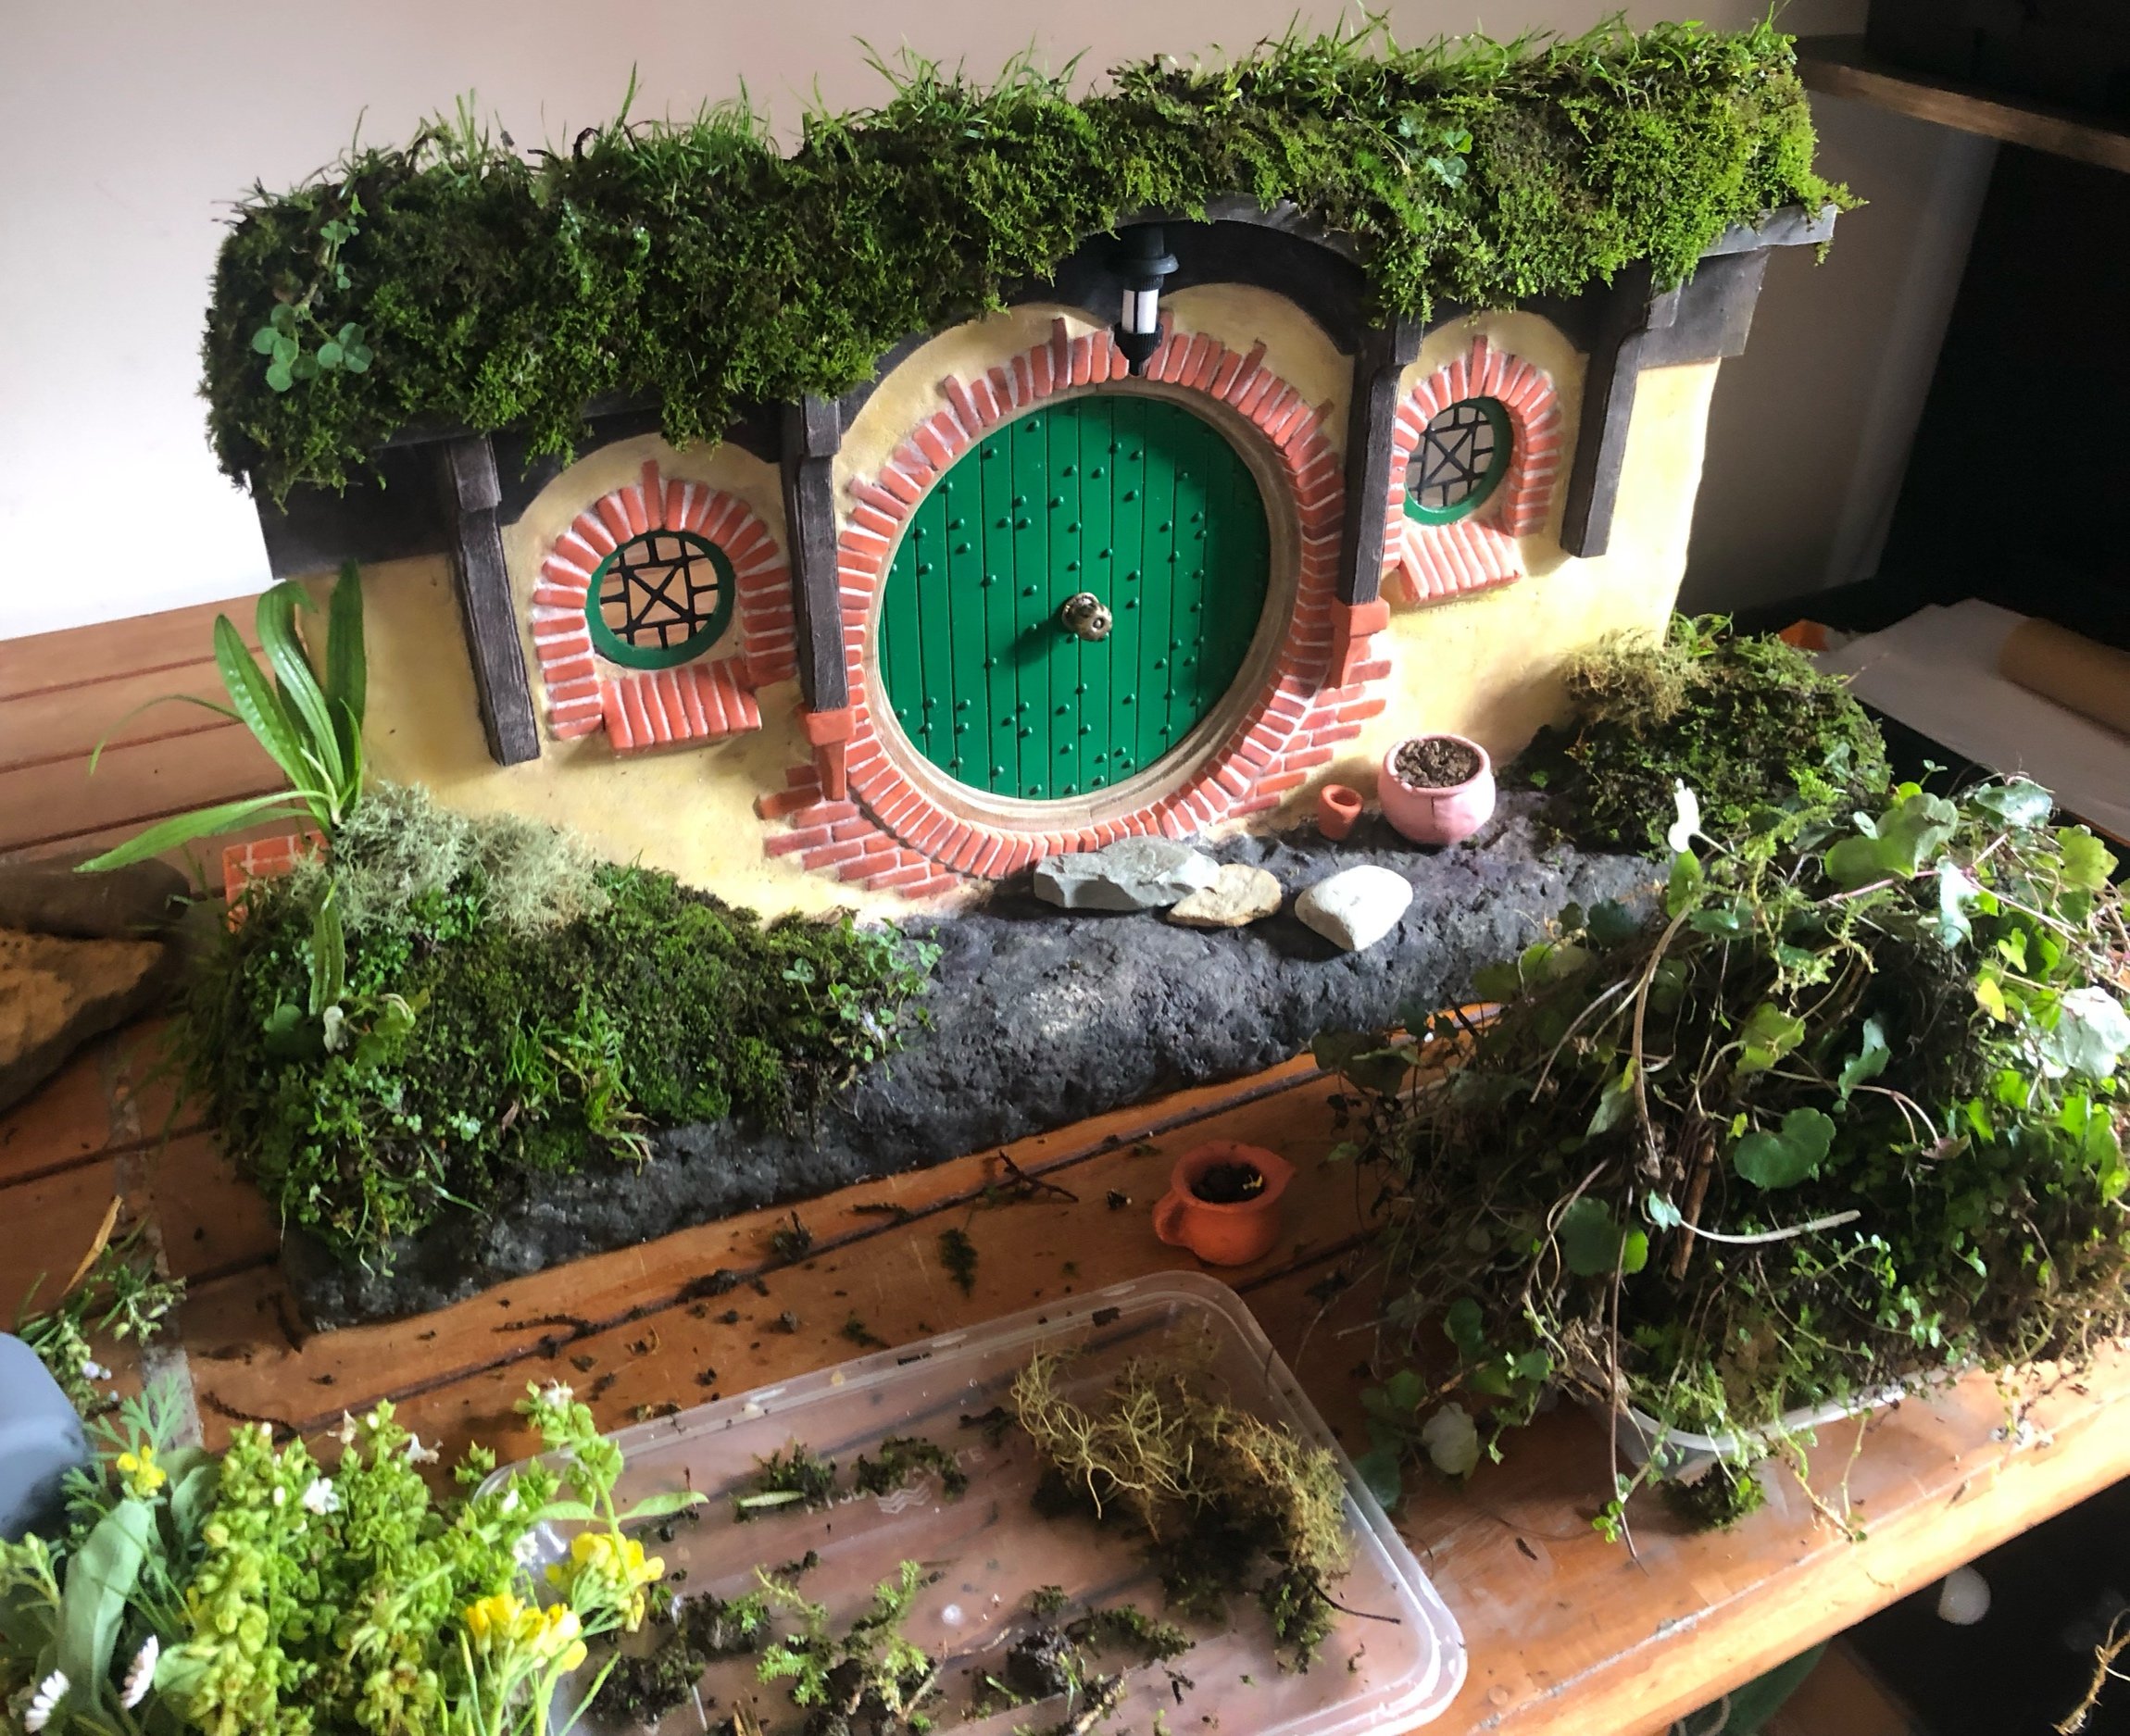
Bagend Facade- 1:12 scale
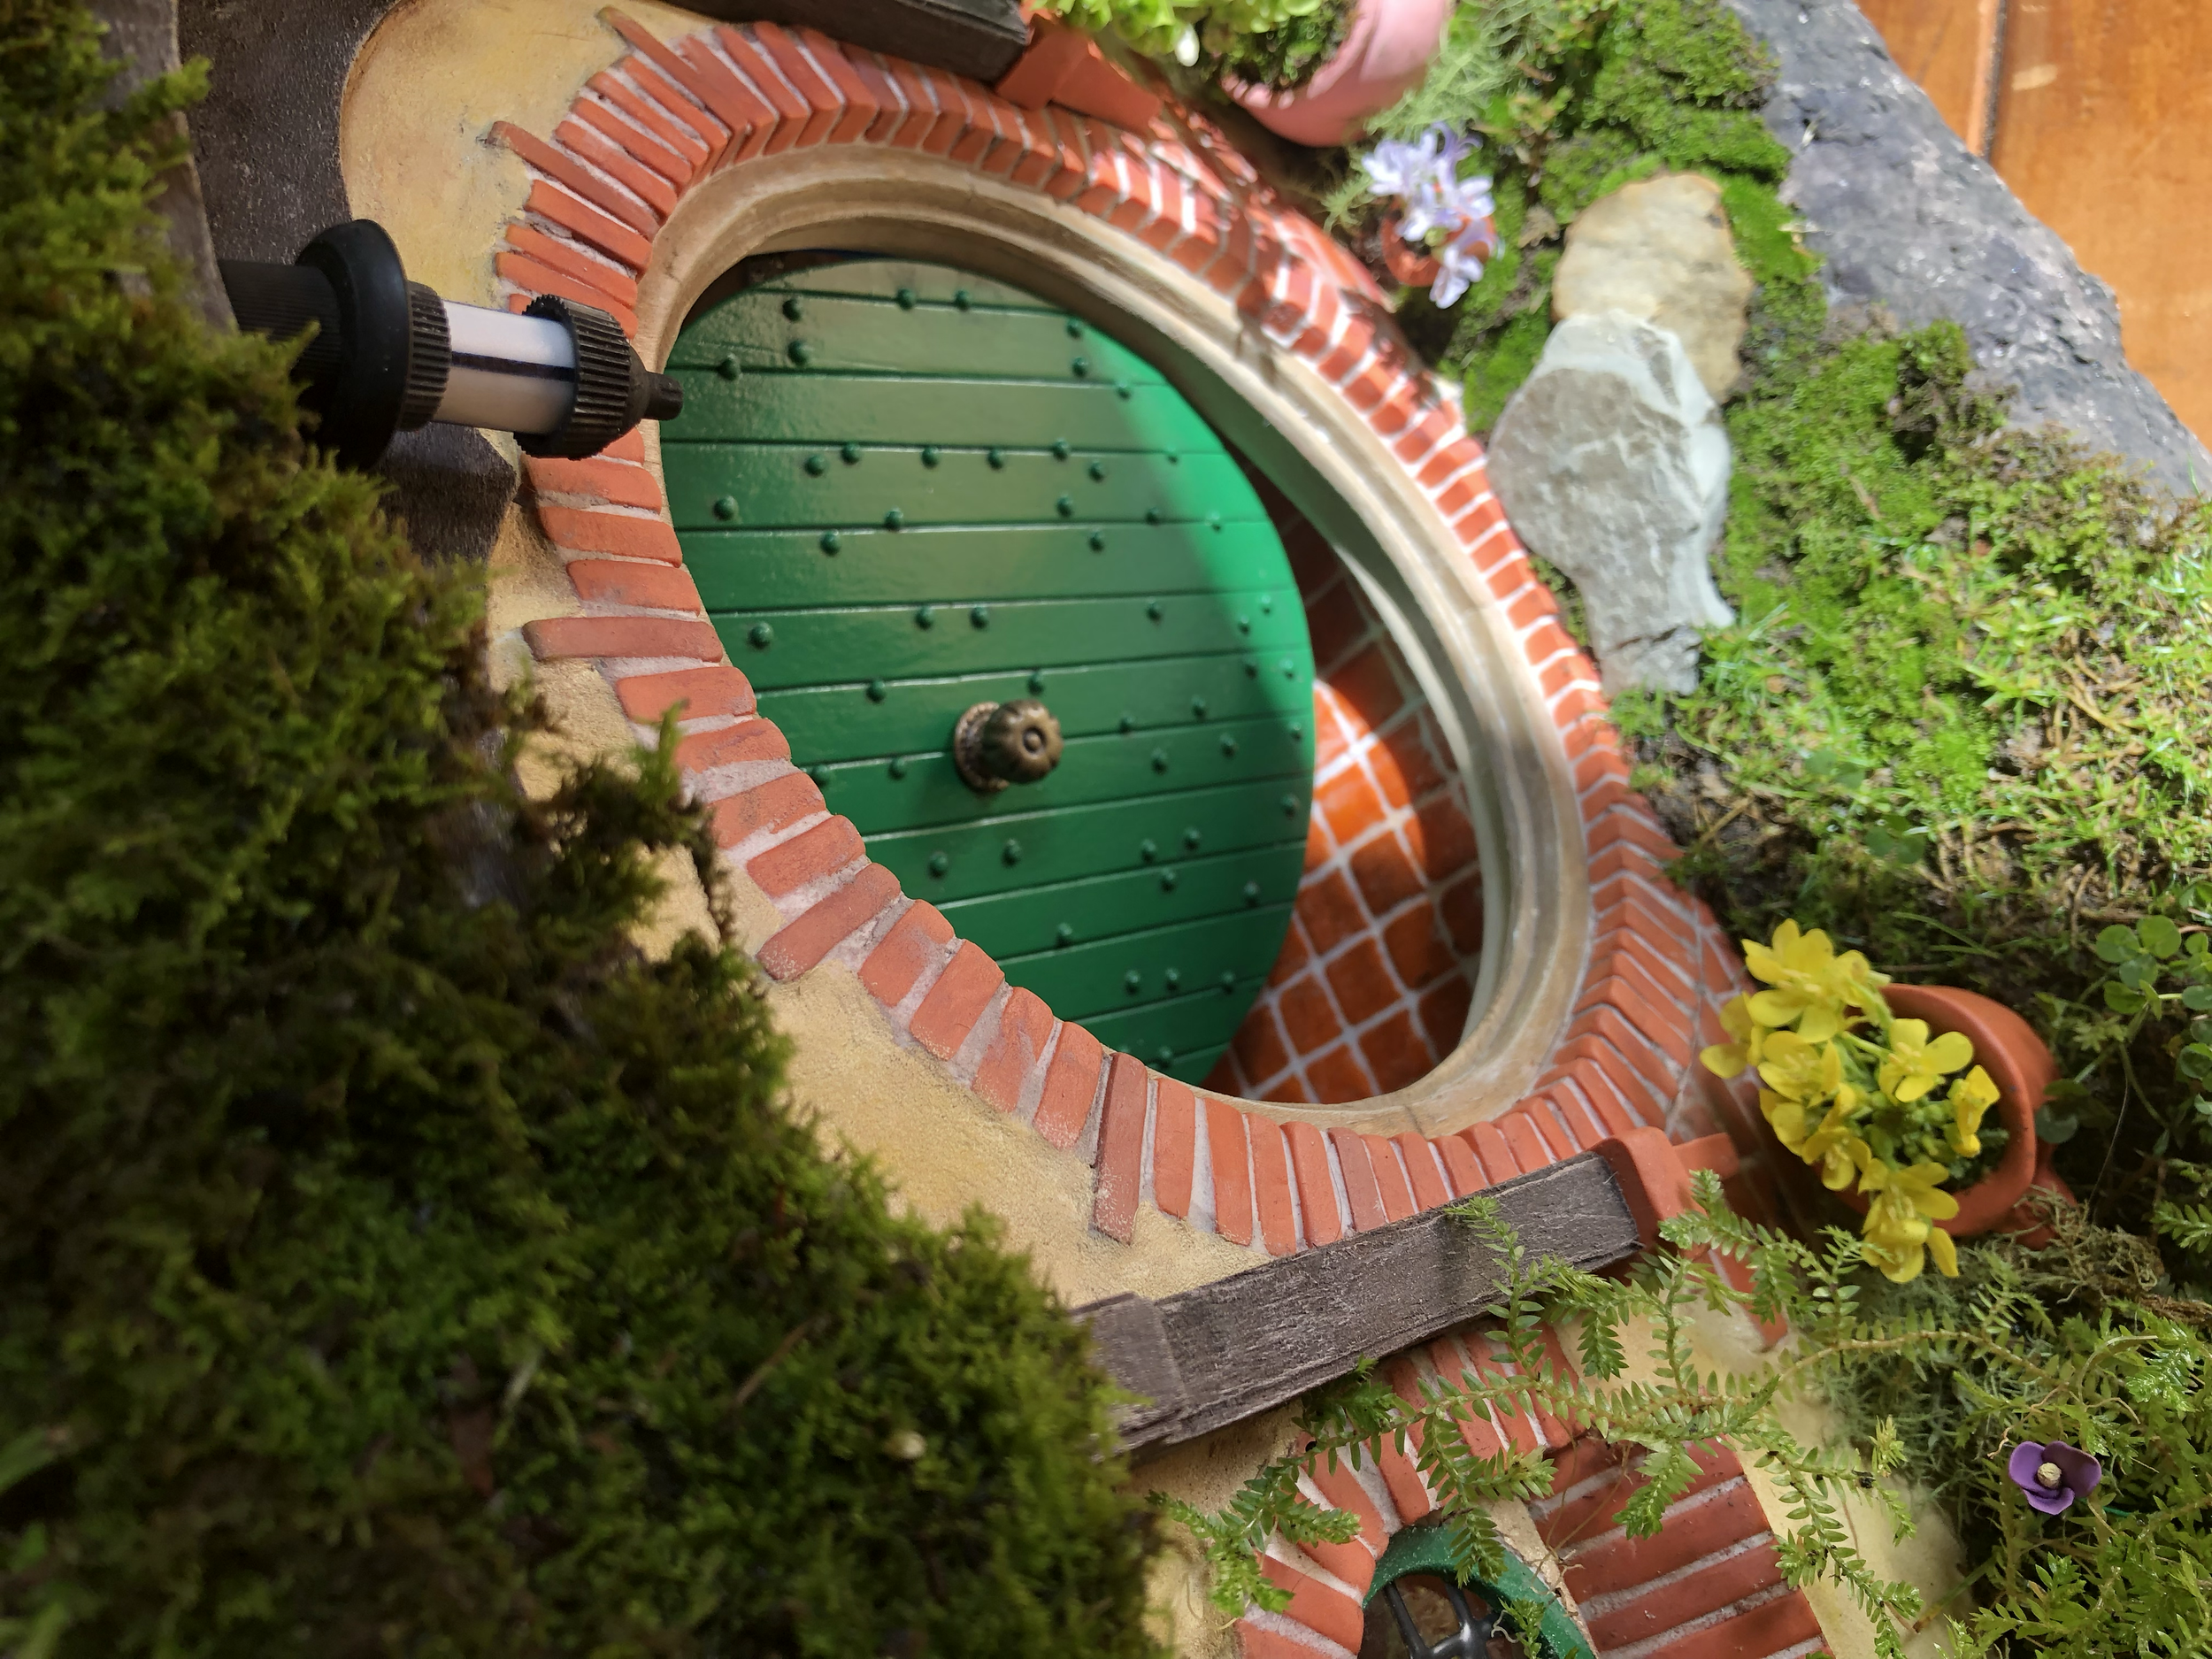
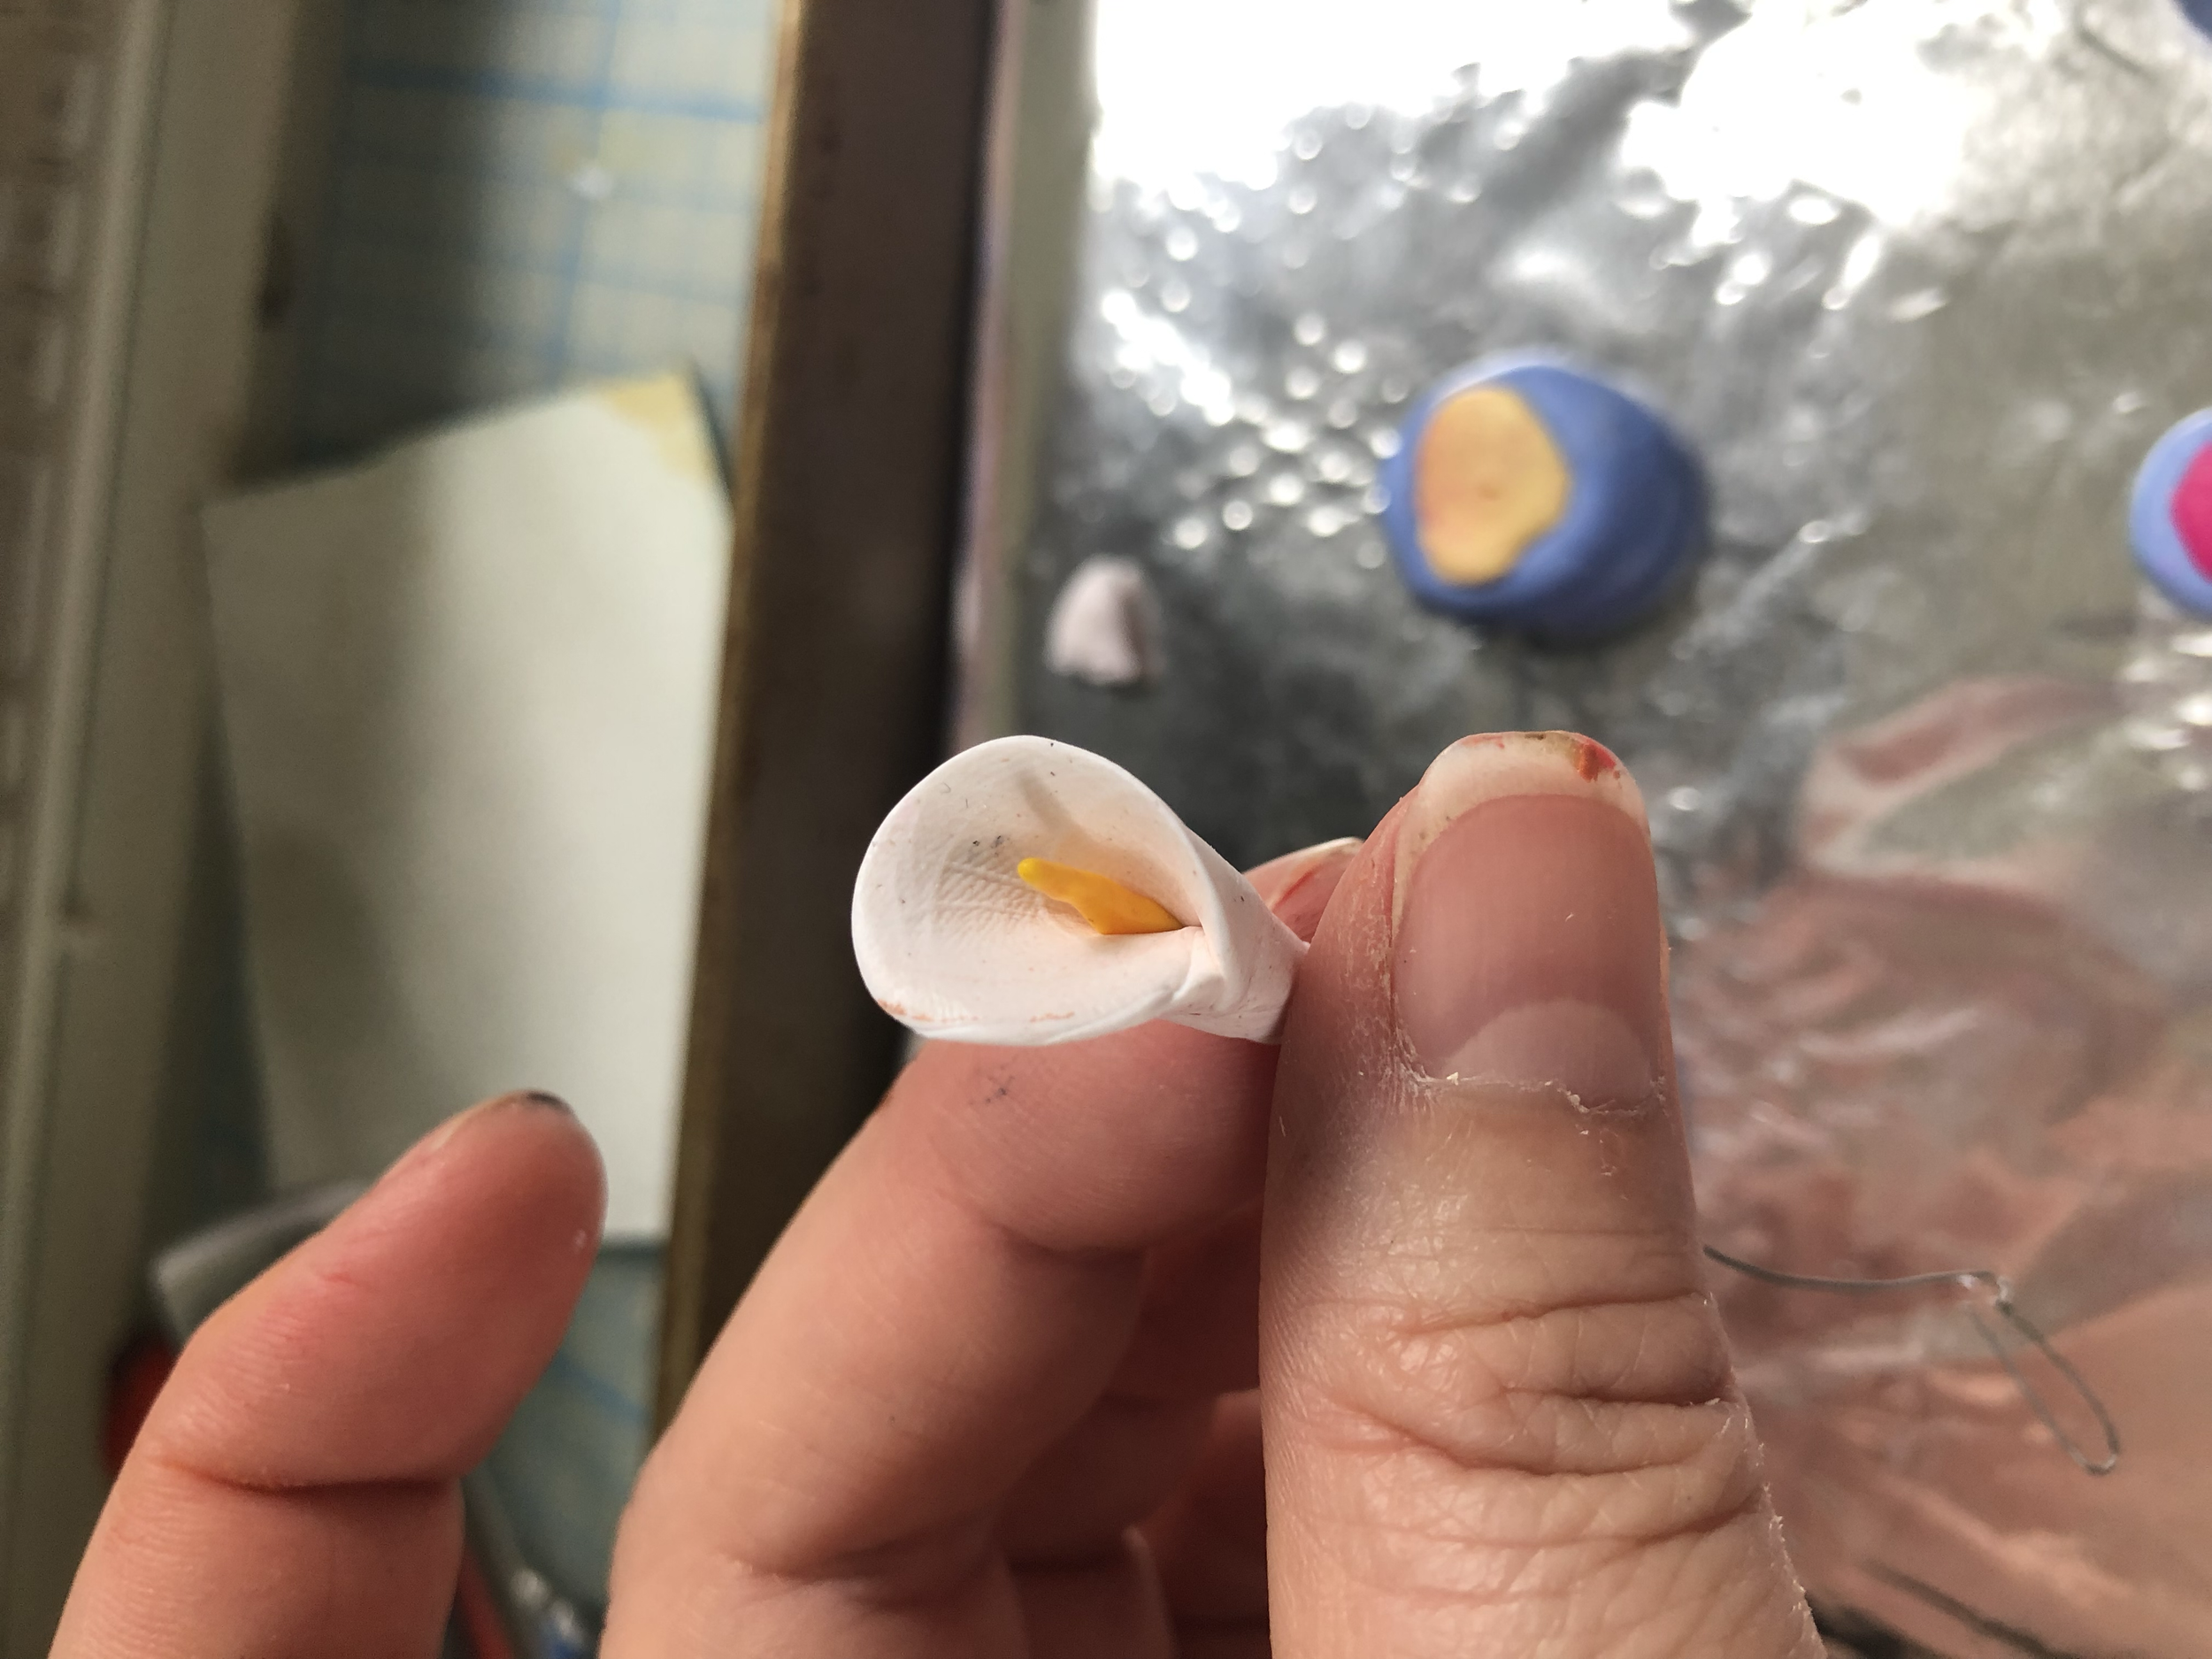
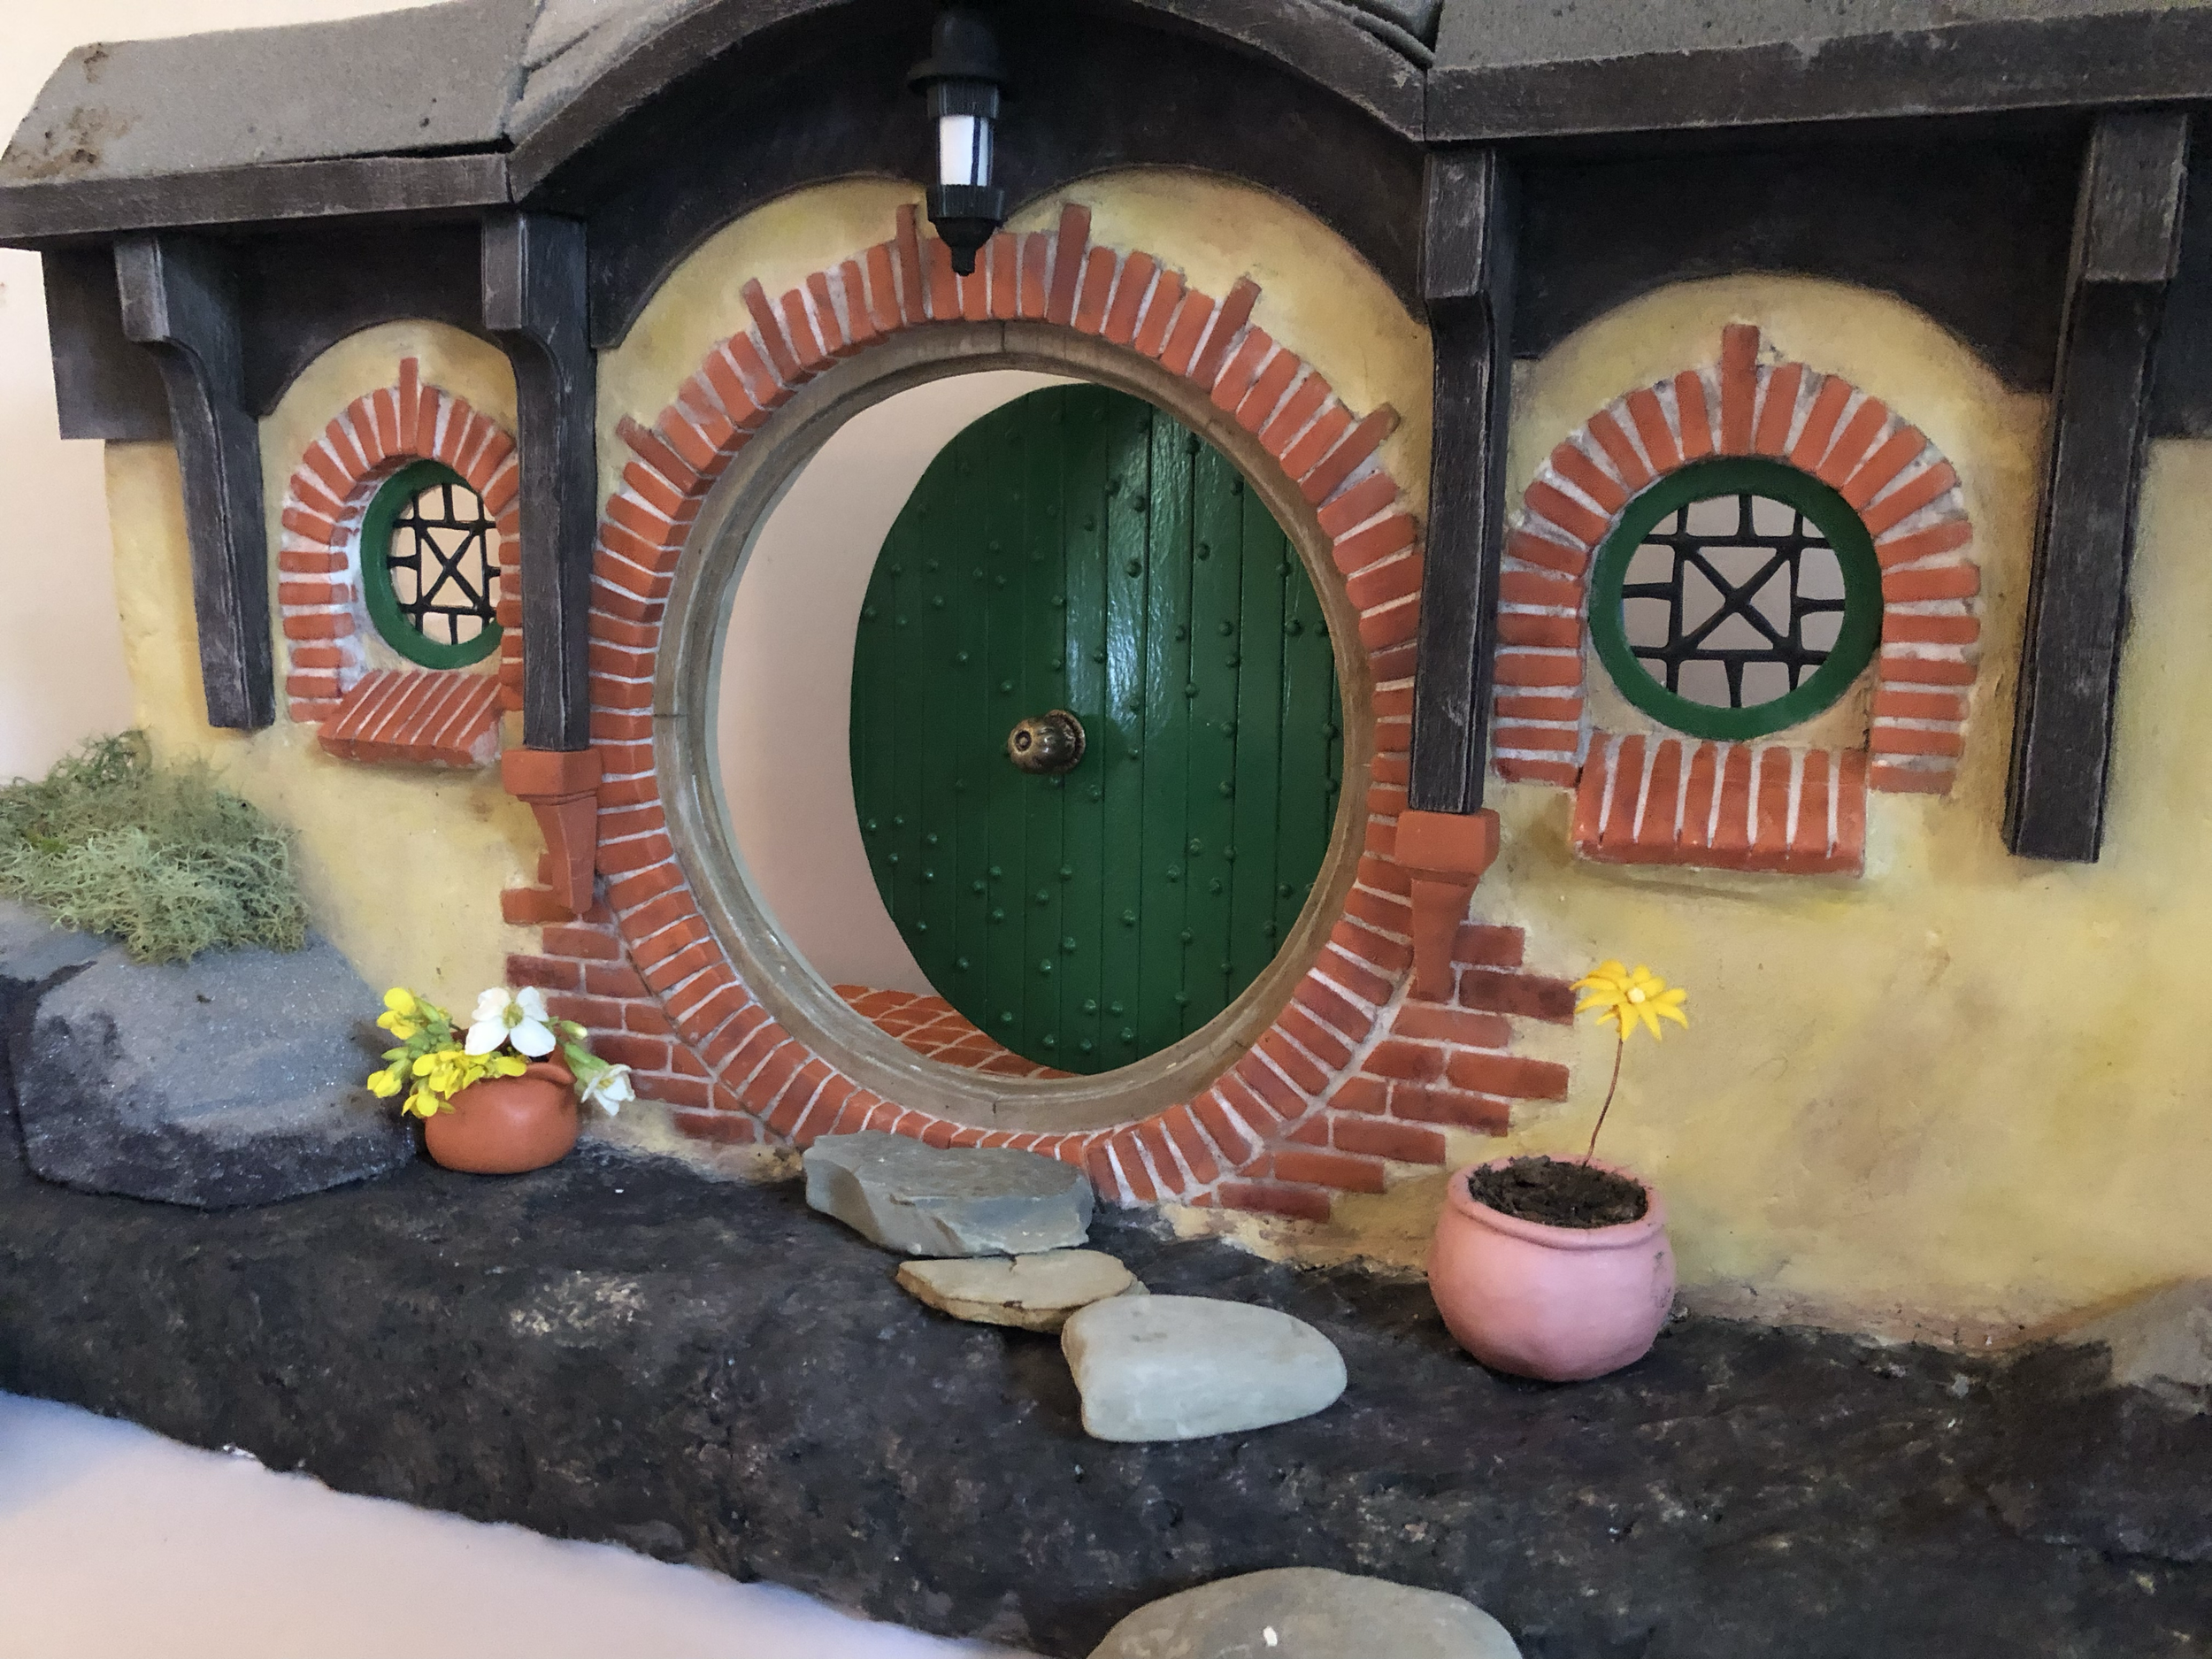
After making the Yellow Door I decided I’d like a bigger challenge, so built the facade of Bagend from the Lord of the Rings and Hobbit films.
The age of the facade varies between films and locations (Hobbiton, Matamata outdoor set and indoor studio set) so I decided to go relatively light on the aging/distressing.
The build ended up more complicated than I first thought, especially with the woodwork, but I learned a lot along the way, and came up with interesting solutions to problems.
I dressed it with plants and a few handmade flowers for the initial photos, but plan to dress it in artificial plants and flocking for longterm display.


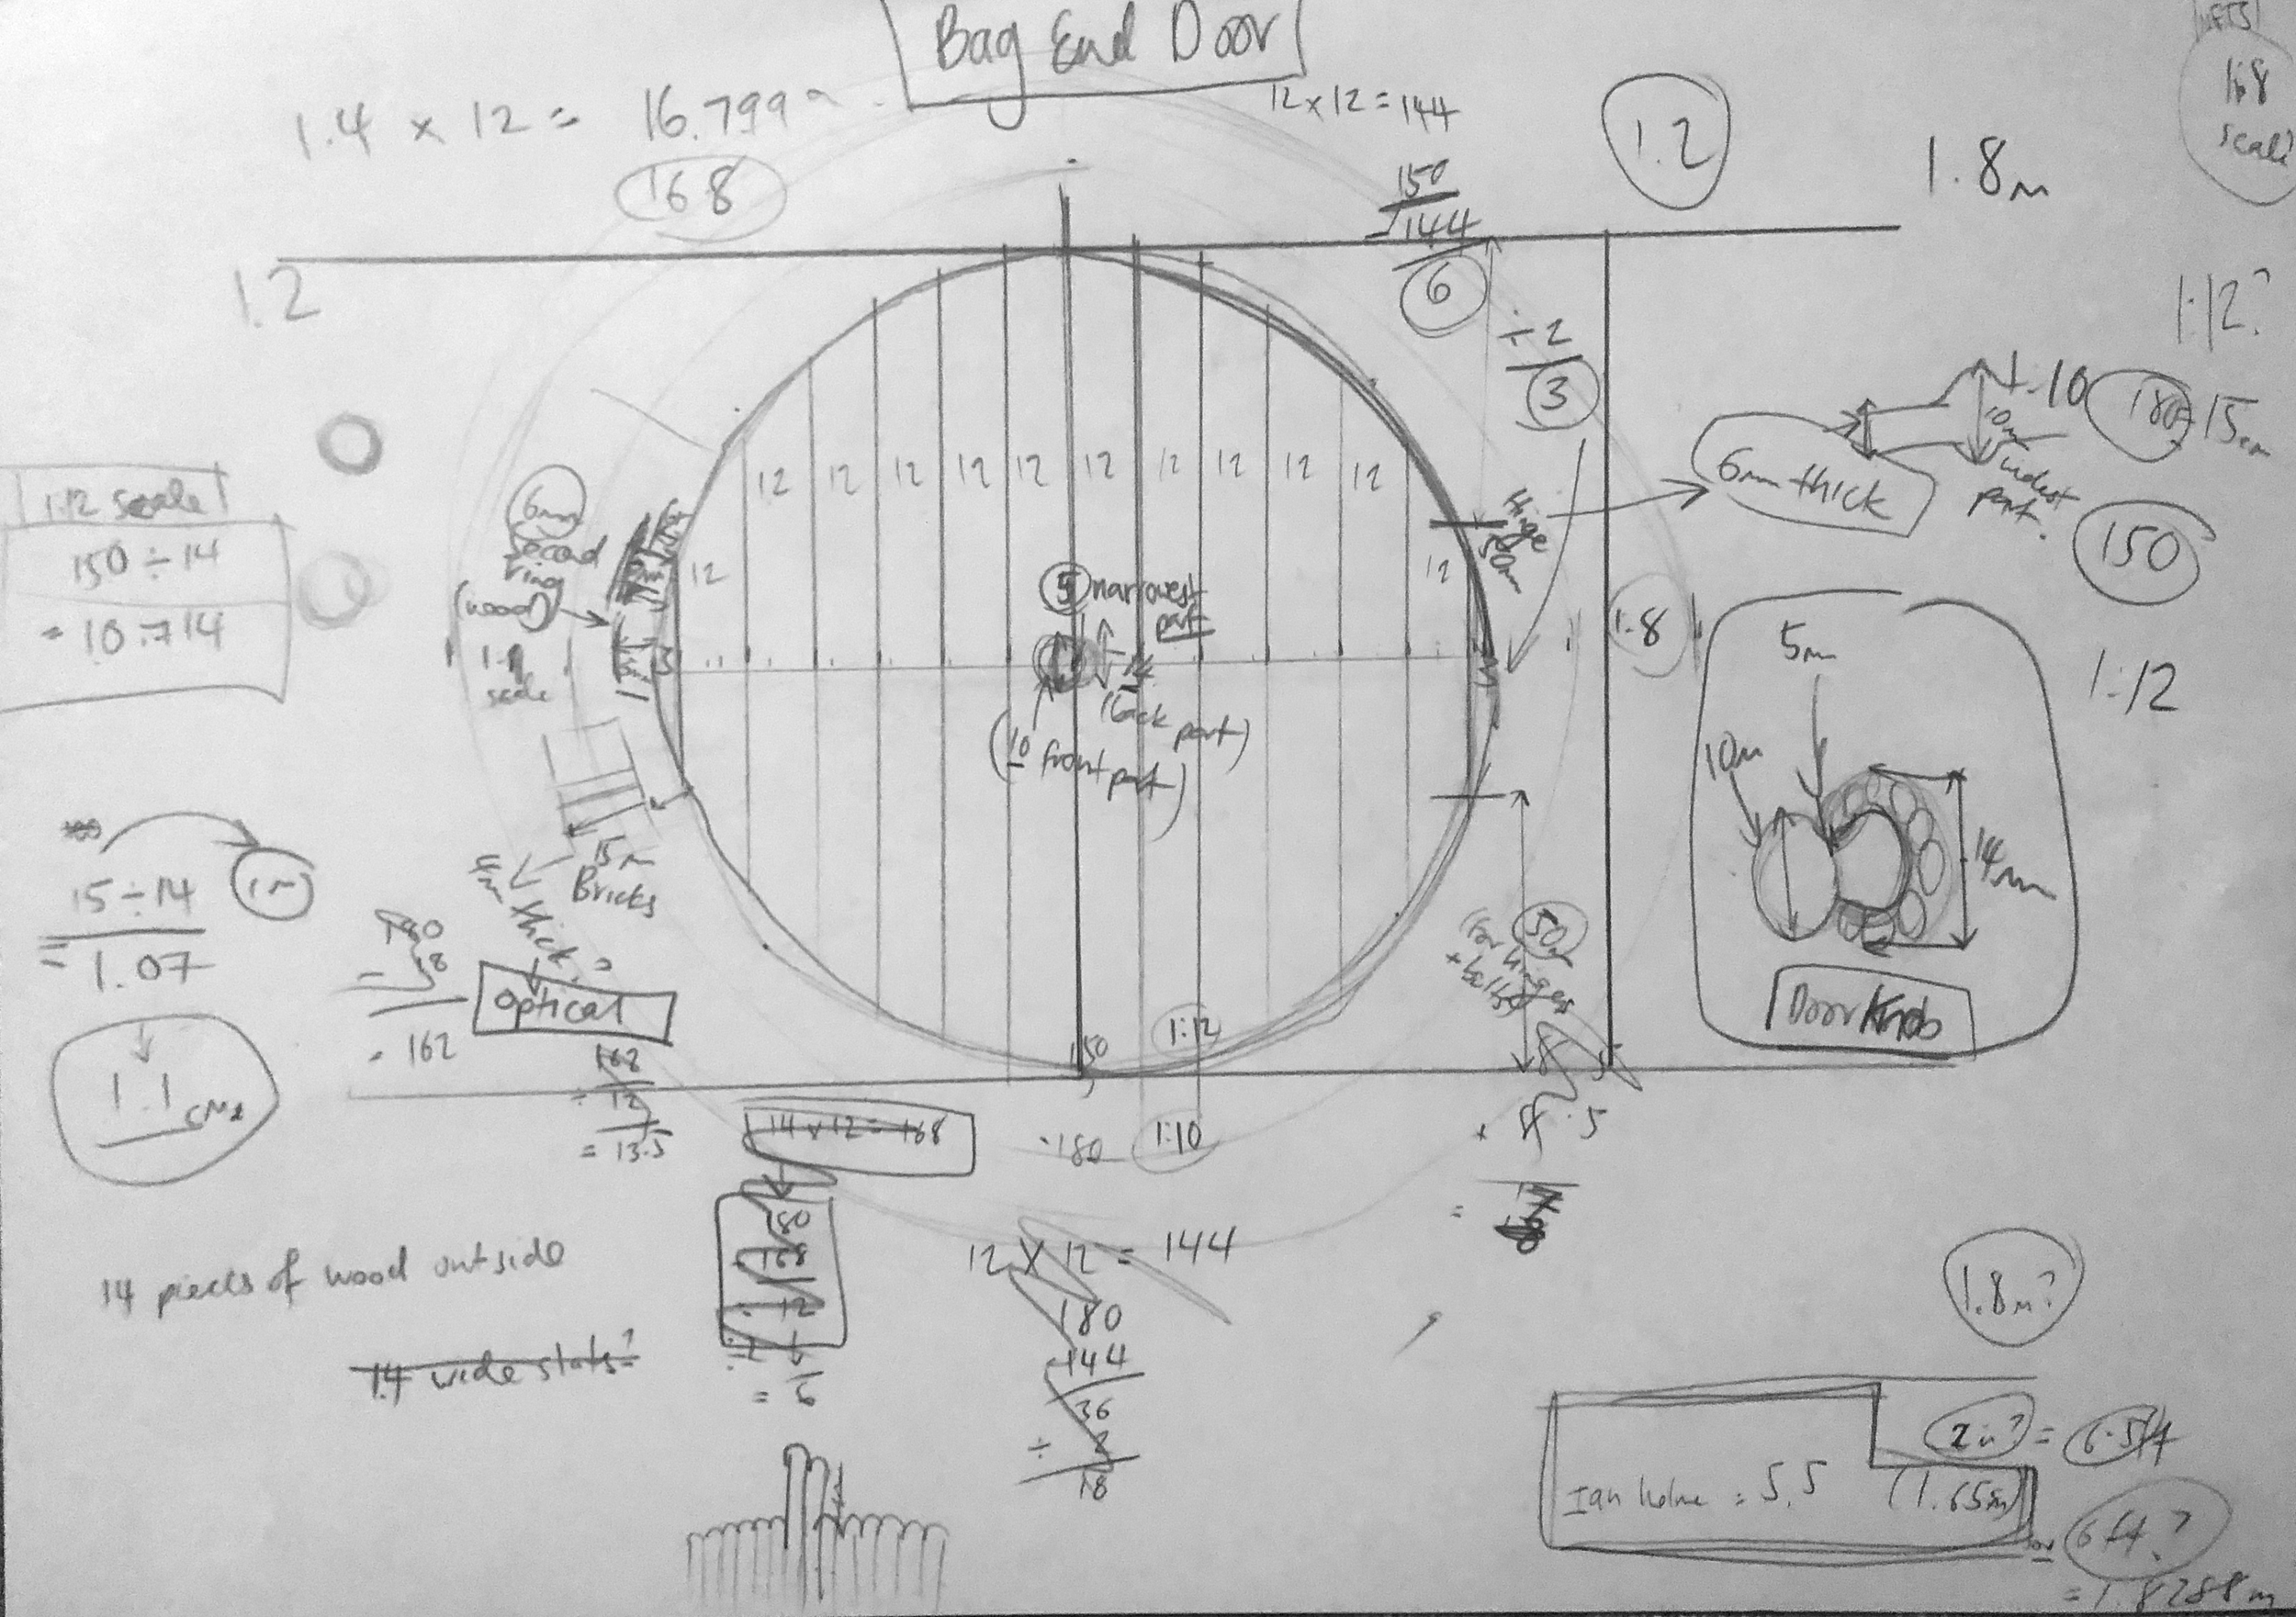
Working out initial measurements and scale by assessing photographs of the real life set

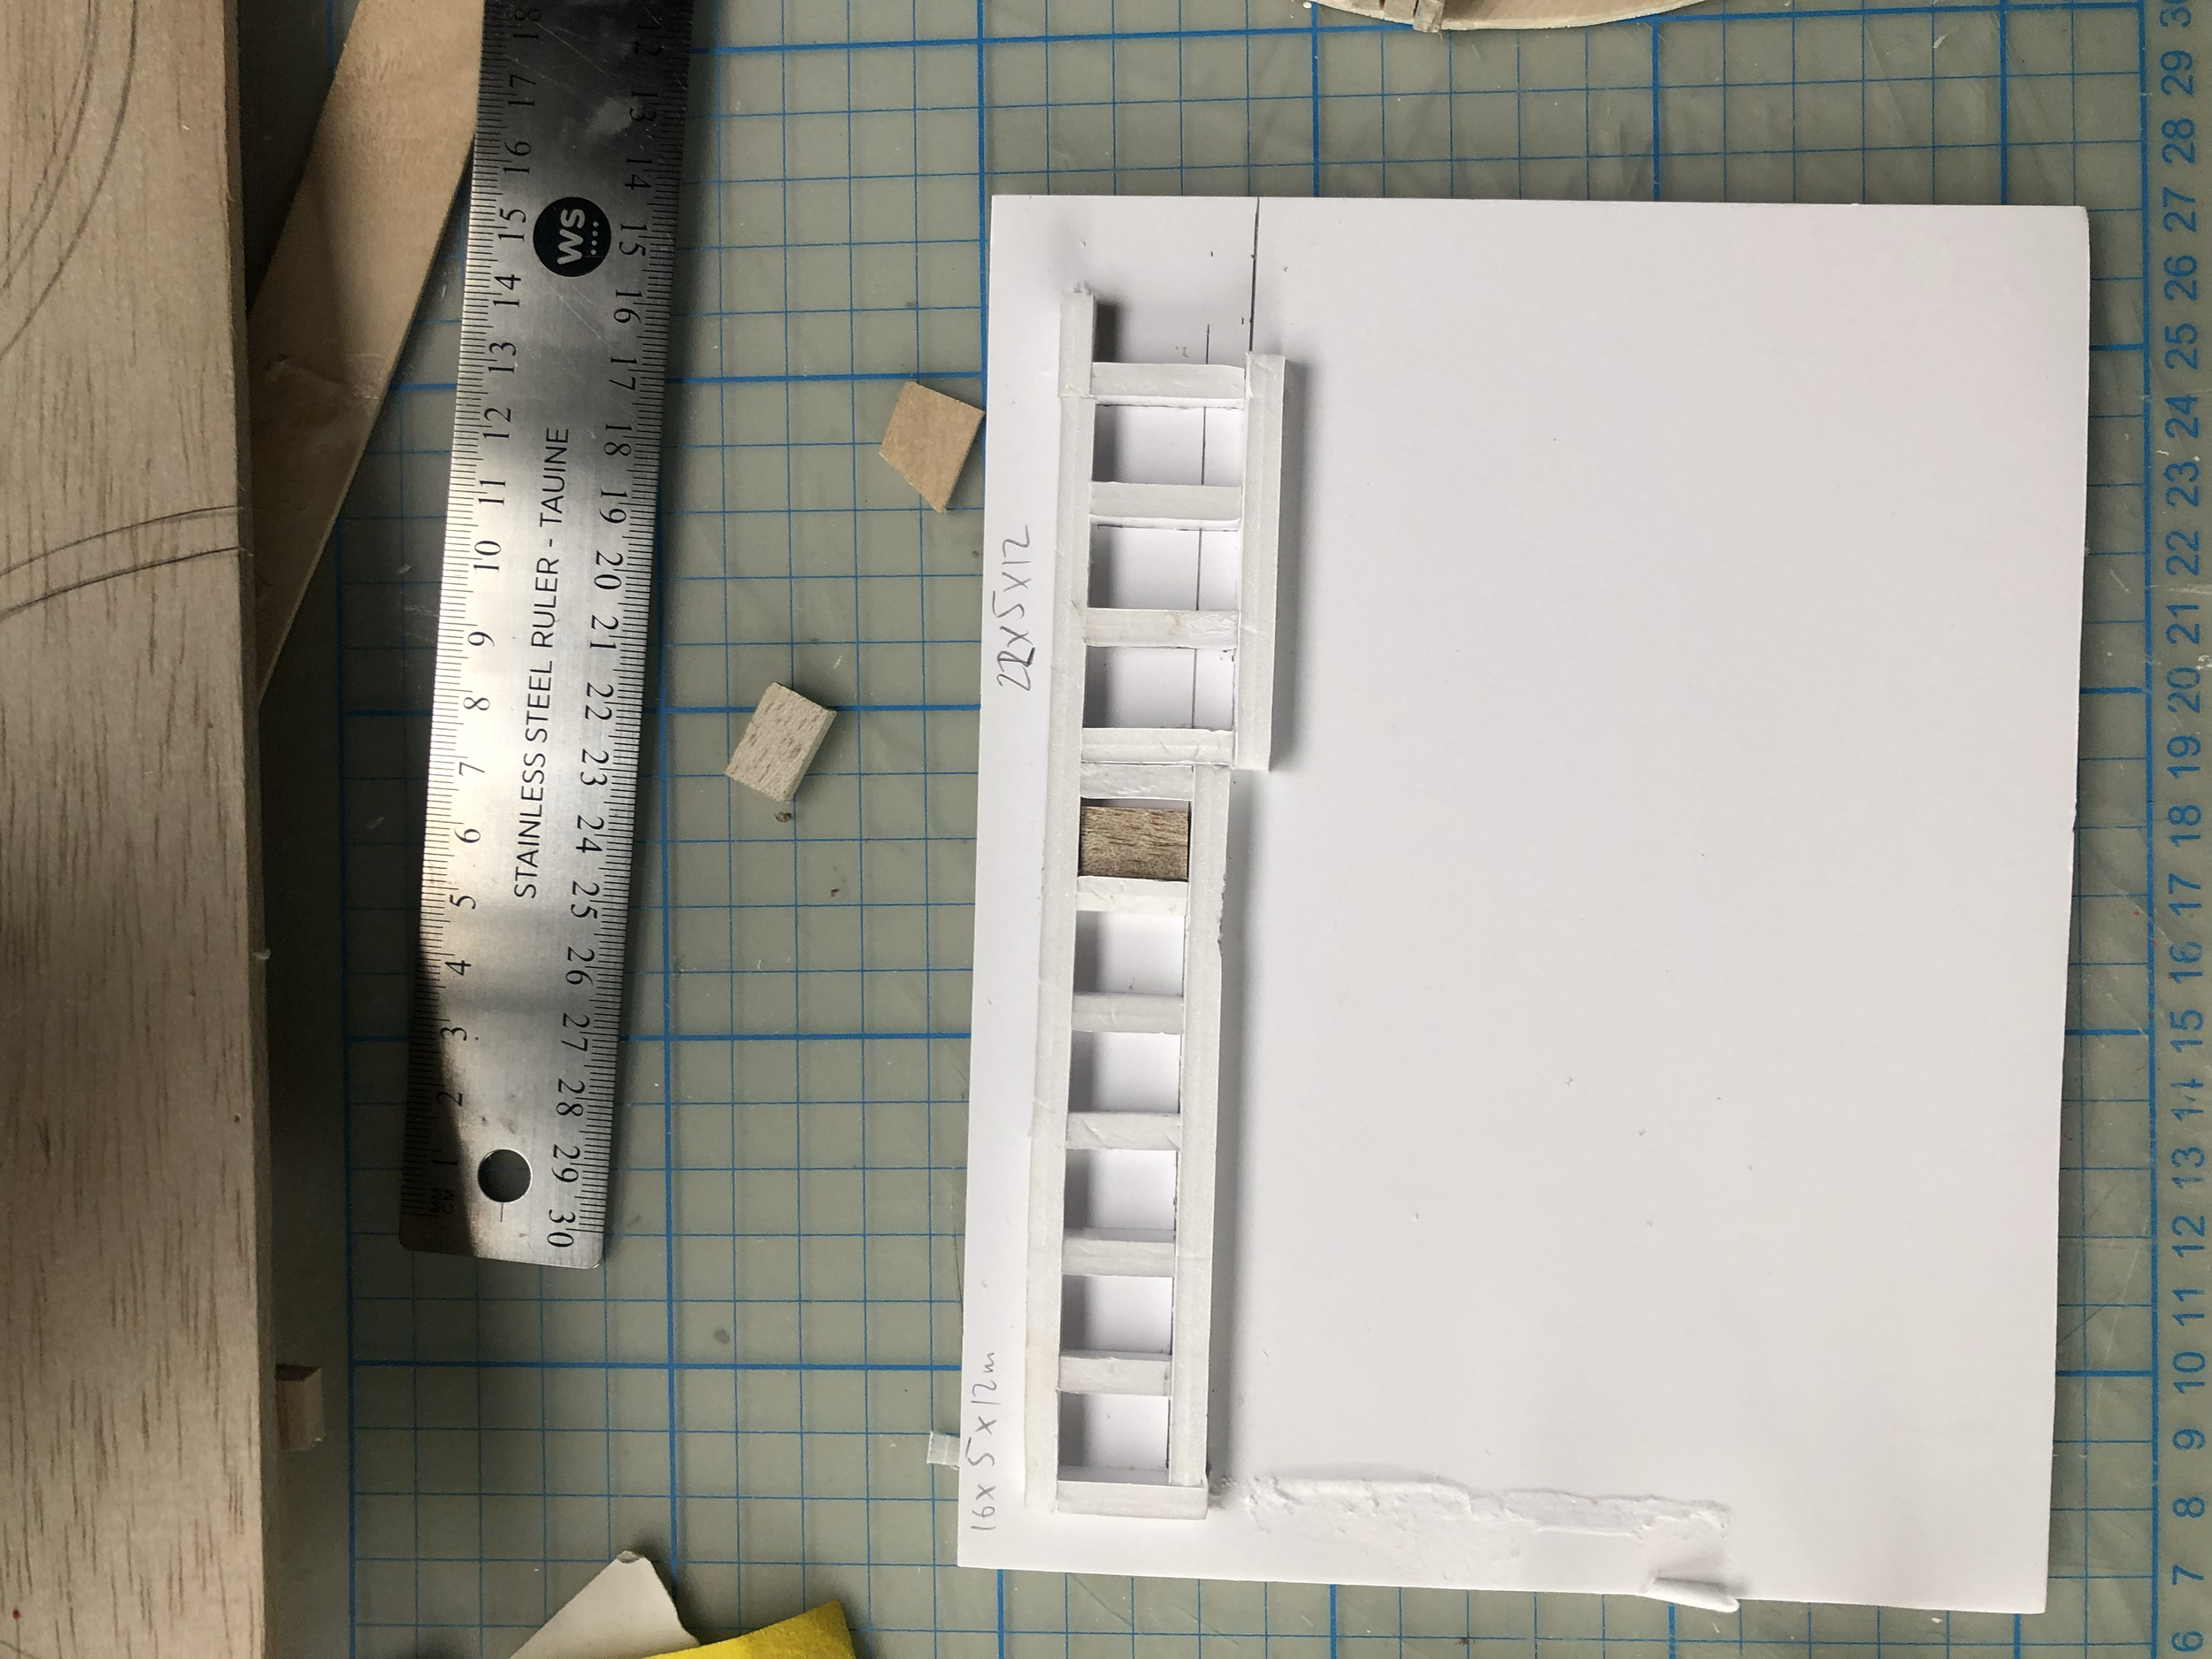
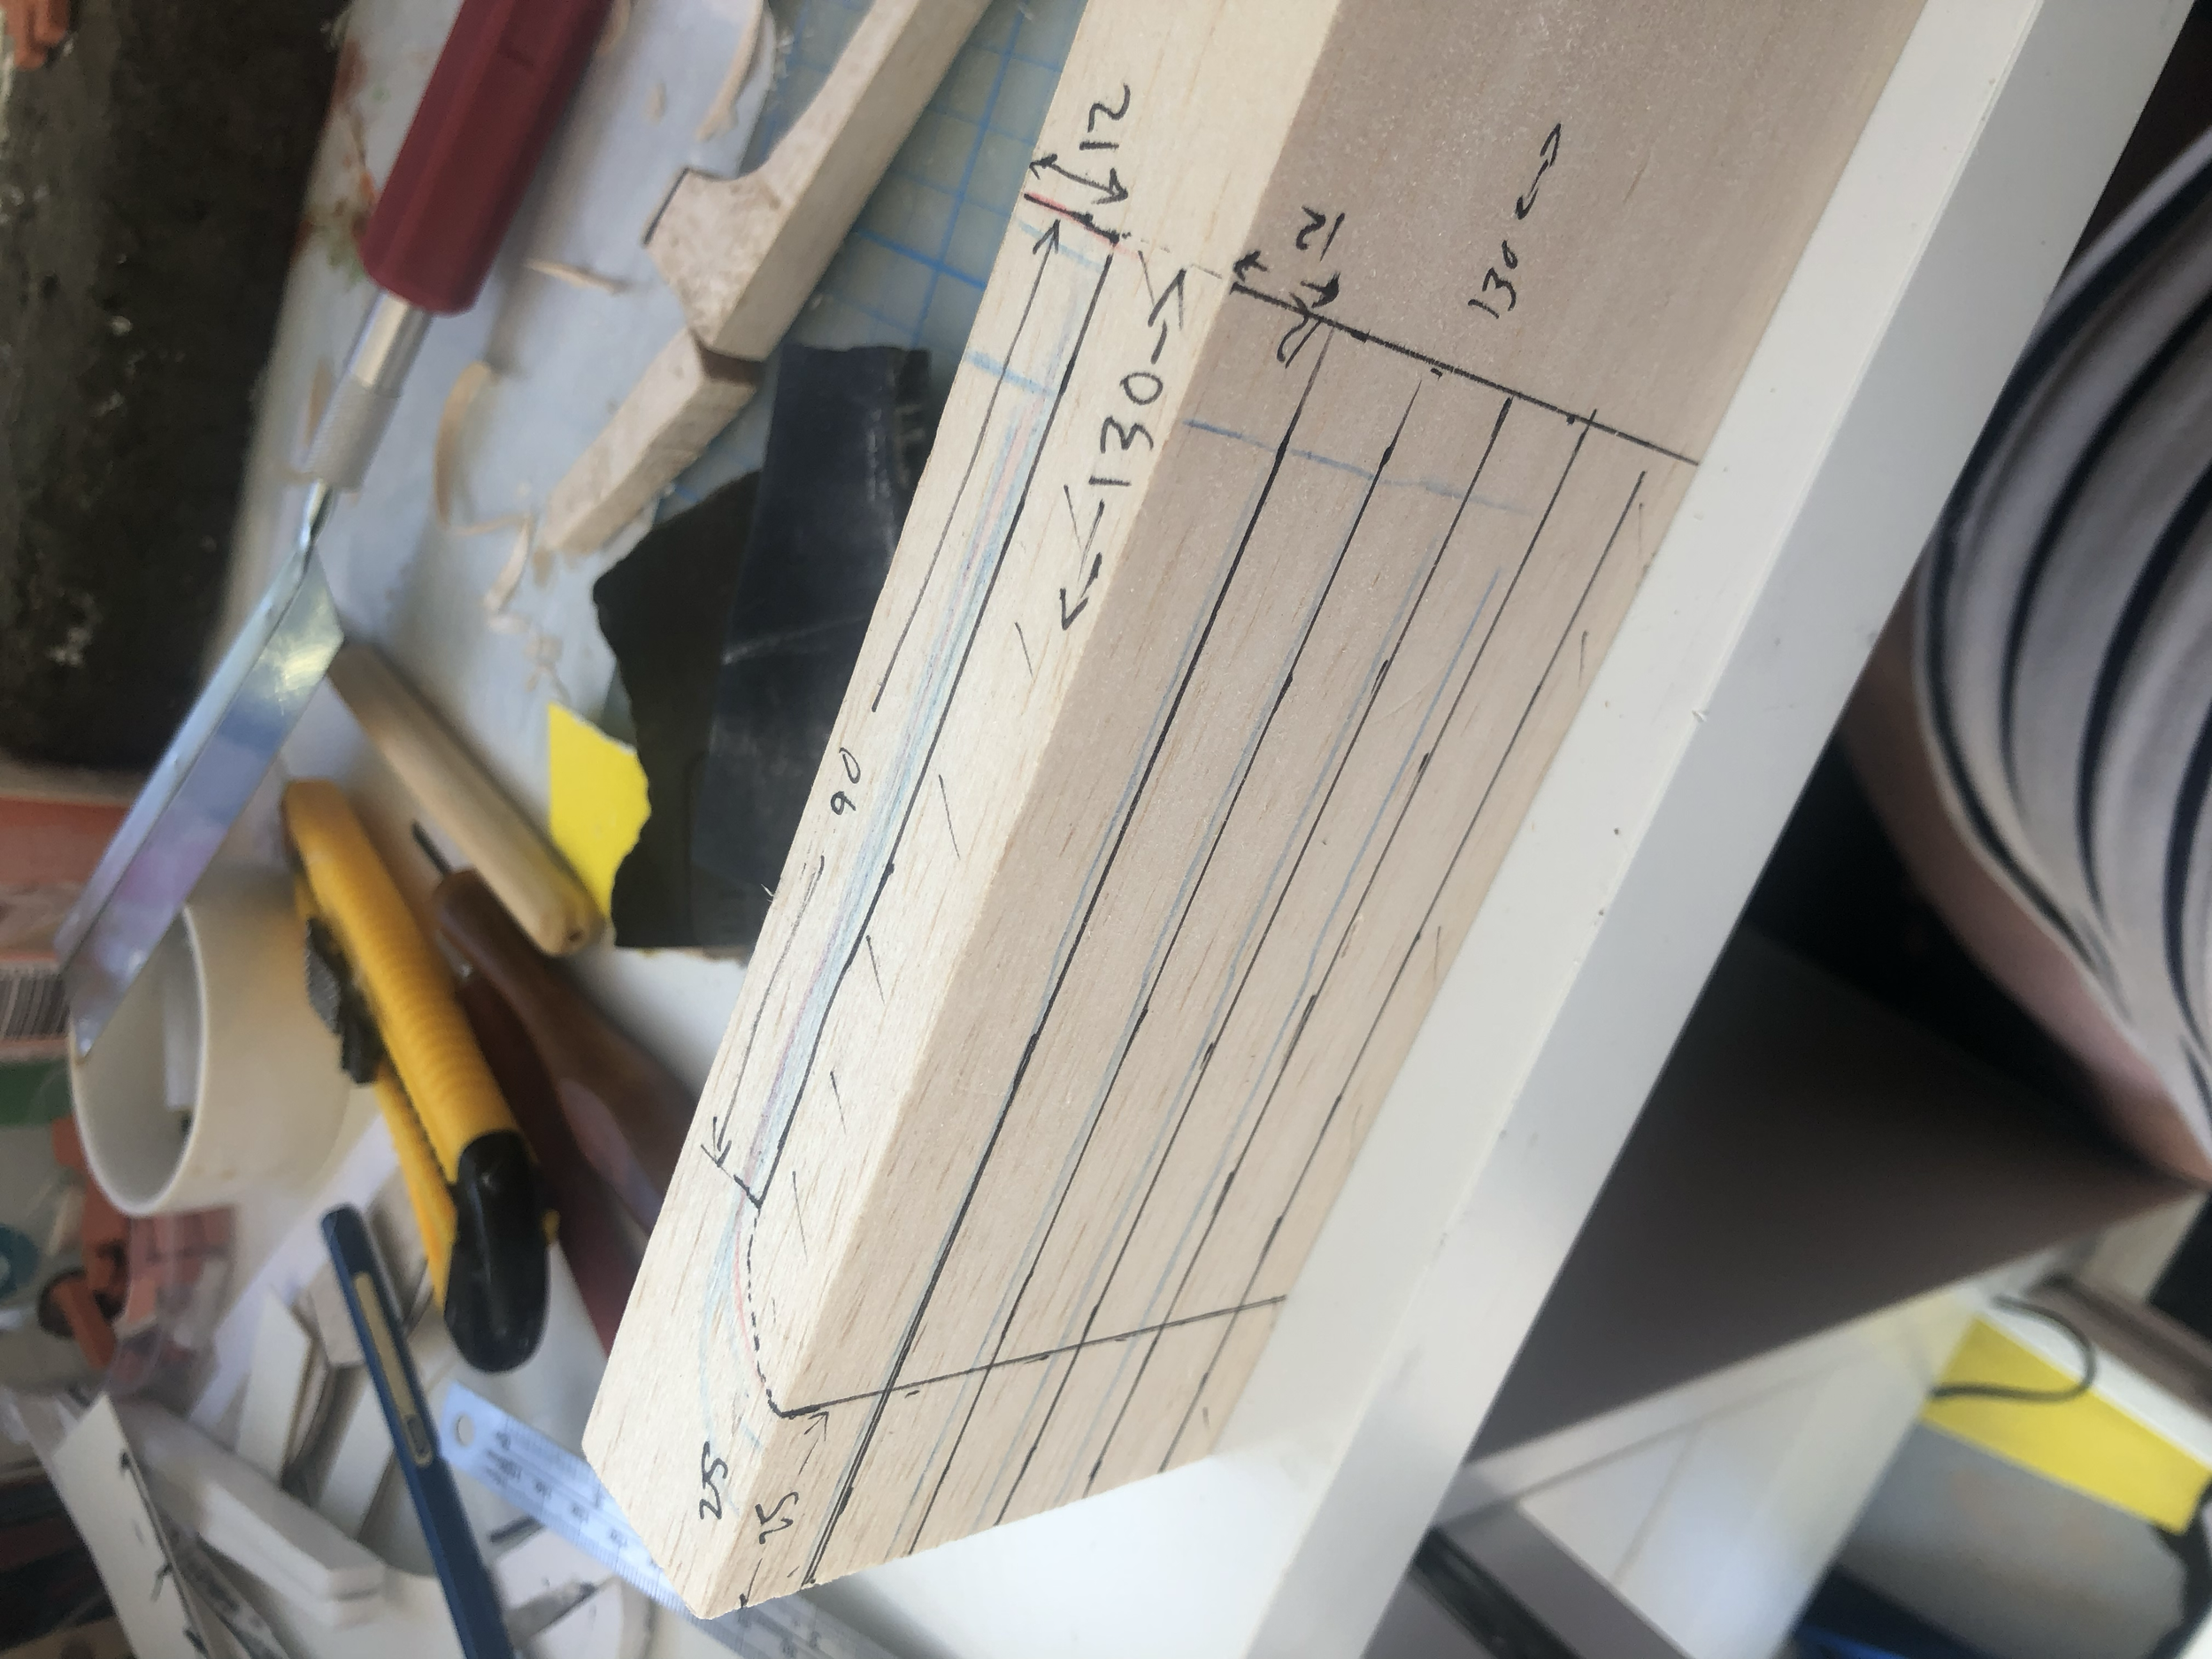
Doing the first technical drawing, measuring and marking
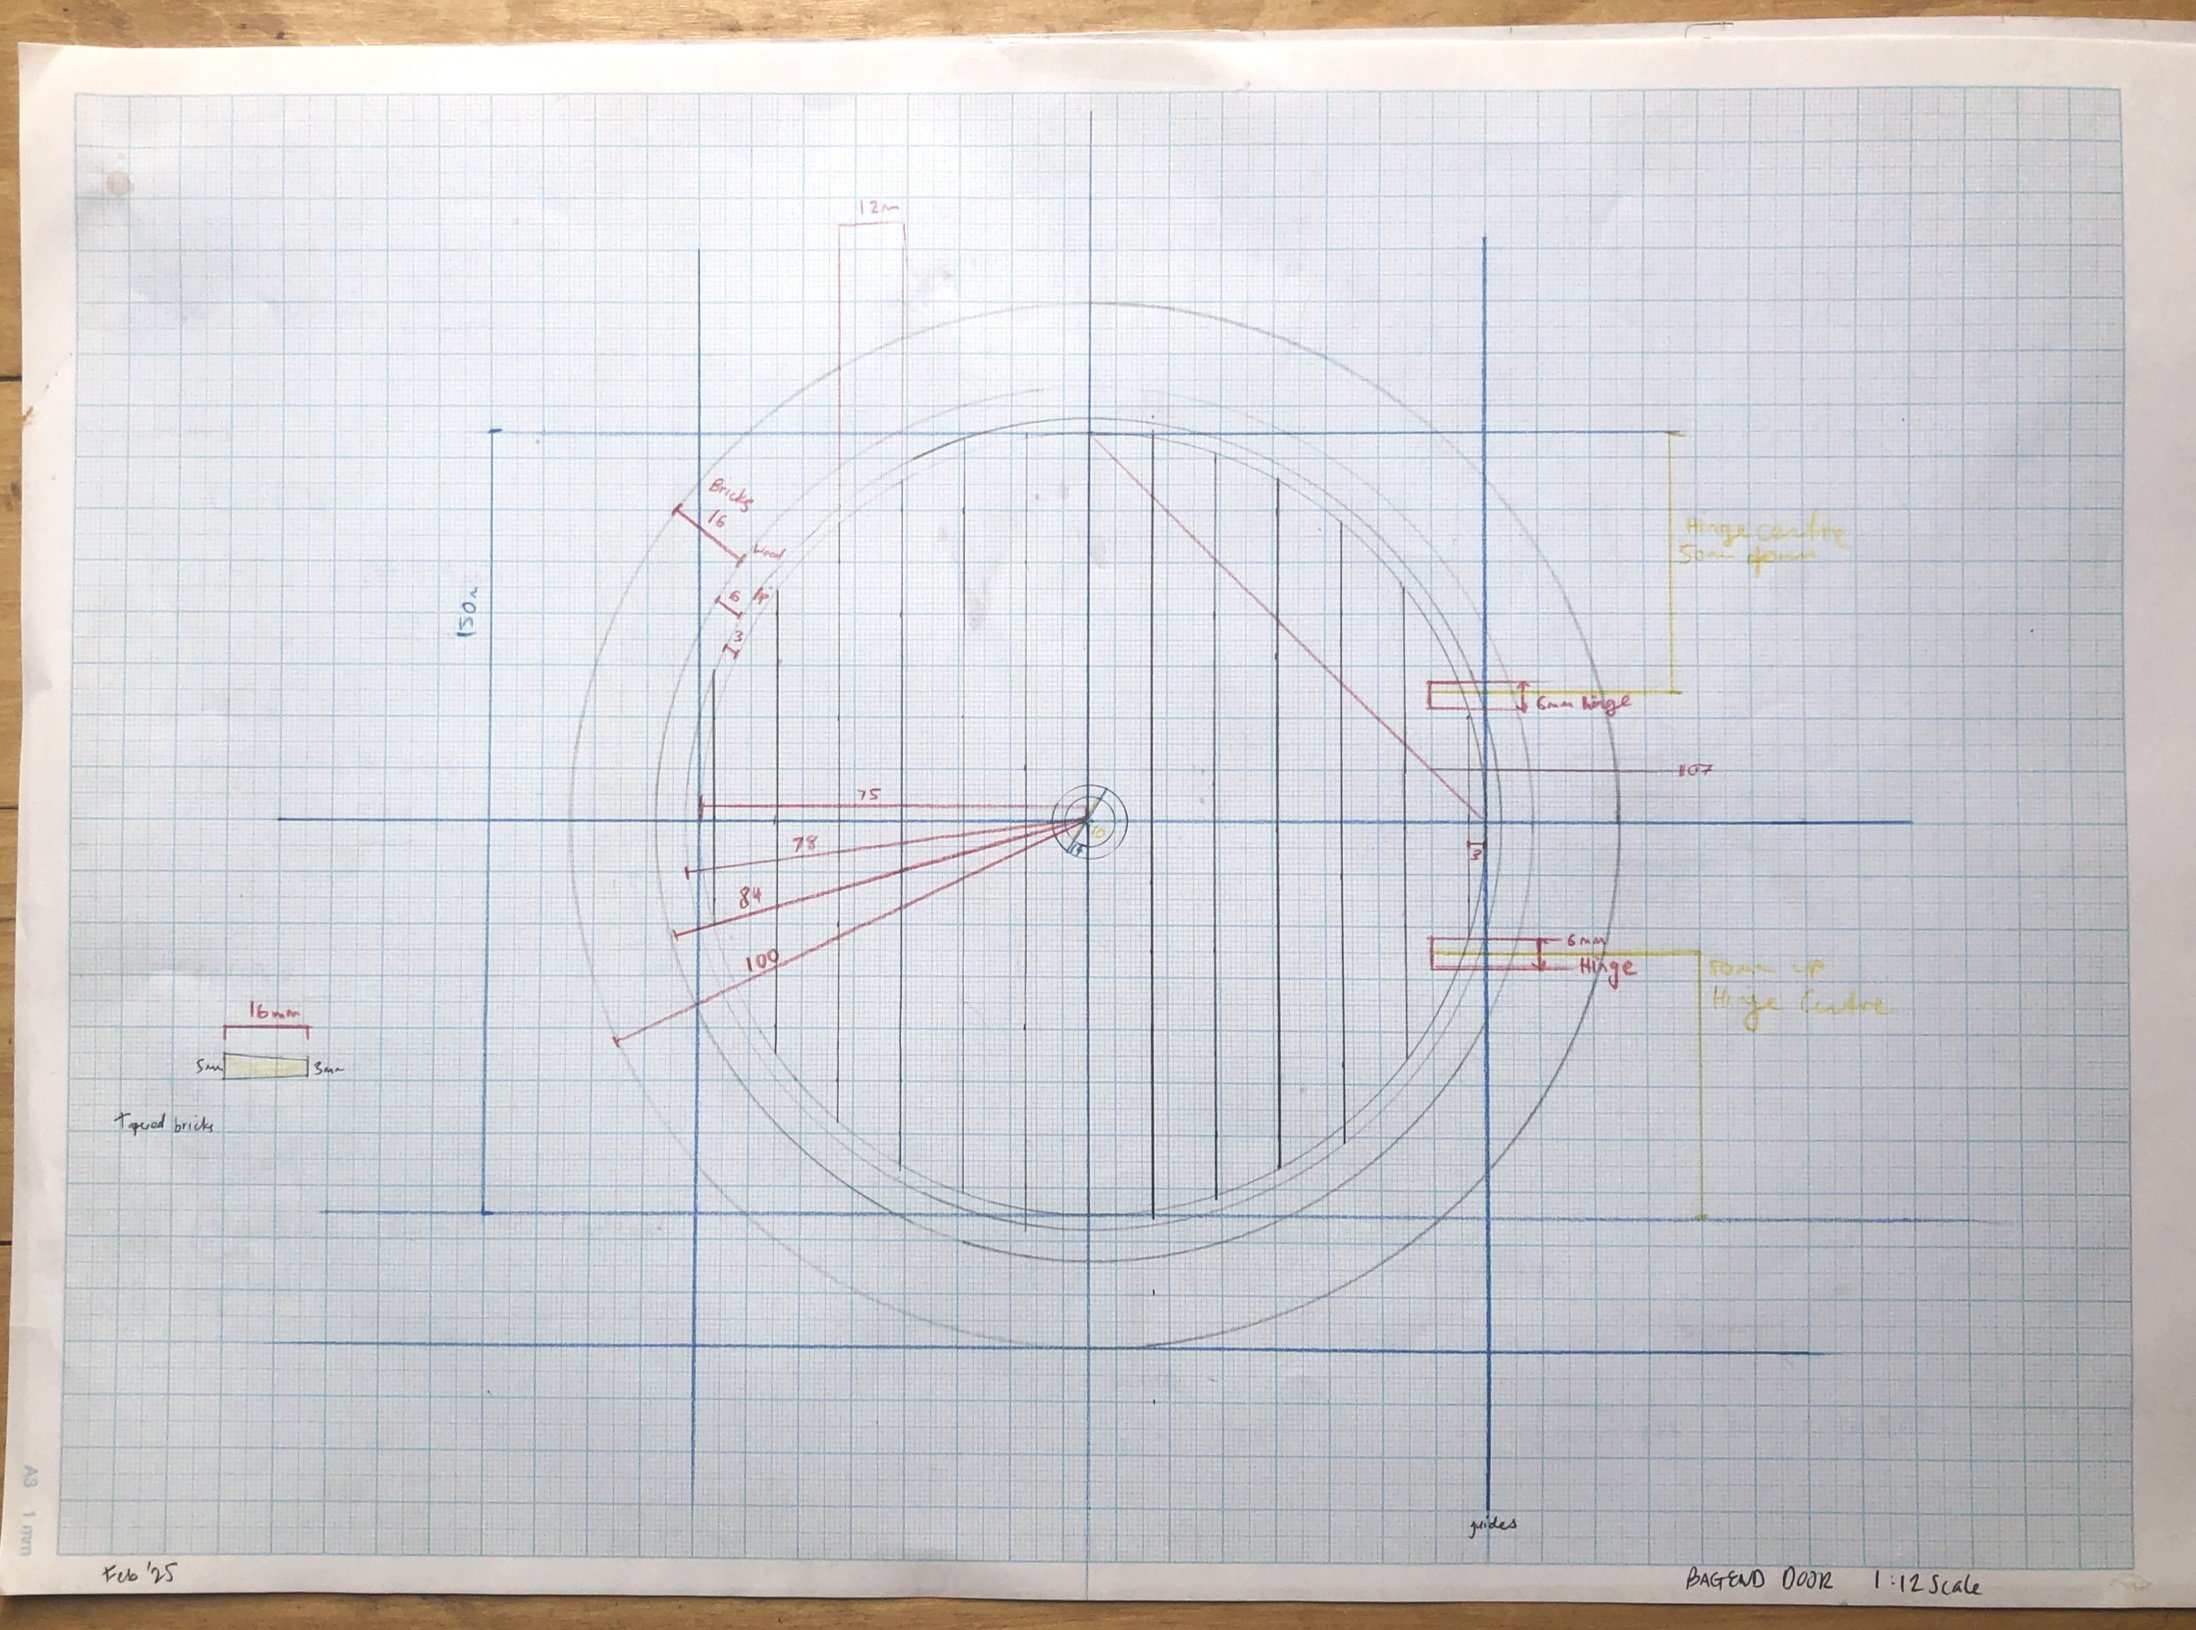


Drew the circles using a compass and a circular pattern cut from scrap card.

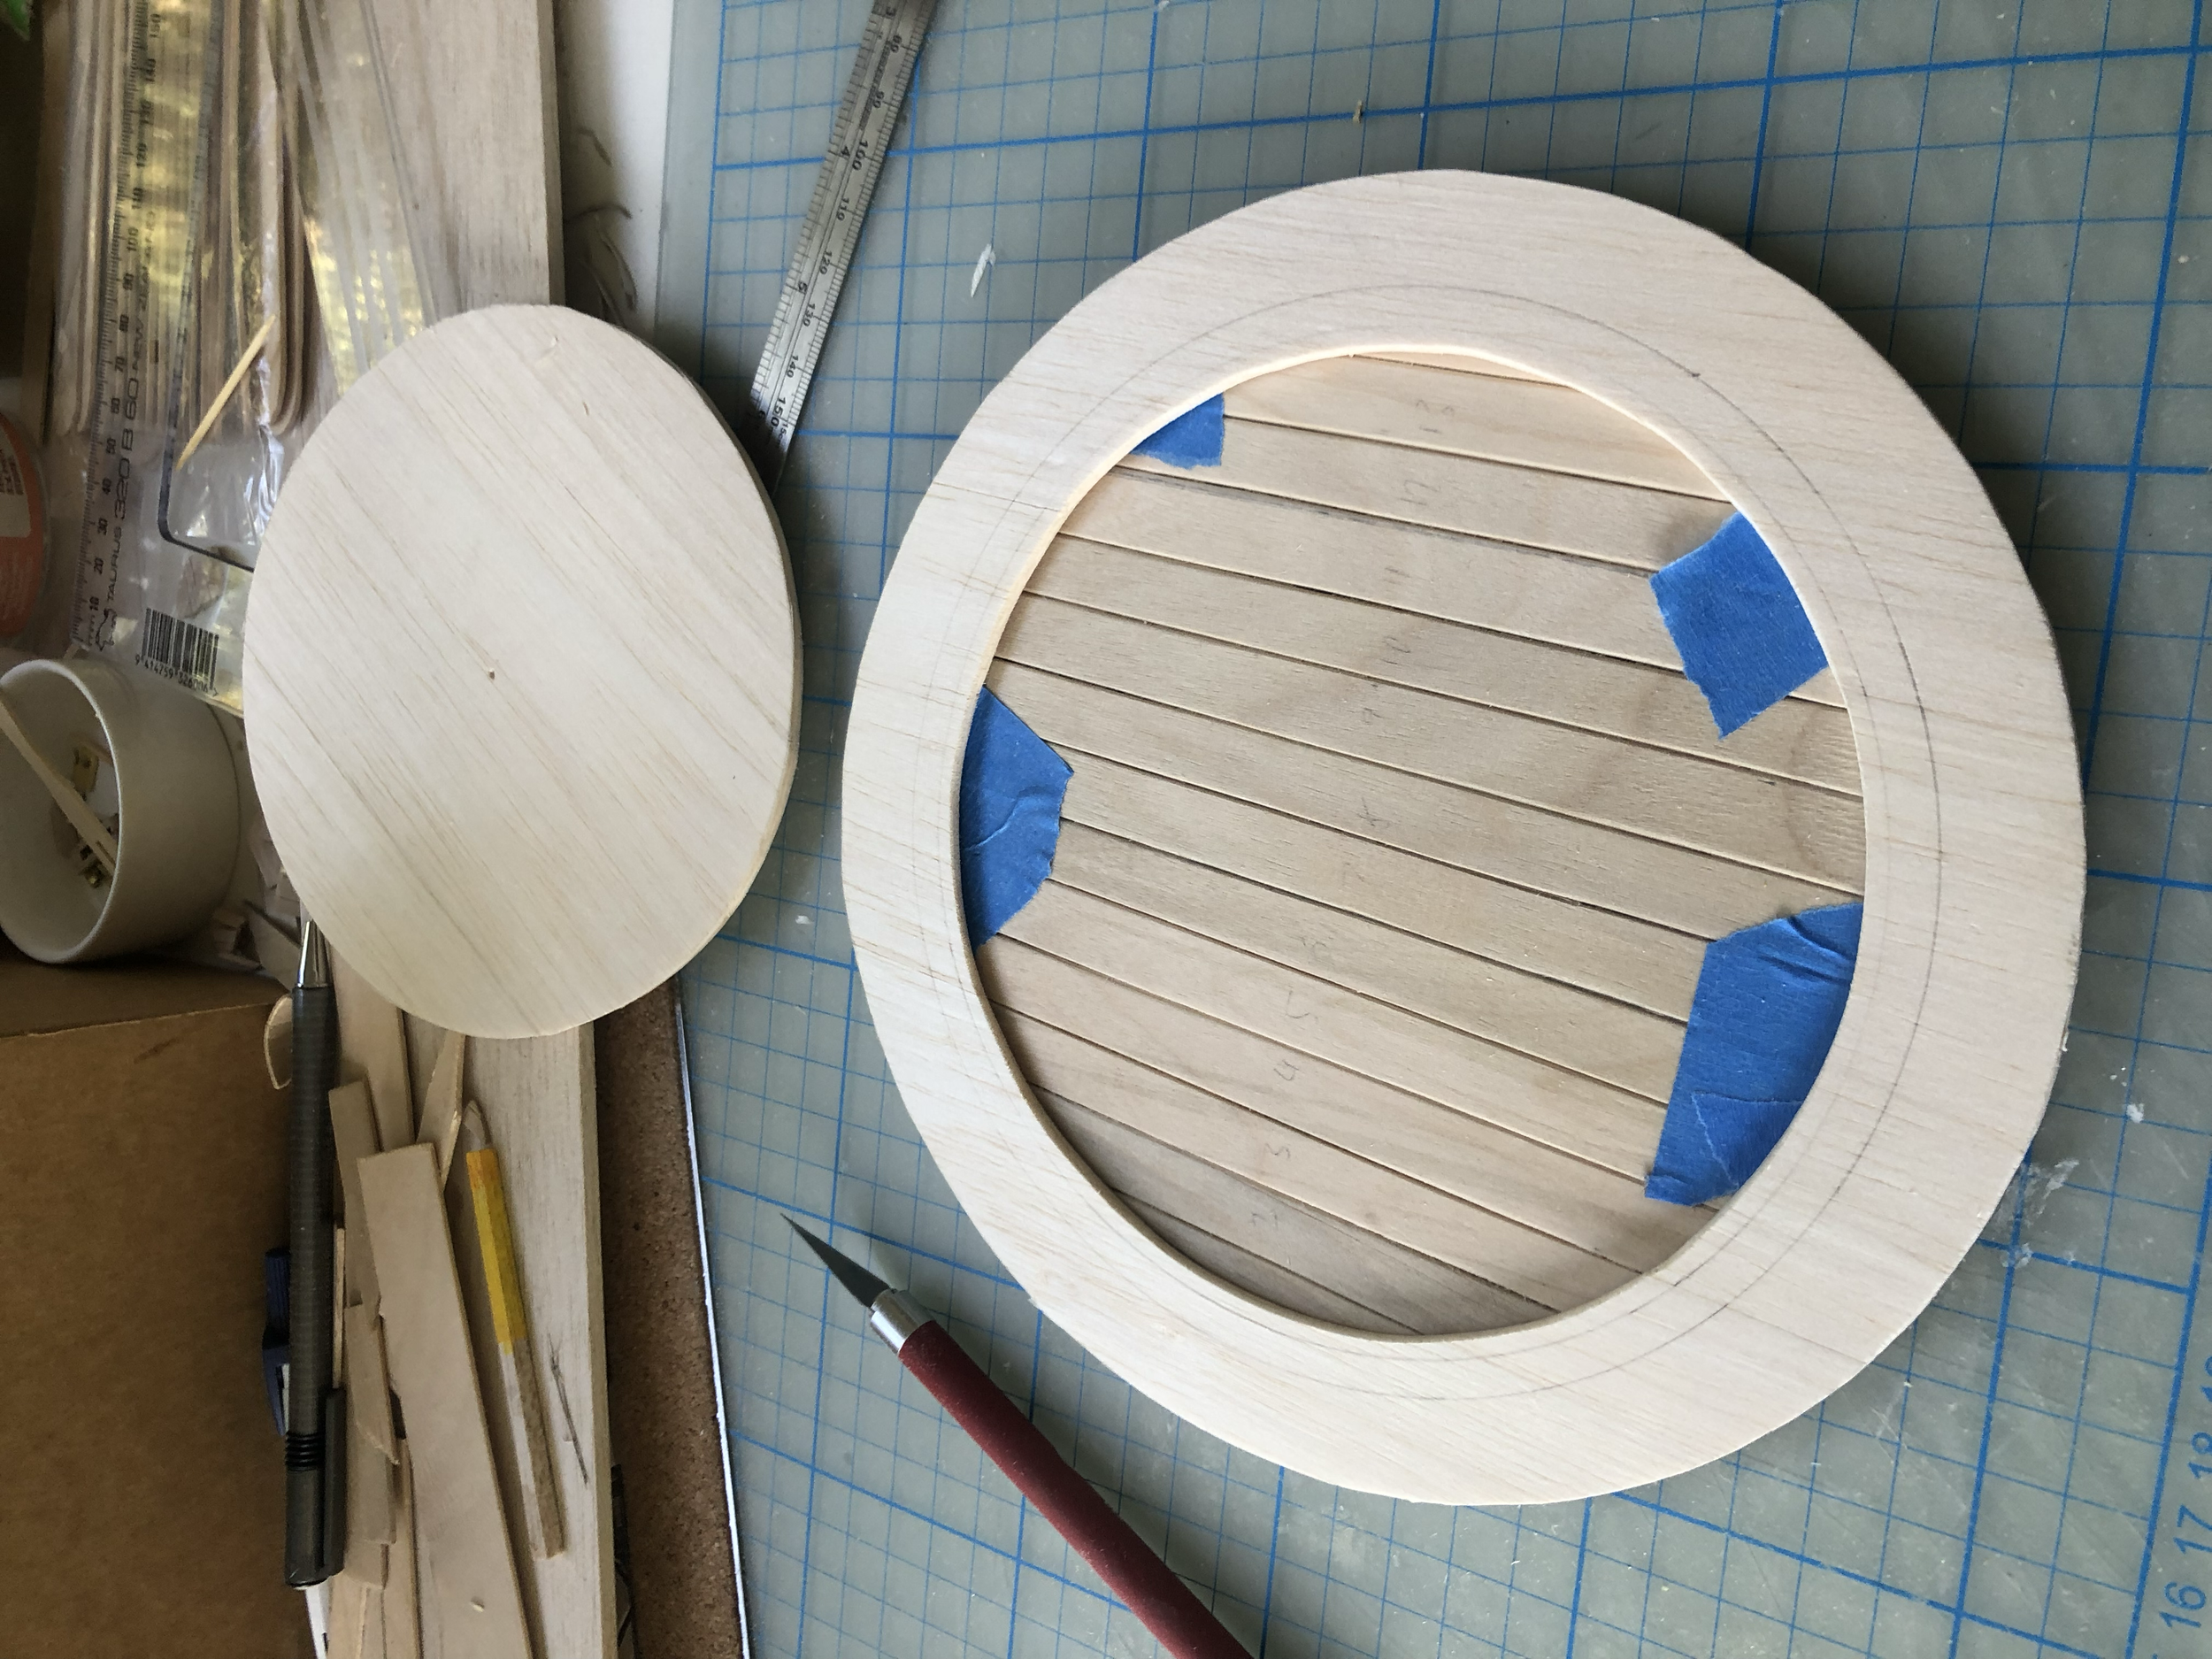
As I didn’t have access to bandsaw or similar, I cut the doorframes with mixture of exacto blade and miniature saw
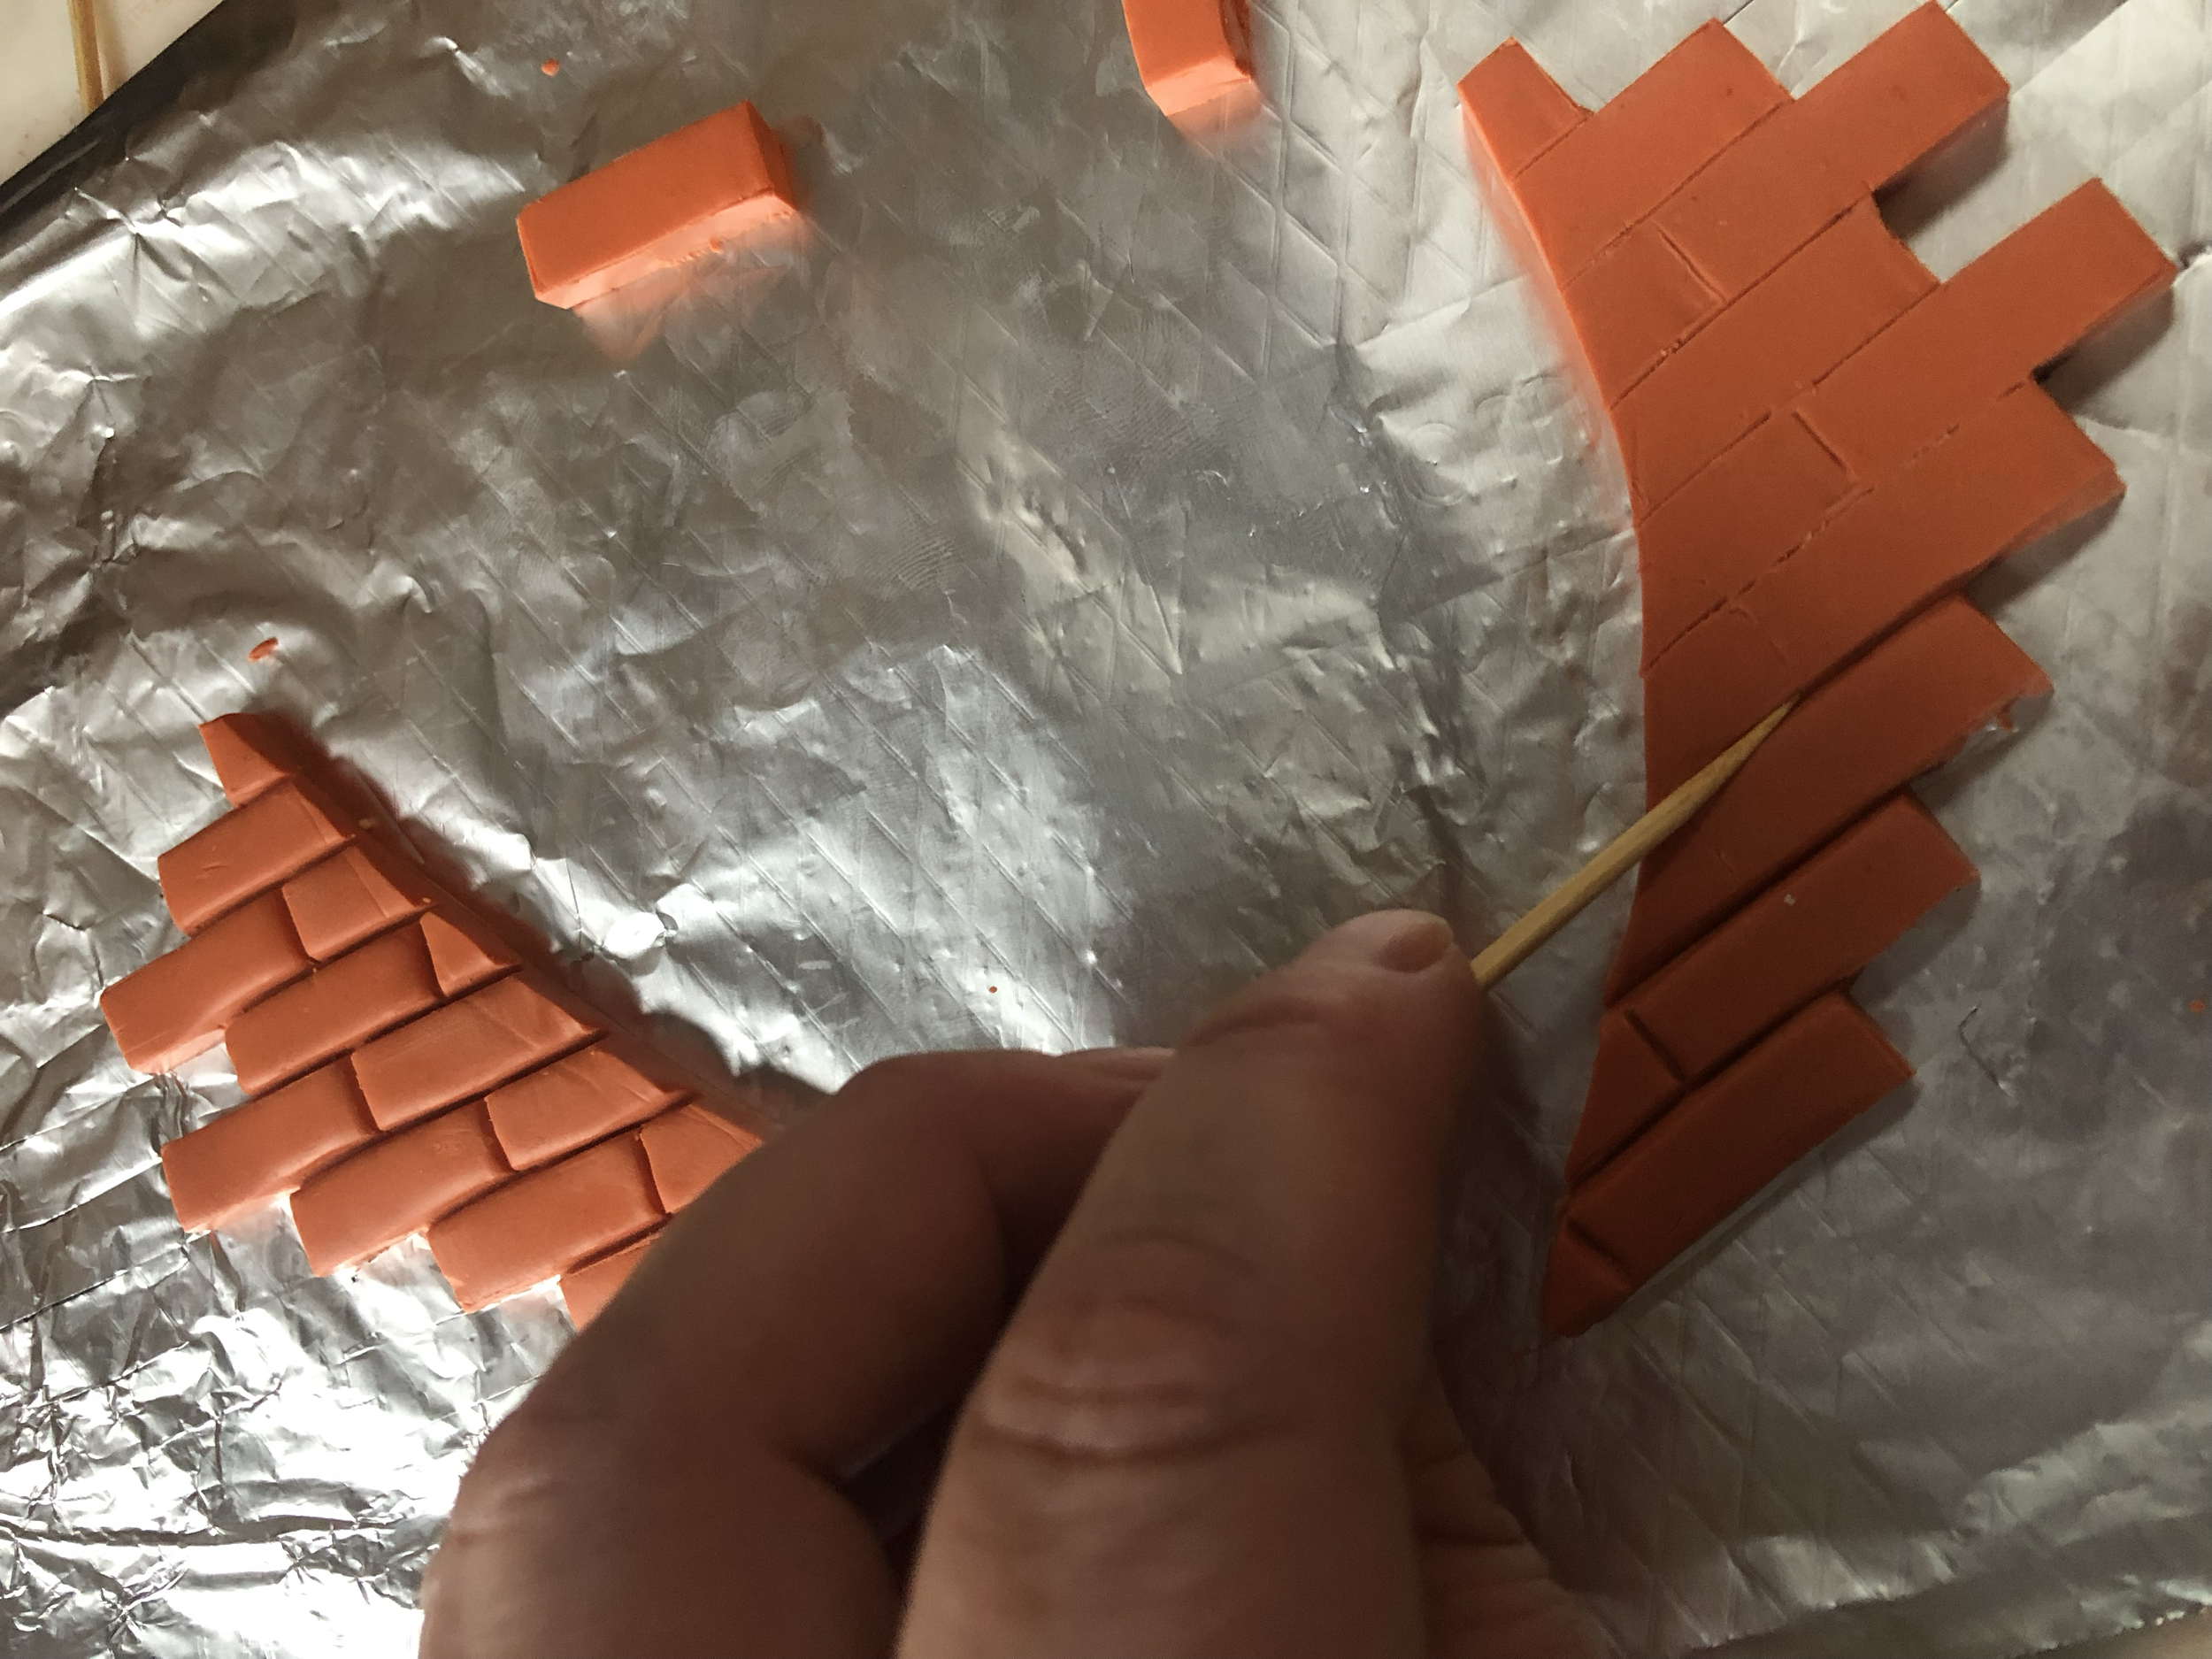
For the bricks I first tried a foam method, of pressing brick shapes into a piece of foam, but the look wasn’t quite right for such a central piece of the diorama.
I then considered pouring bricks from colour plaster and made this simple foam board mold using a wooden brick
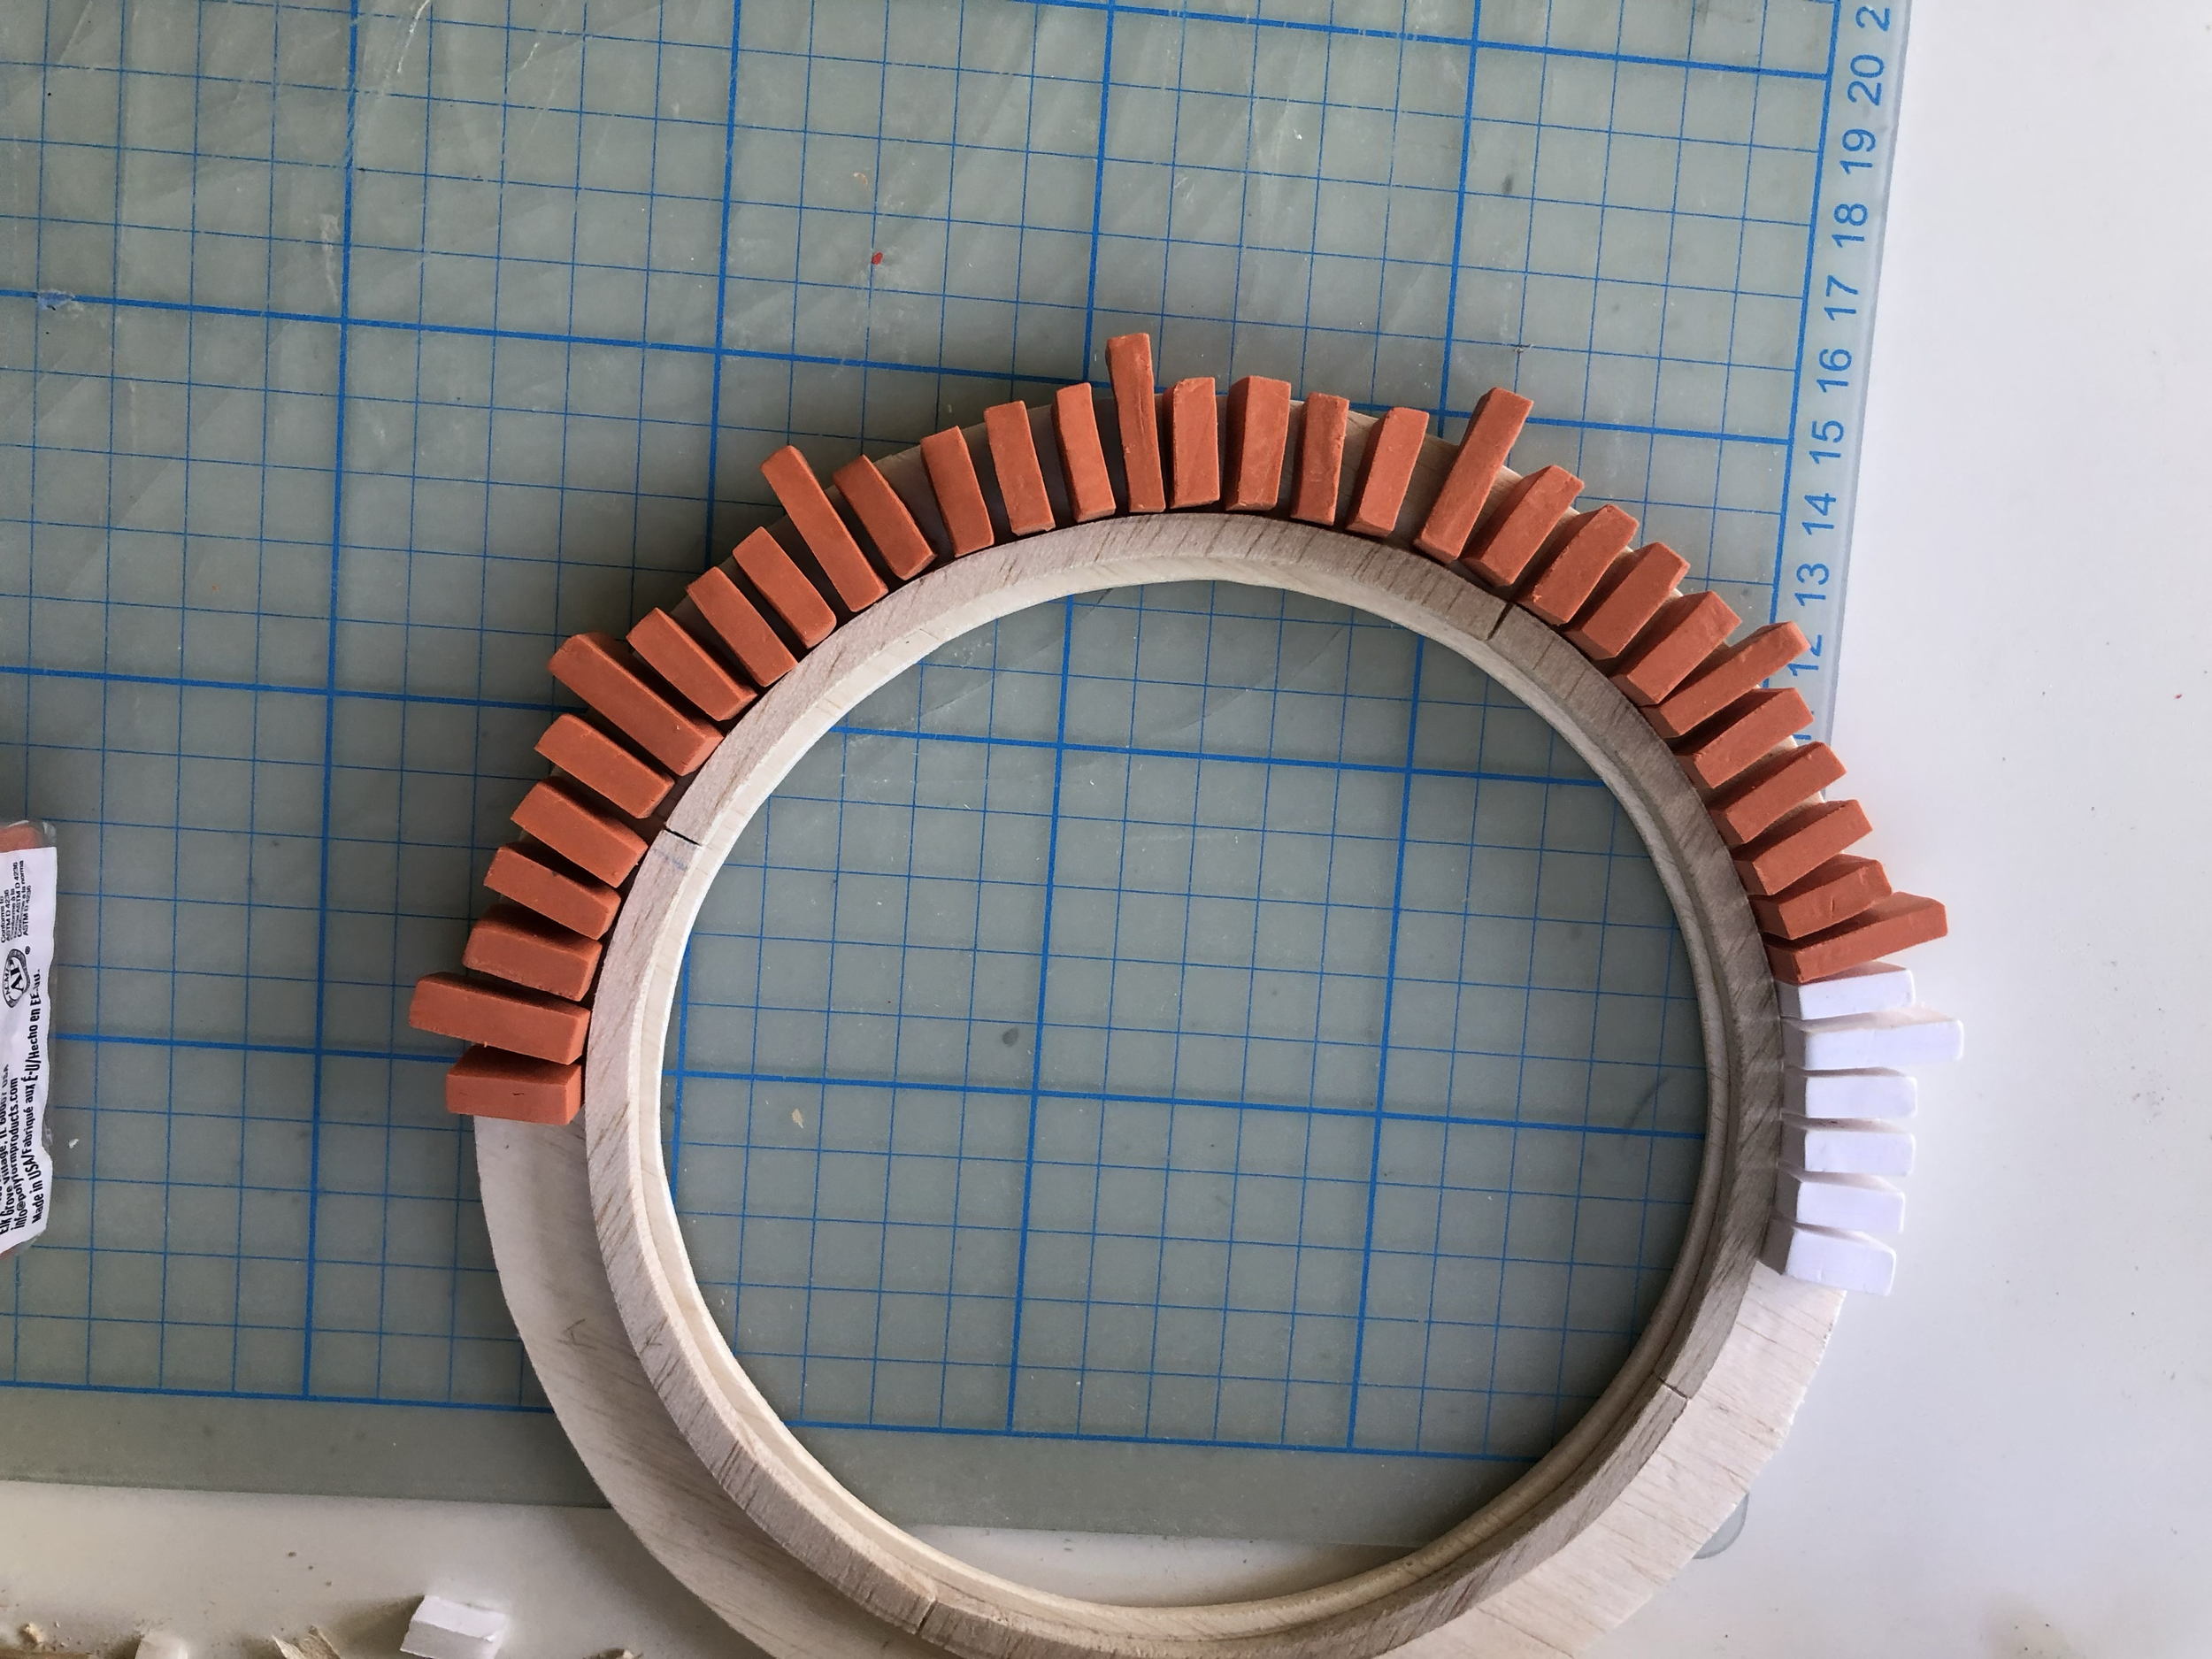
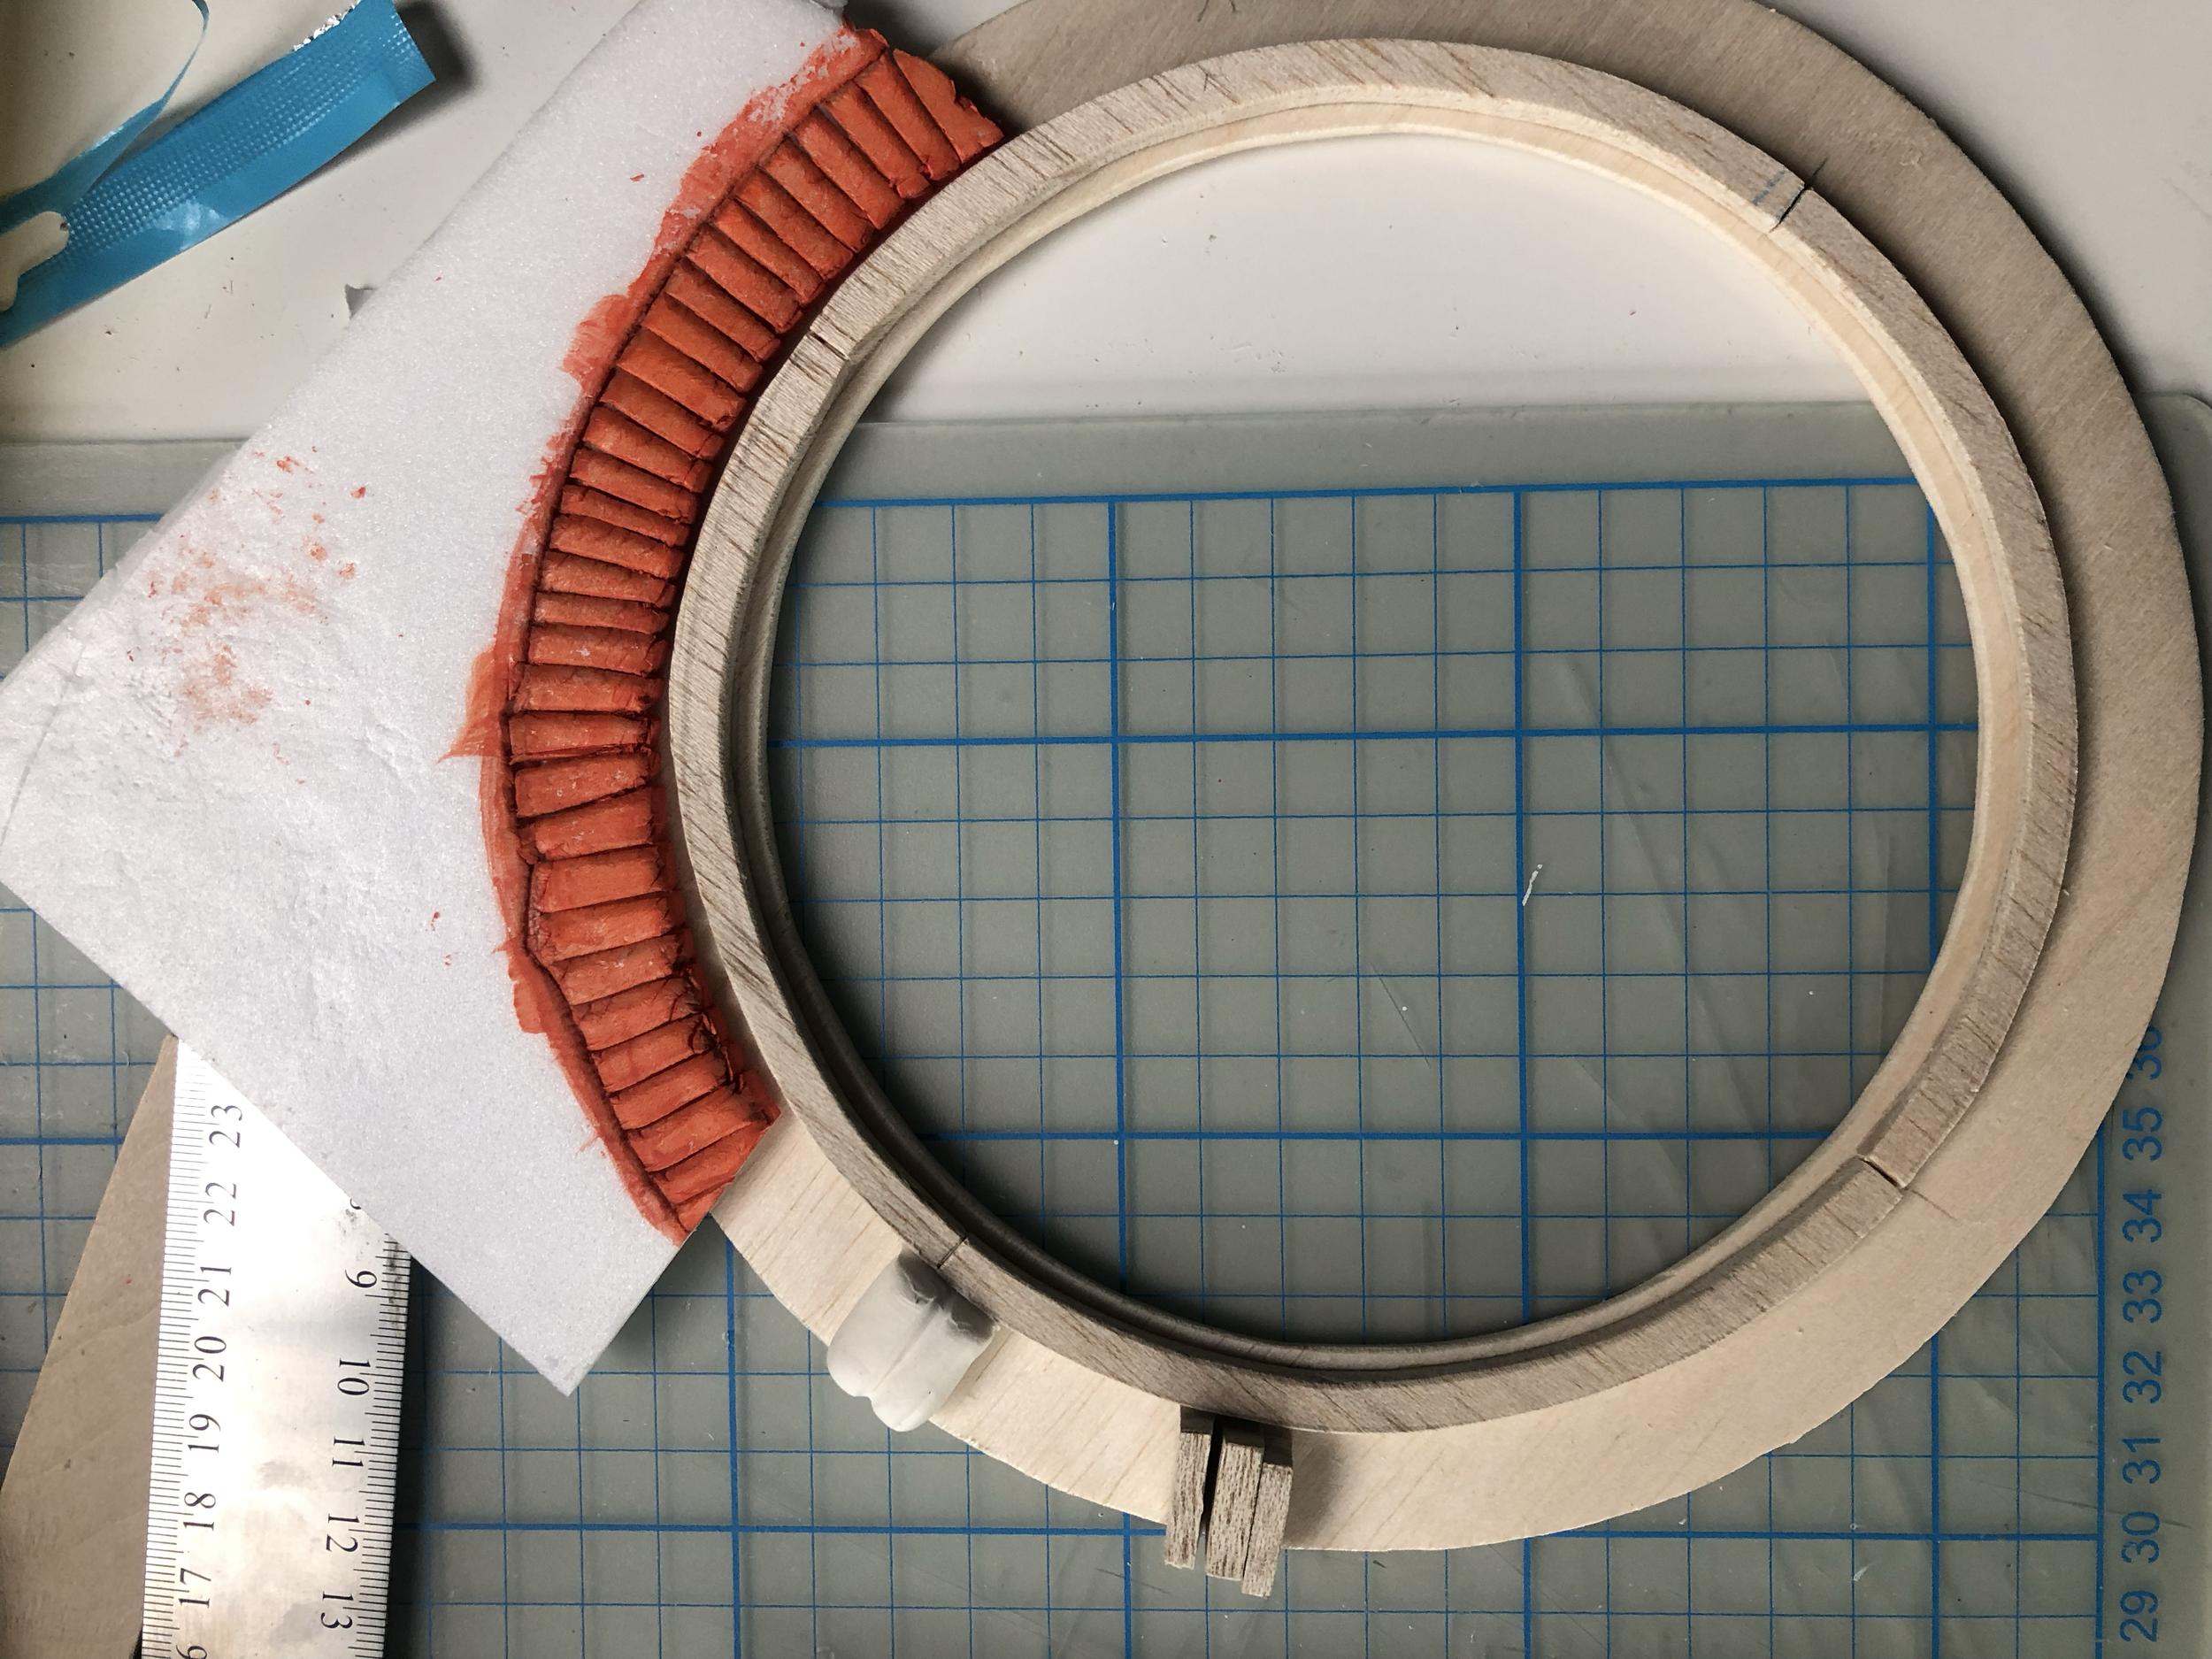
Ultimately decided to create individual bricks from Sculpy as it gave the most effective result.
Baking bricks

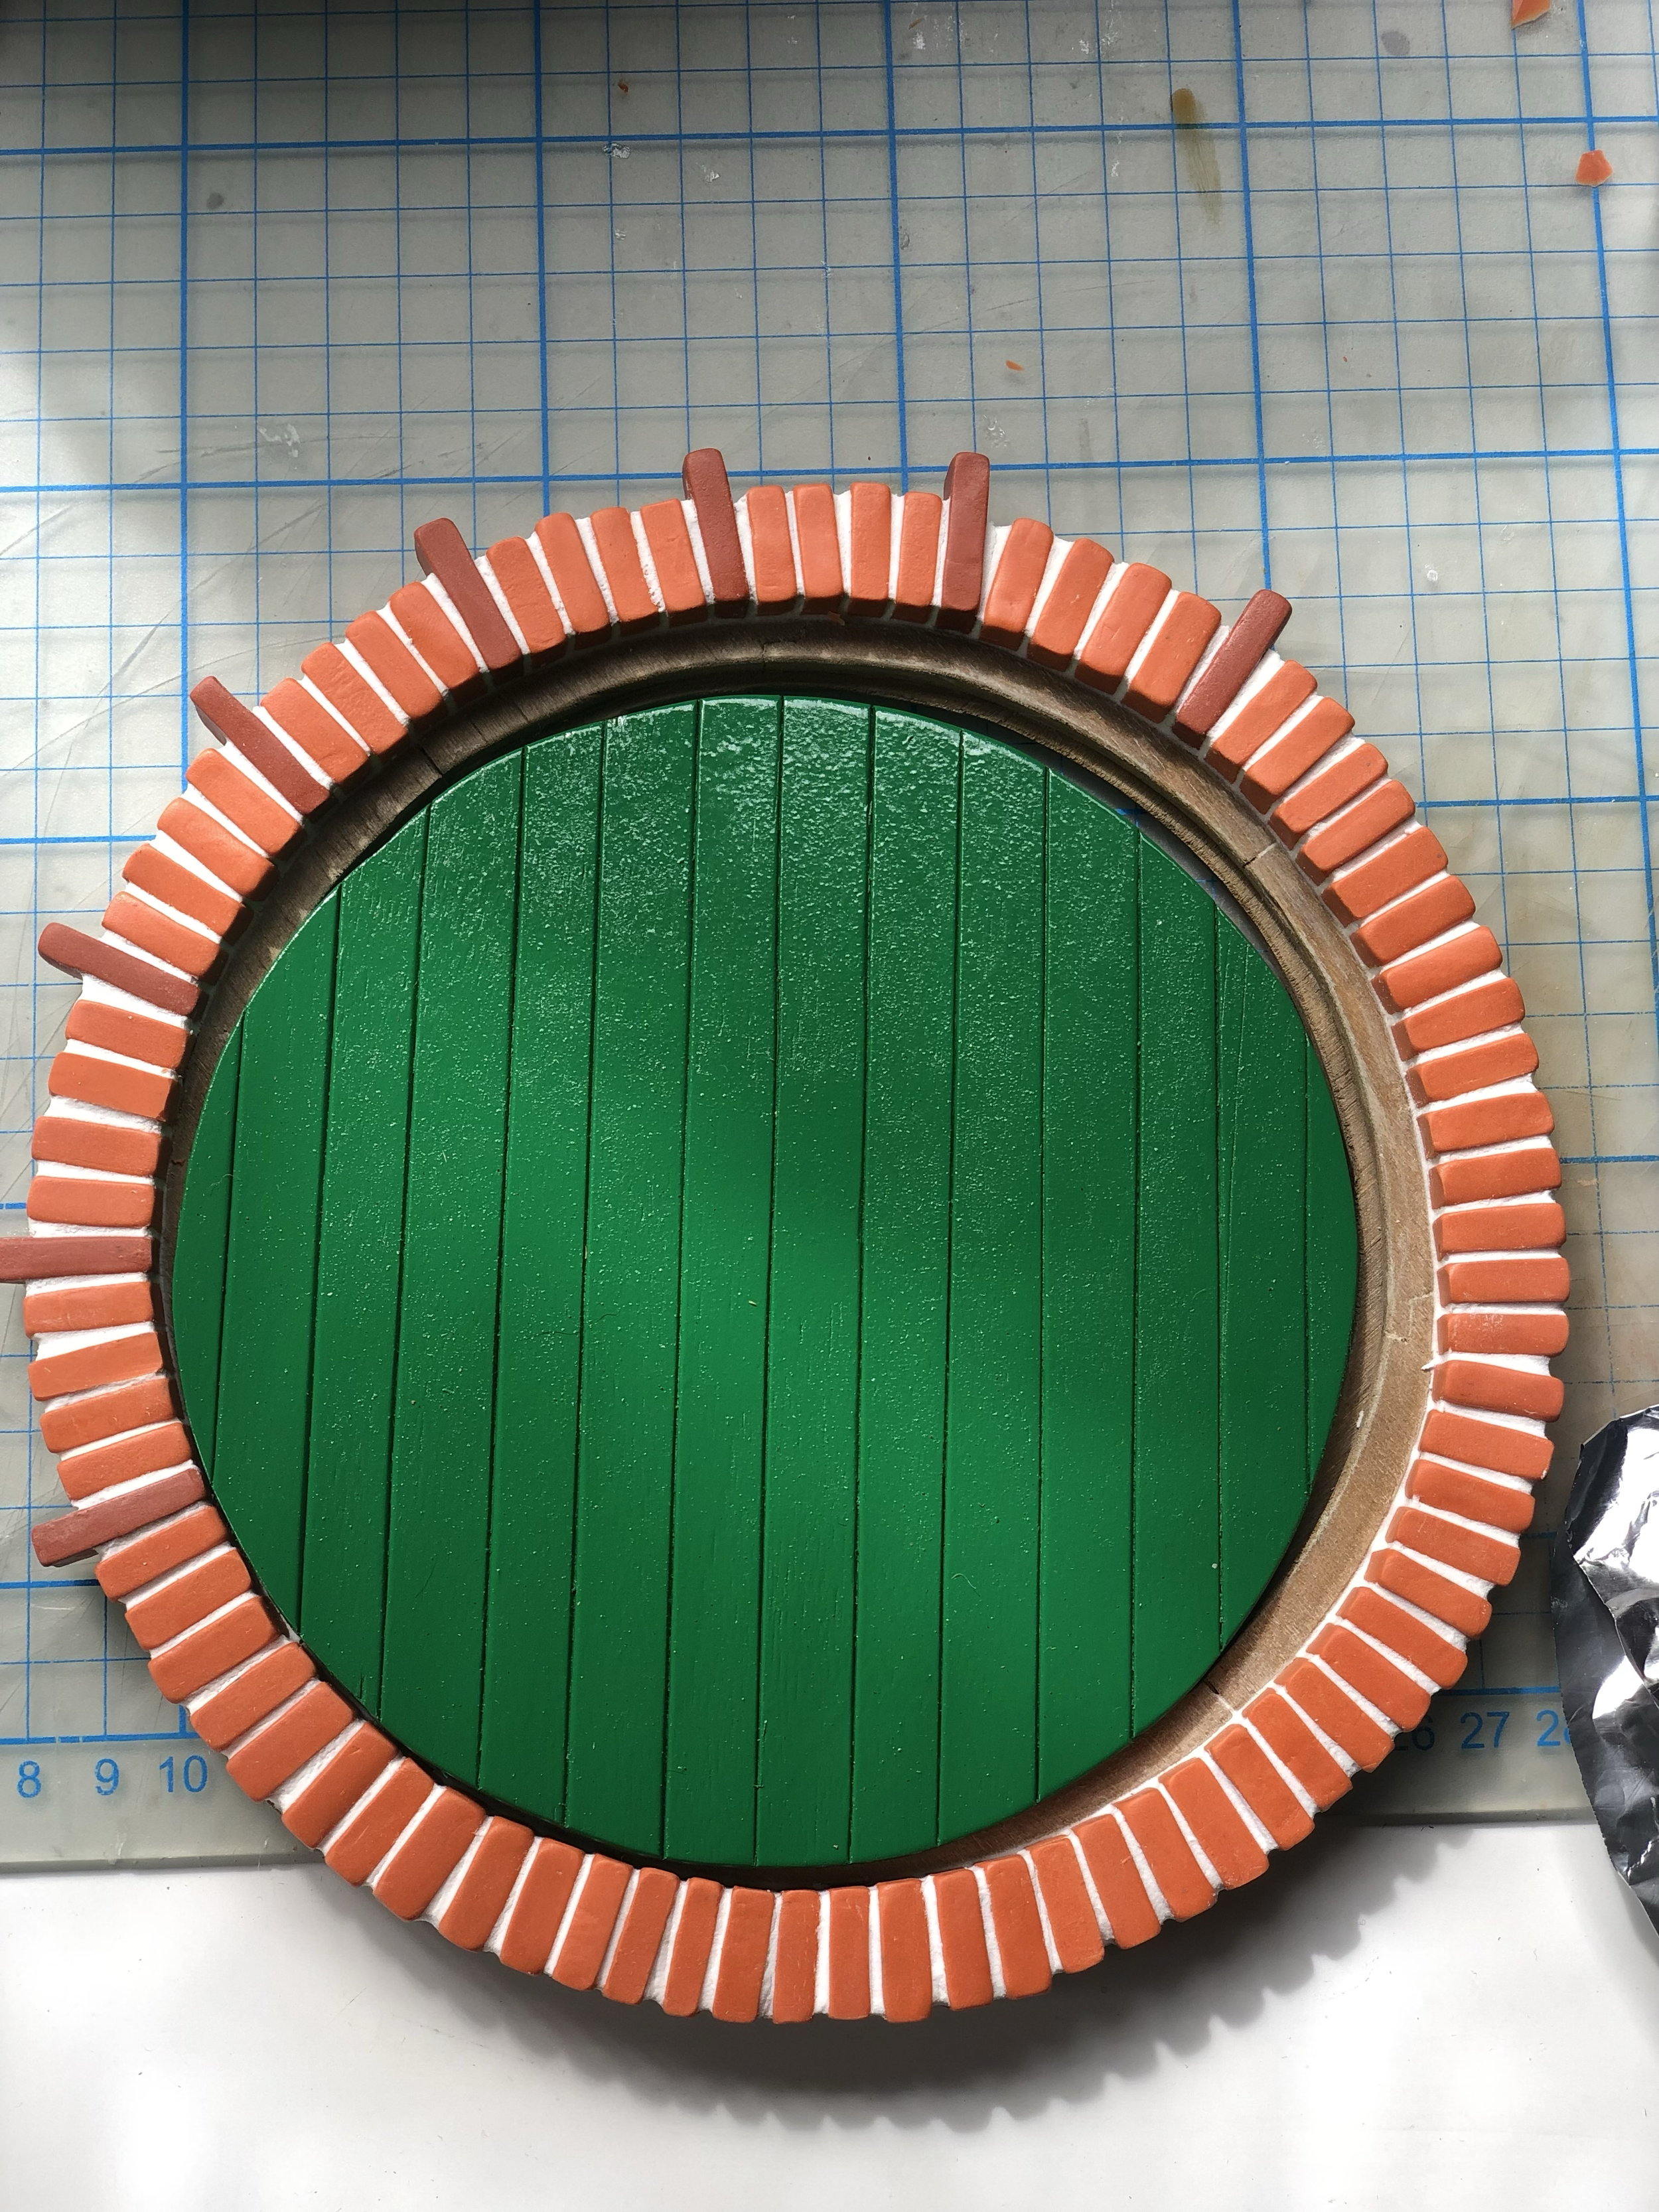
I used palight pieces for spacing out the bricks evenly
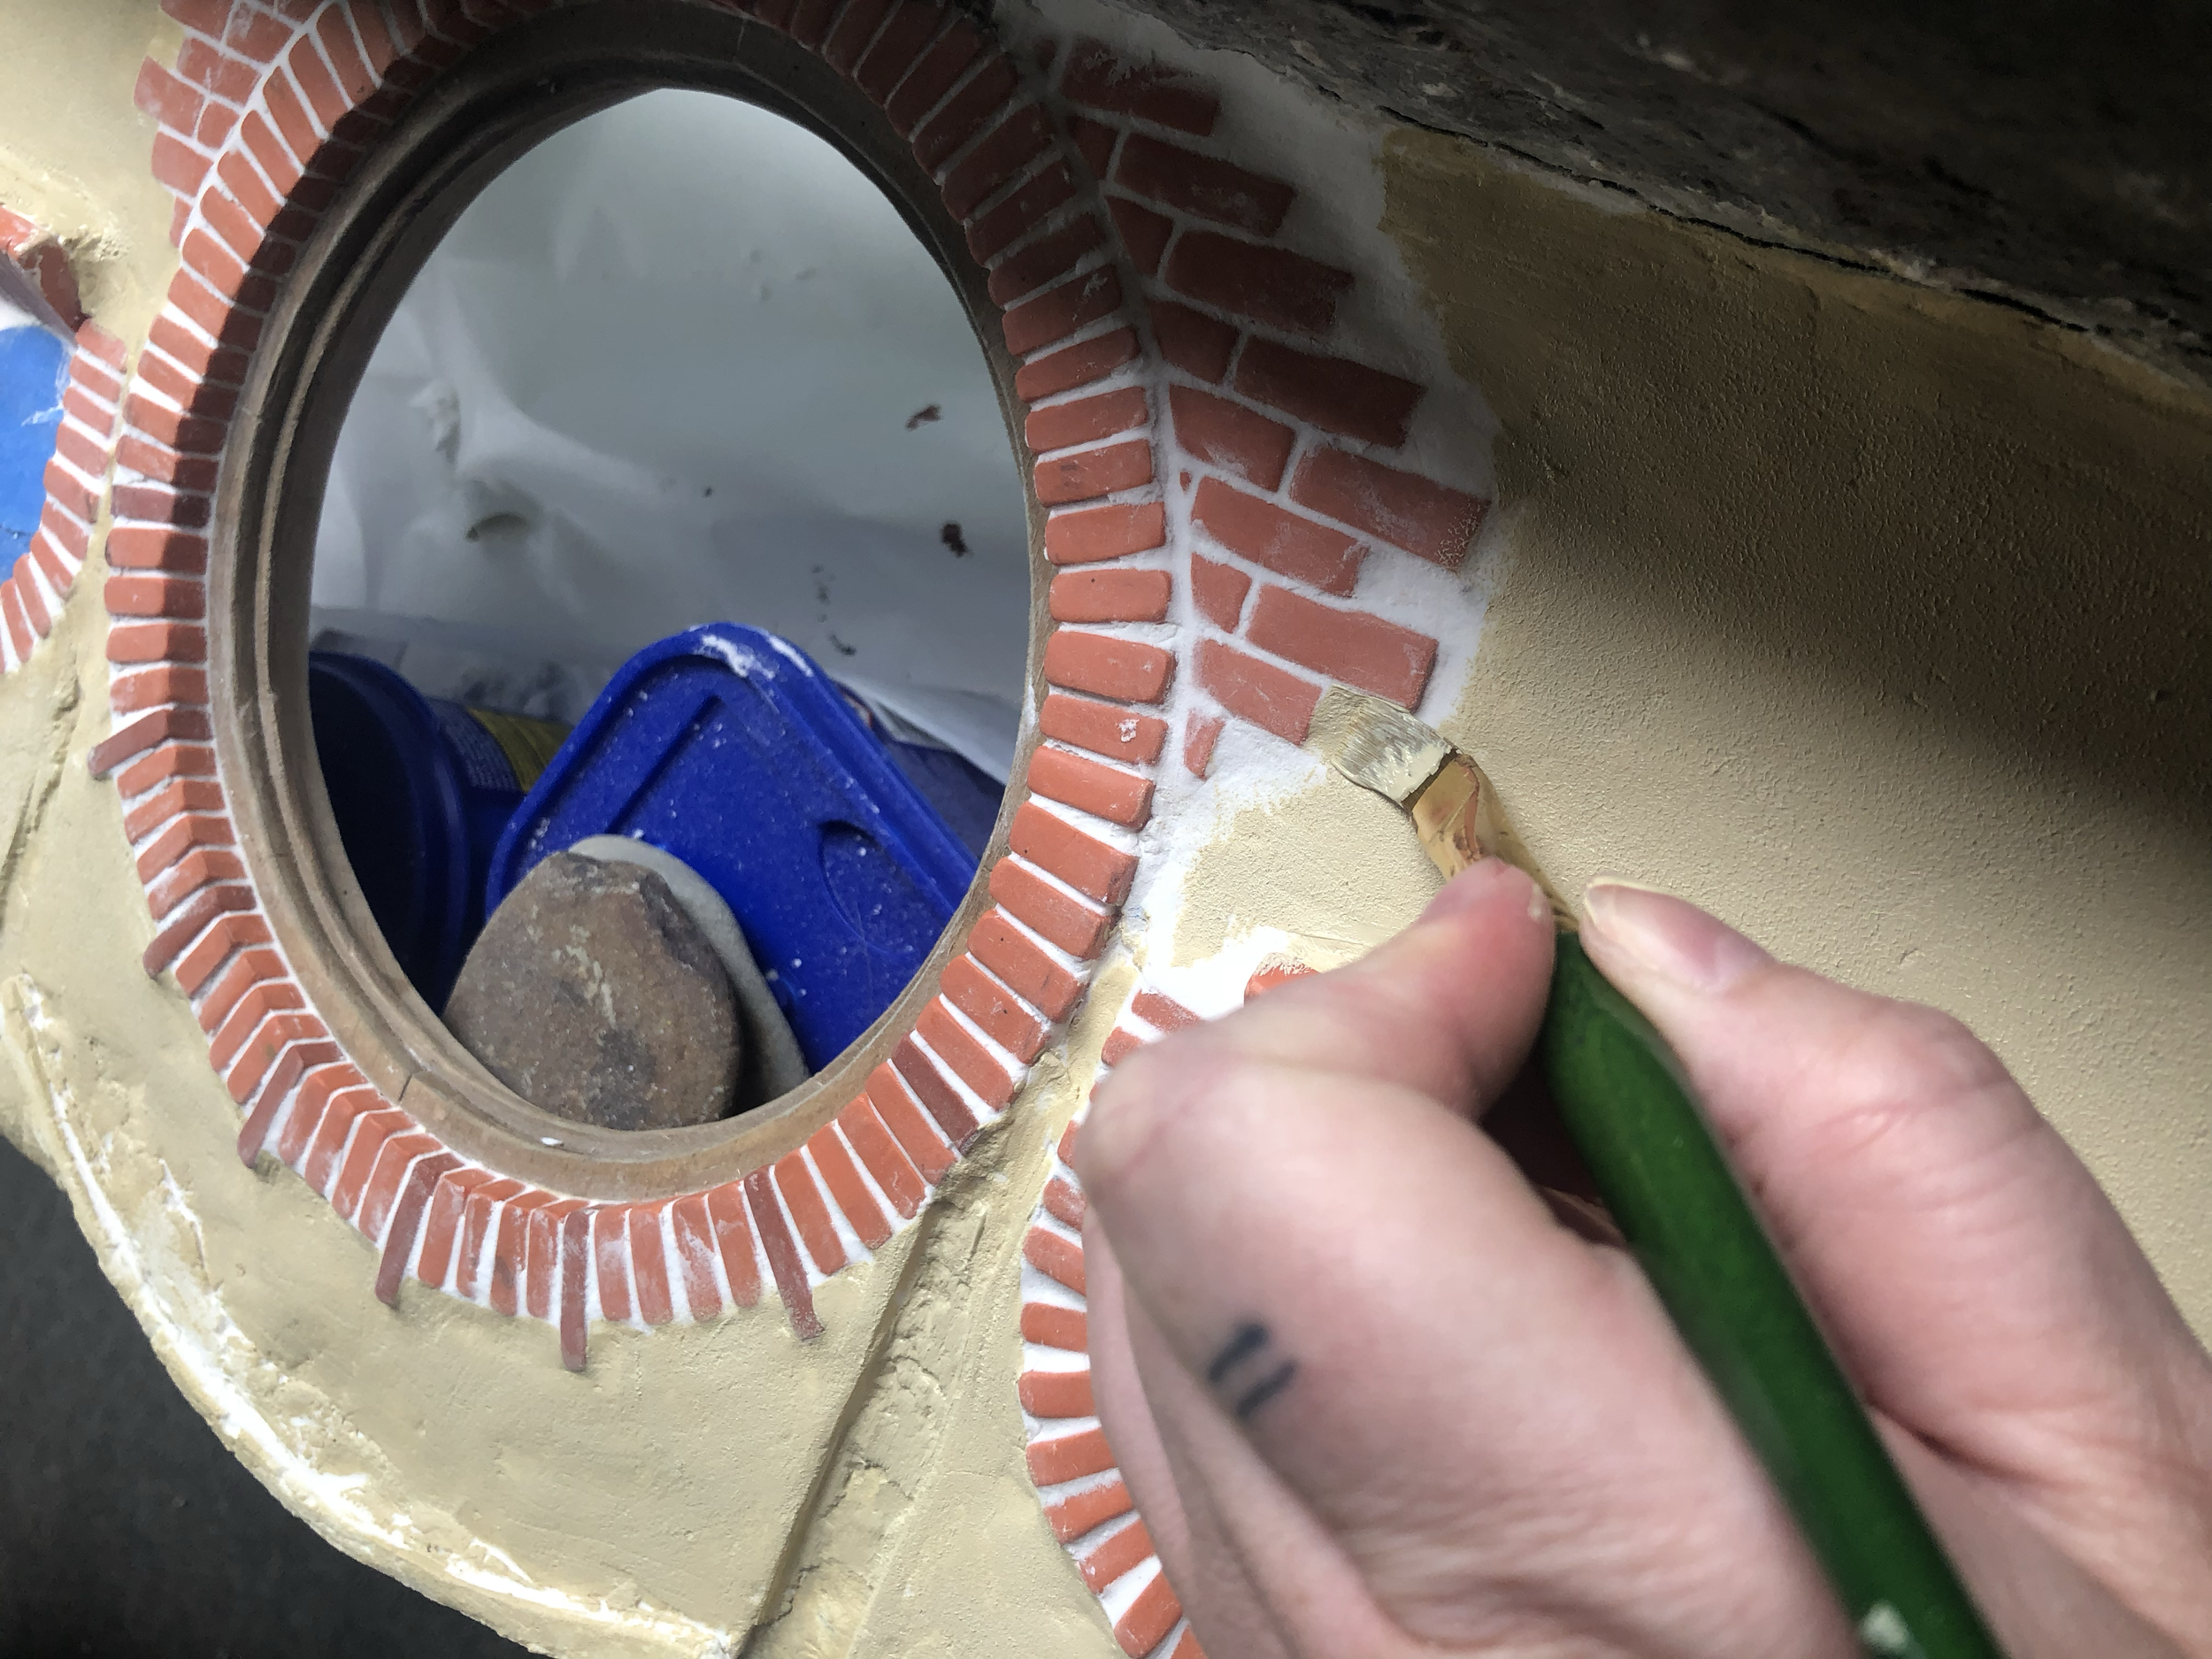
Adding spackle for grout

When I originally planned to make the door and frame only, I started working on the inside filigree using set reference photos and creating a path in Illustrator
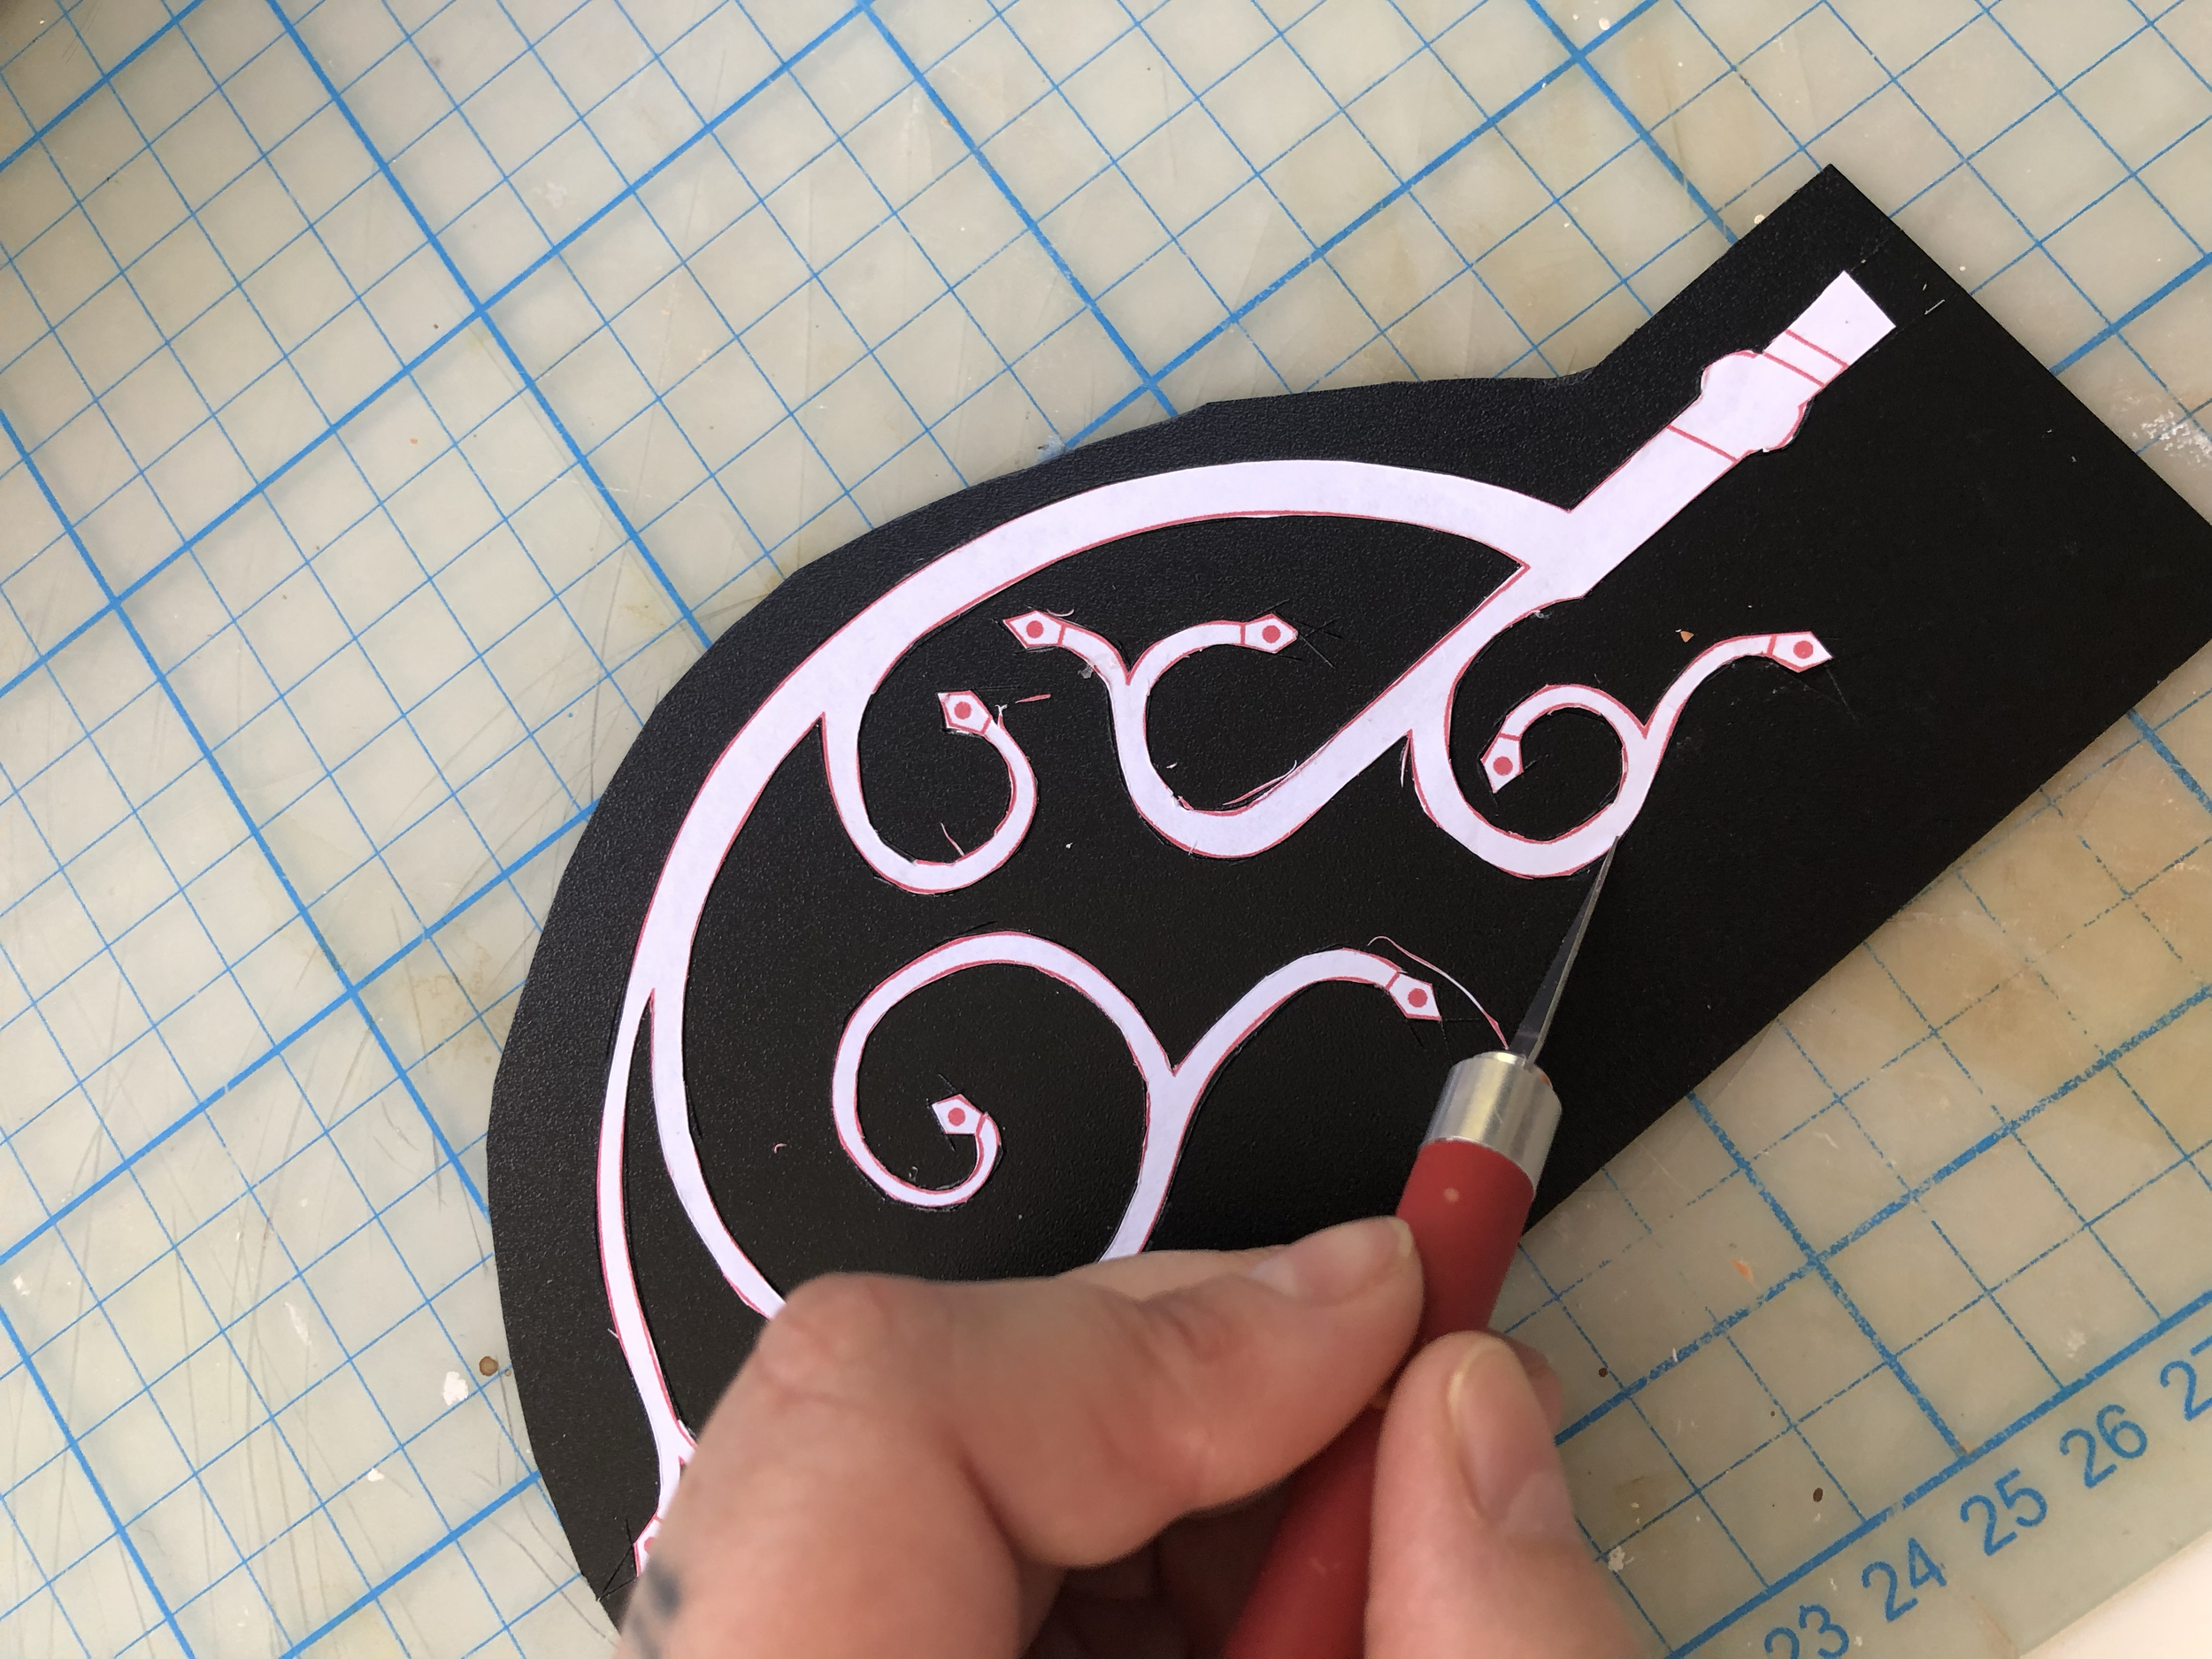
I cut the pattern out from black palight
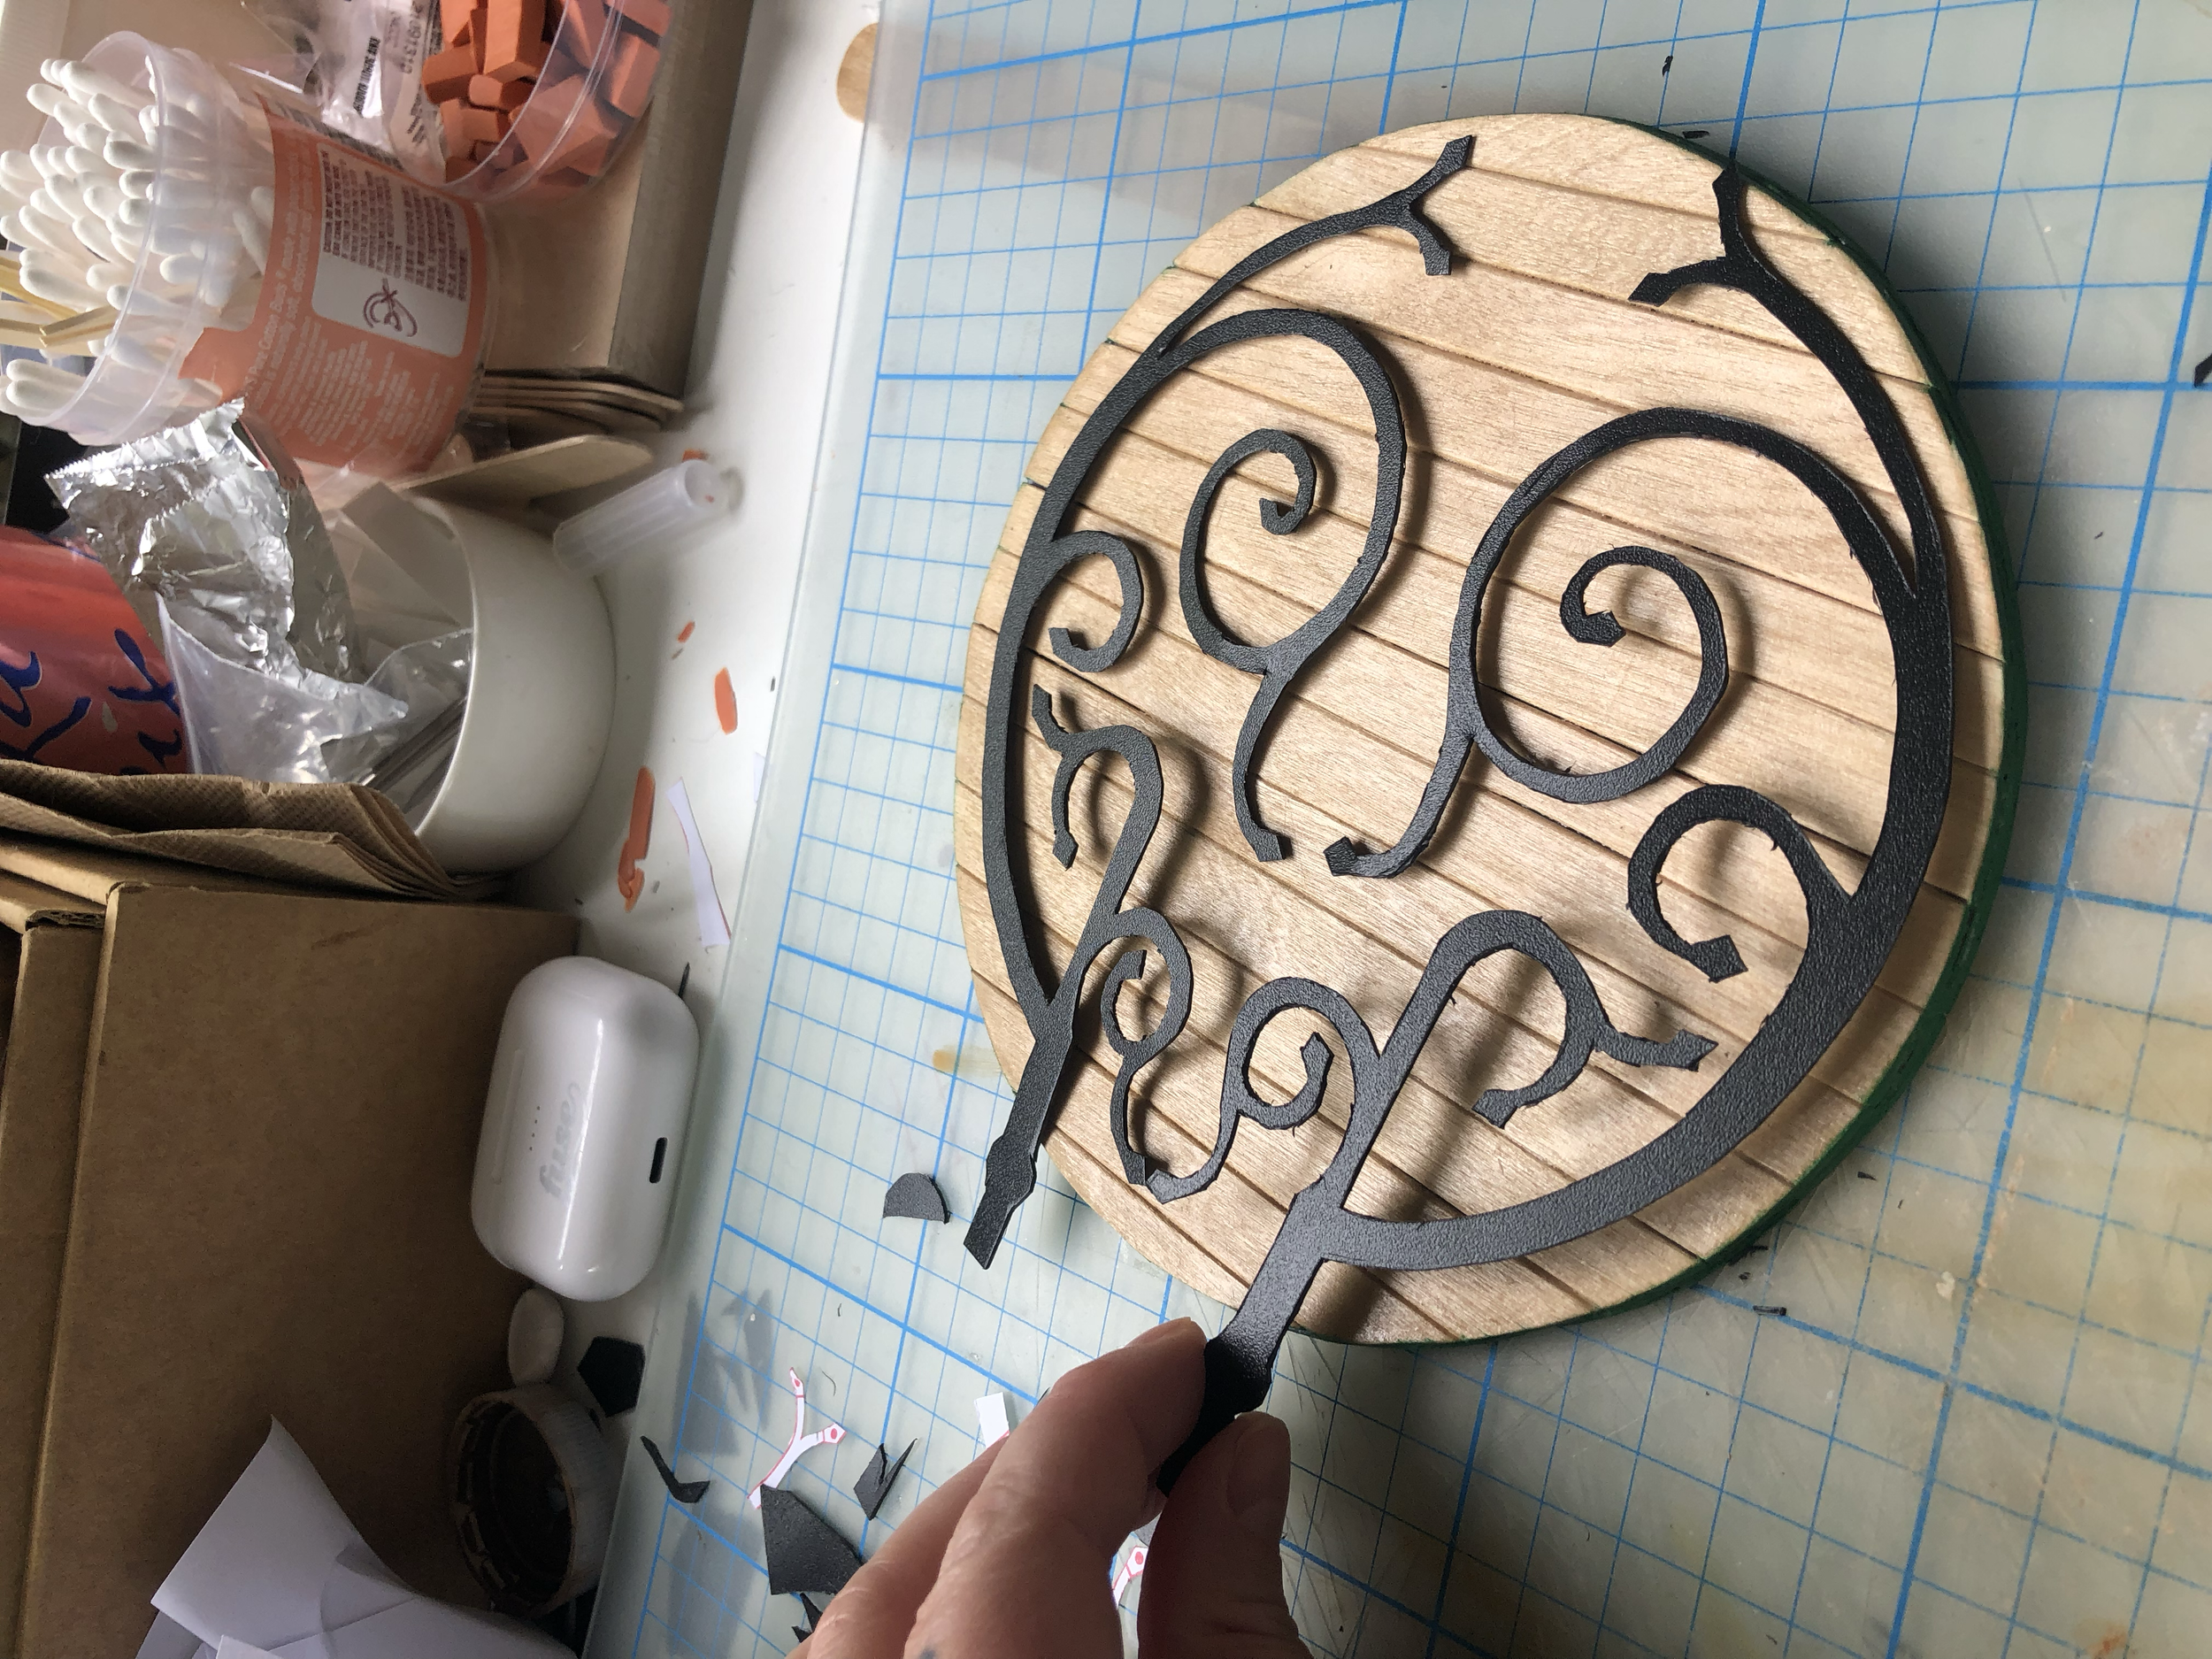
We don’t actually end up seeing this side as the door opens inwards. However I would like to continue on to fabricating the internal entrance way set too and this will be useful then.
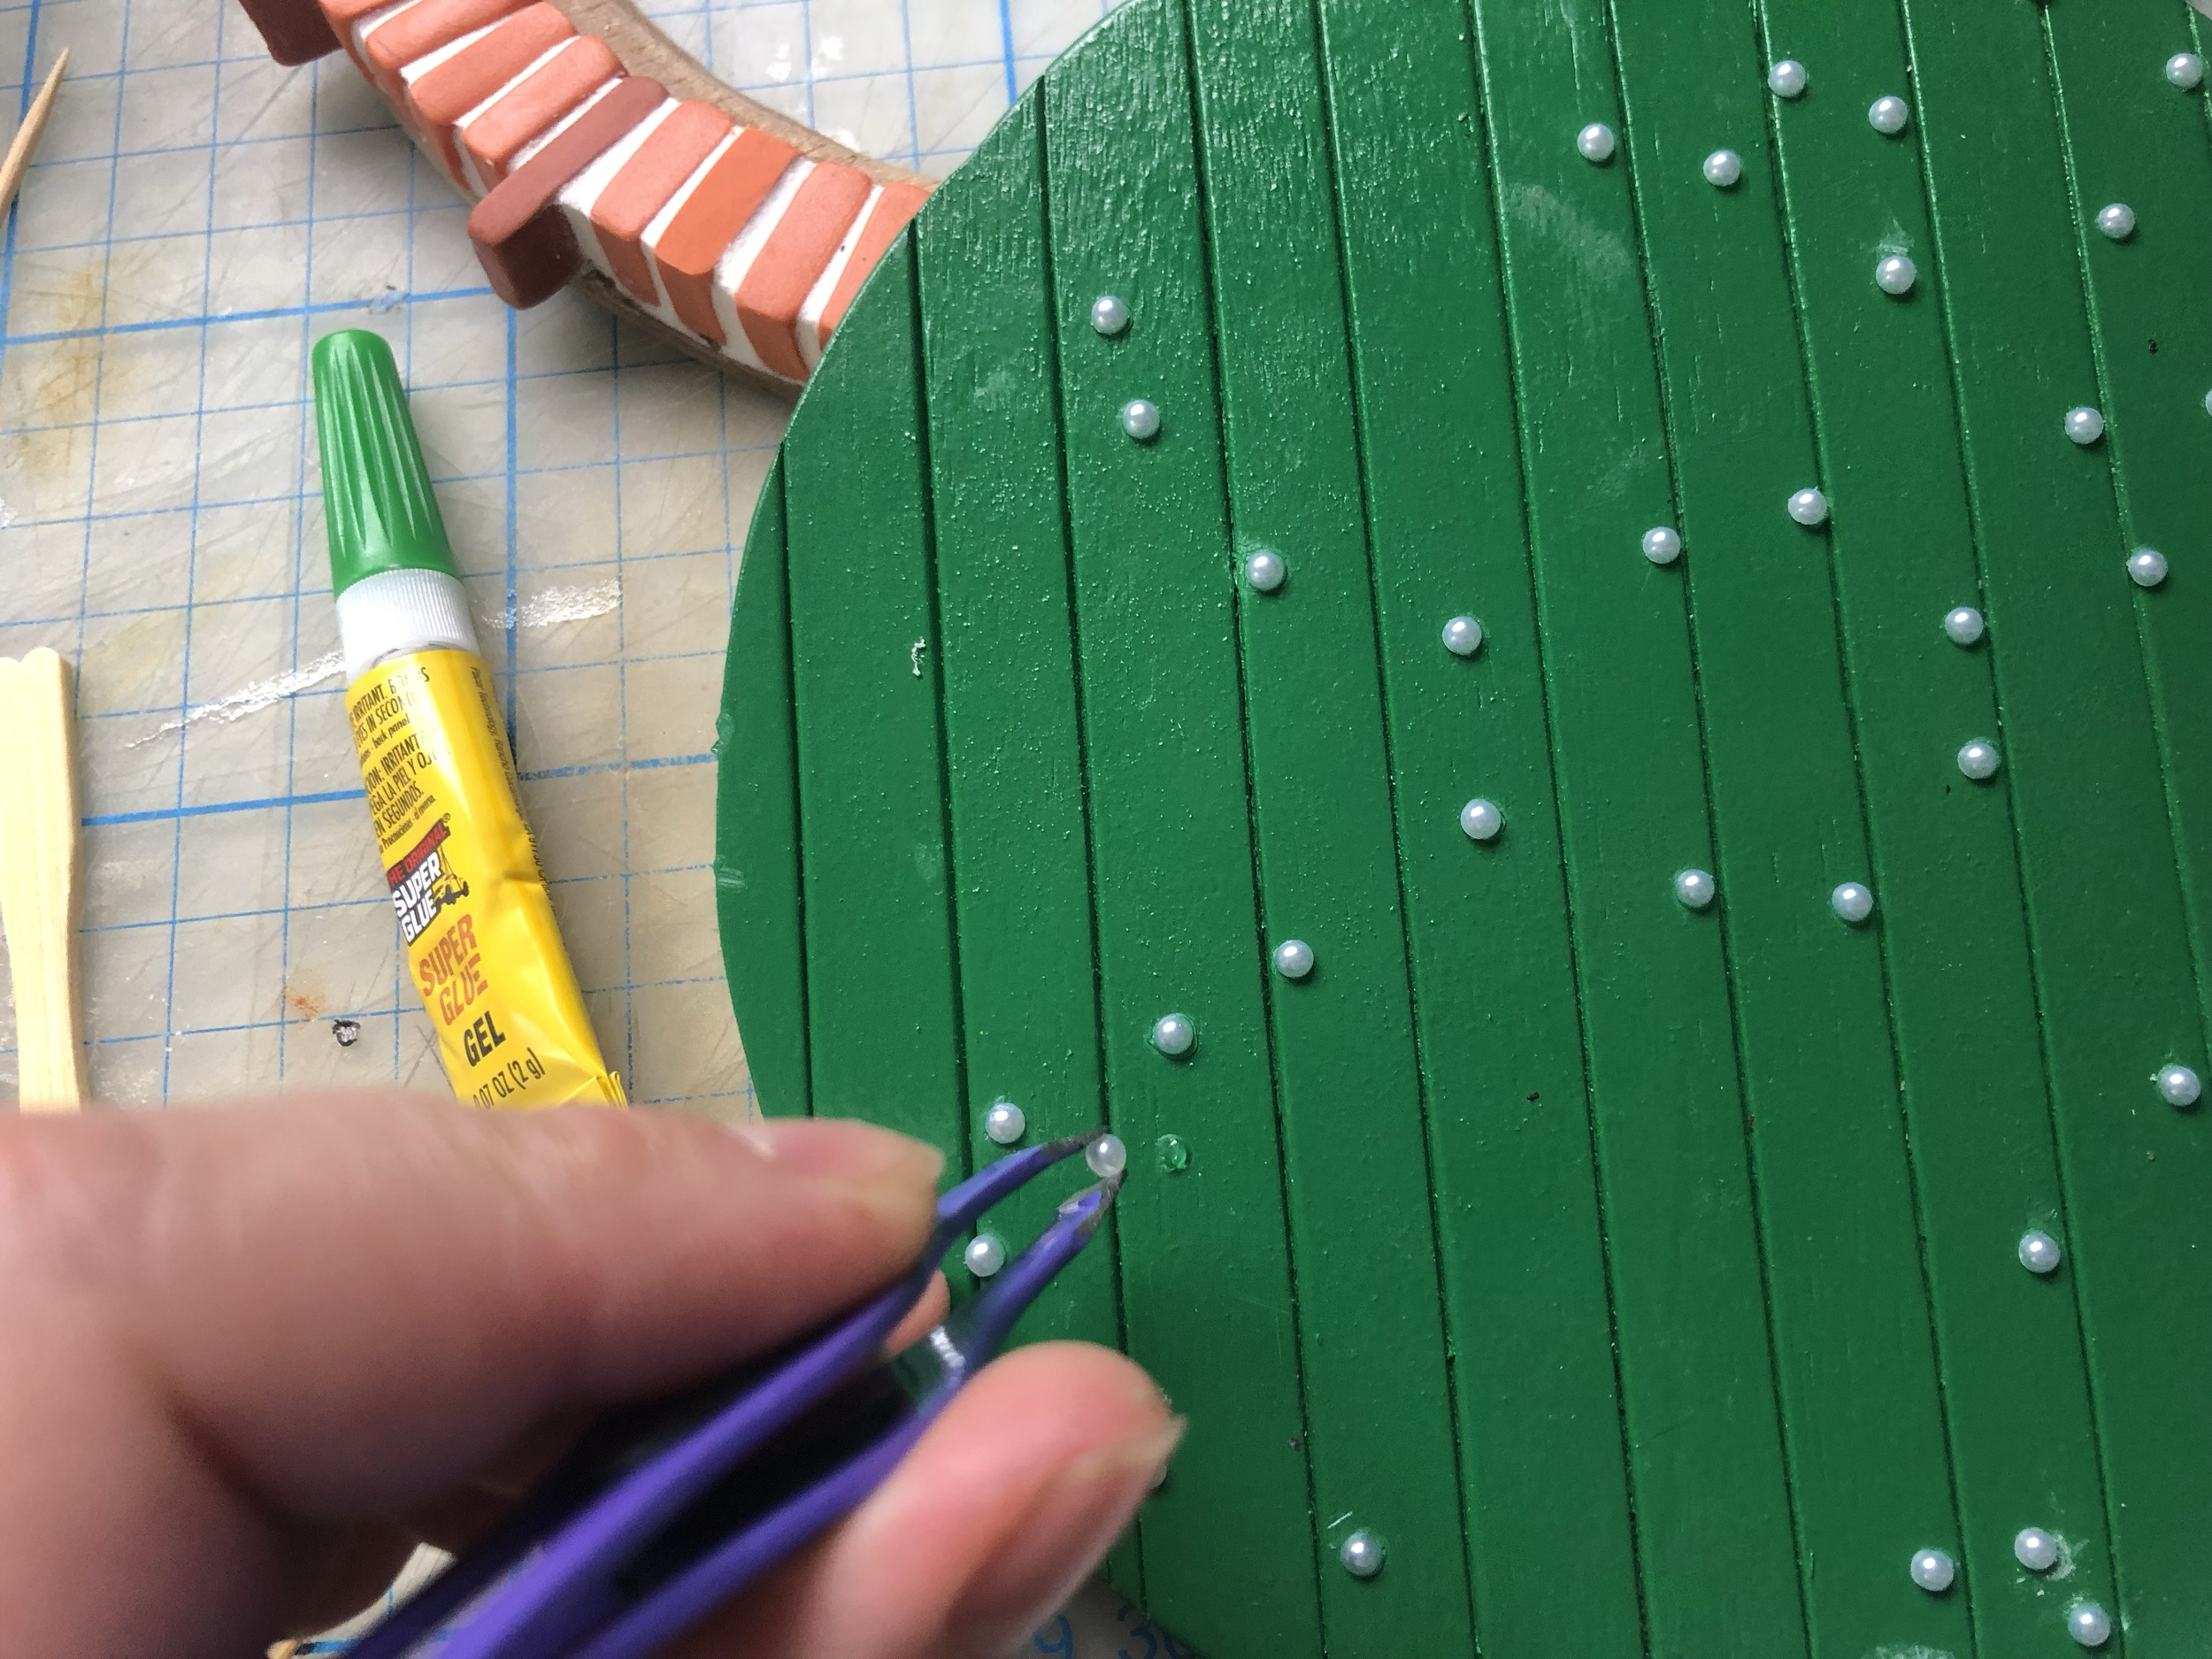
I used tiny half pearl rhinestones for the door bolts/nails

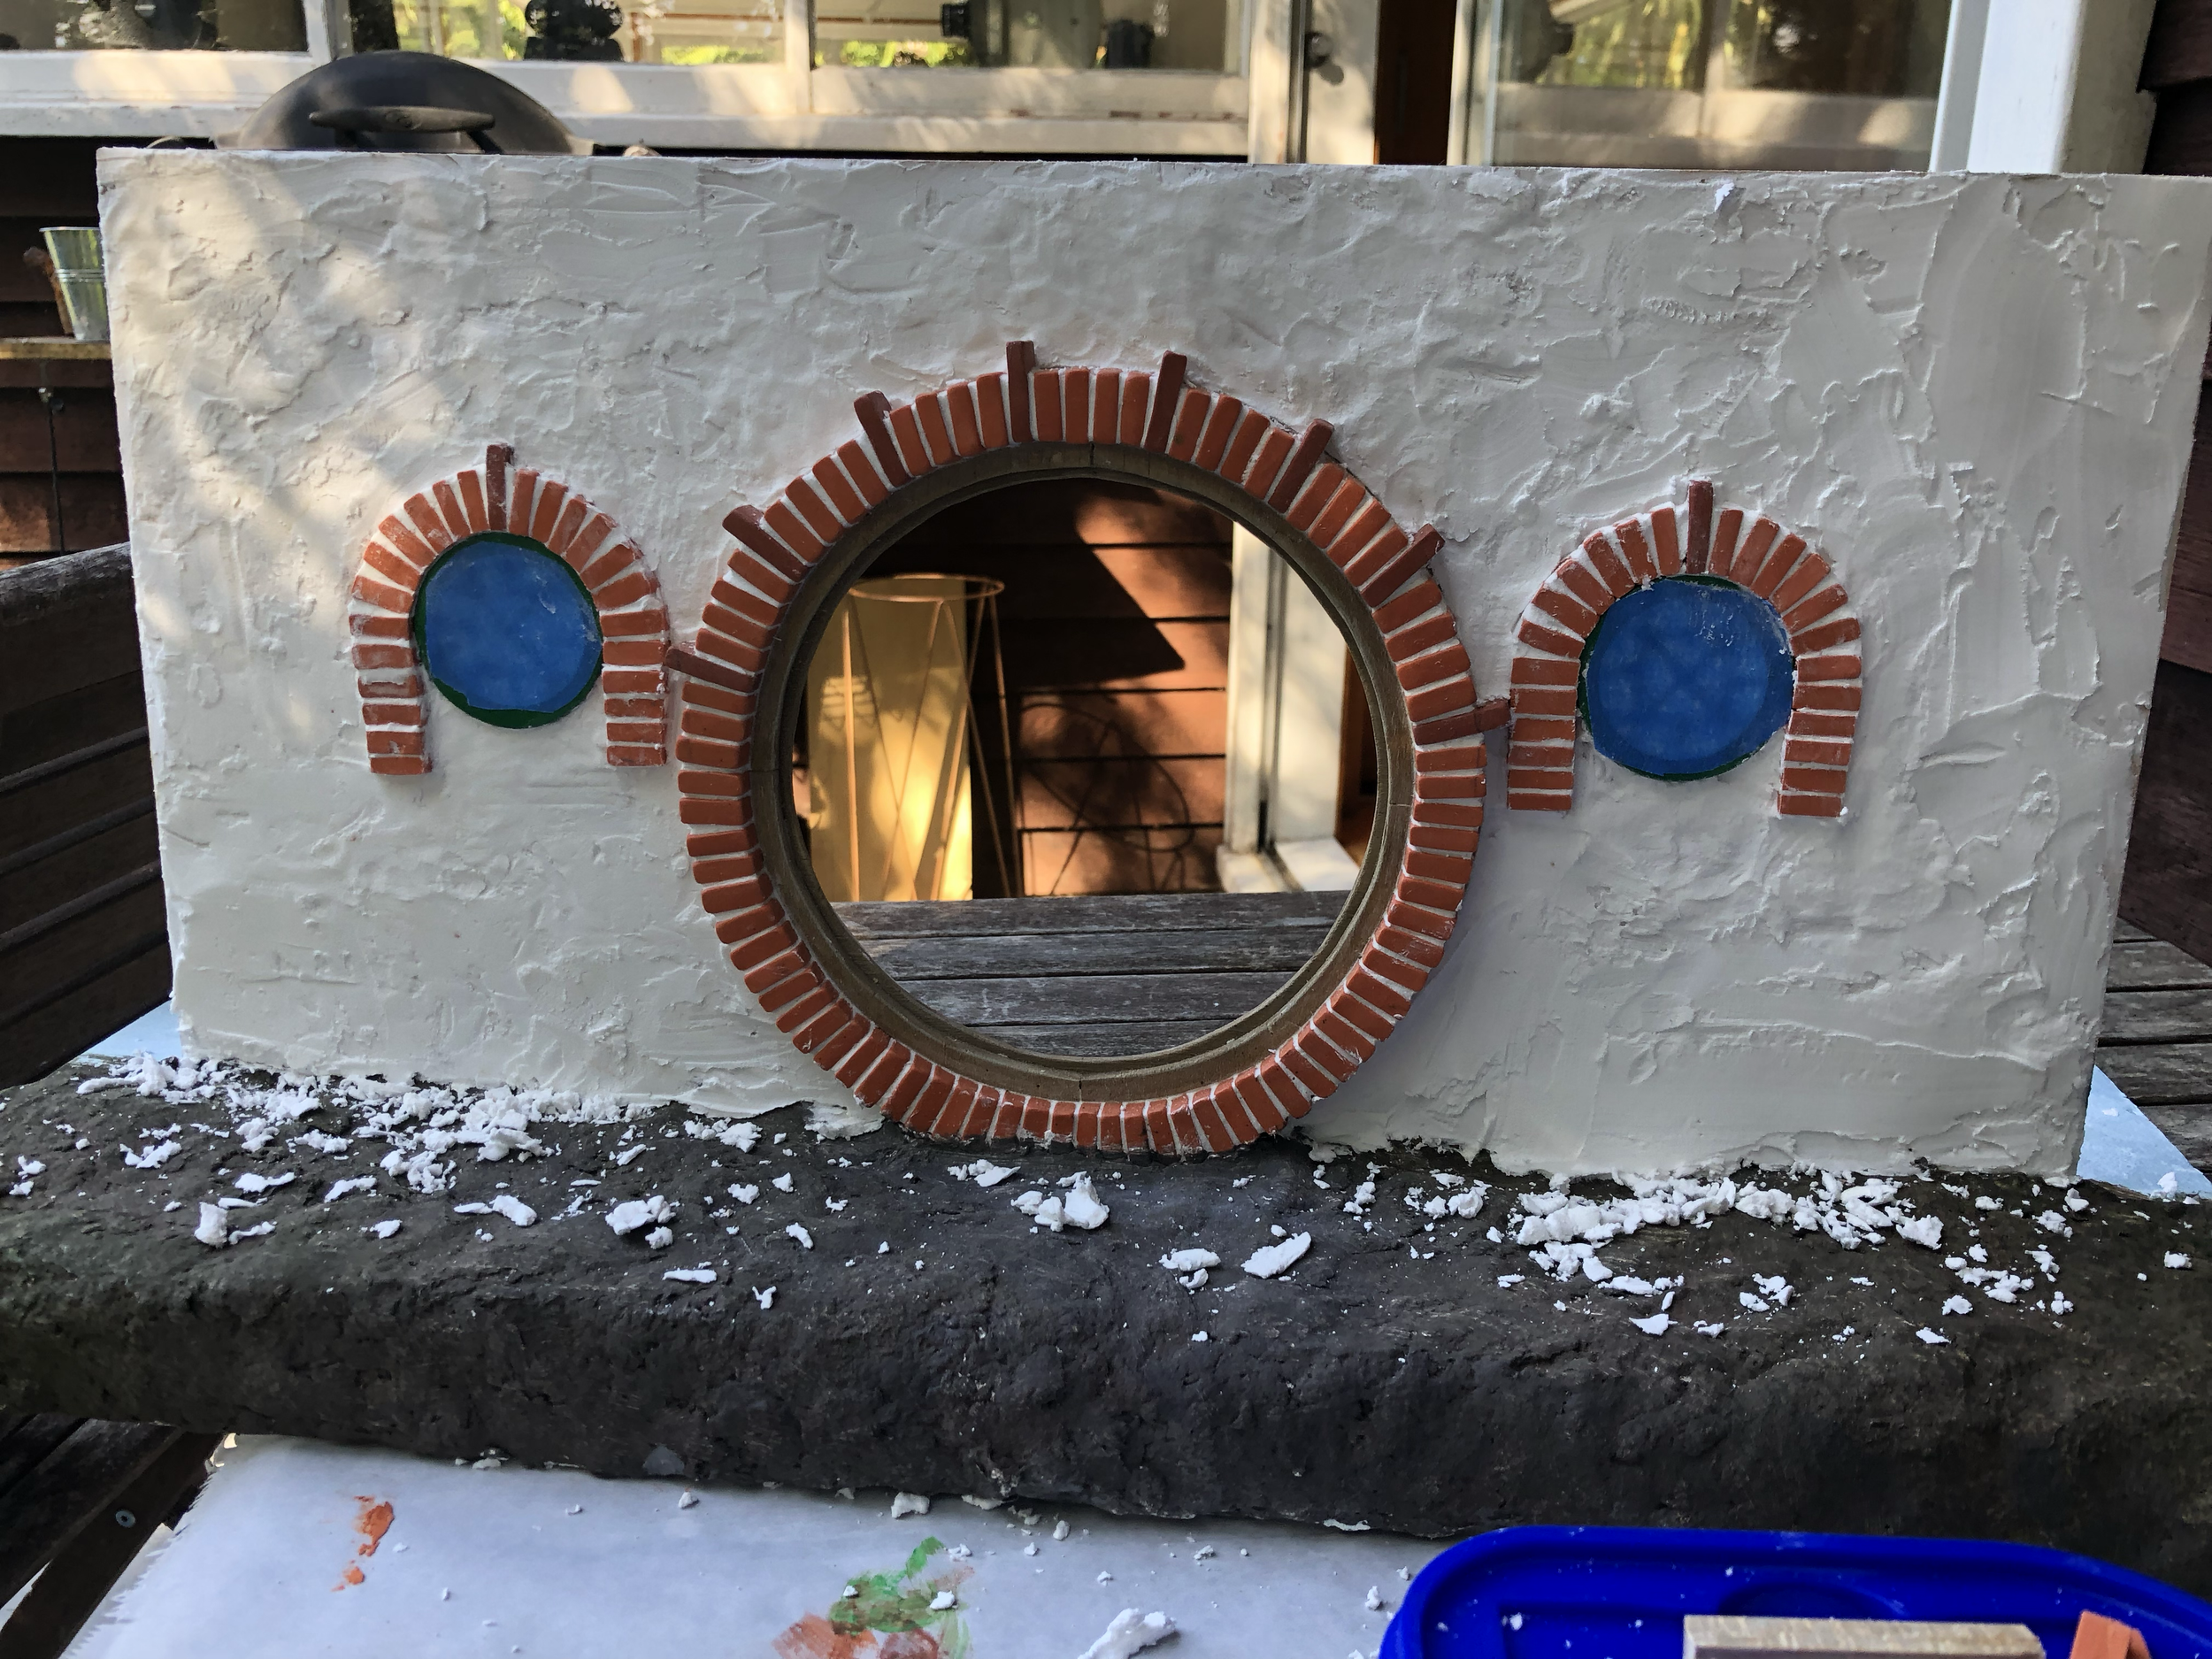
As the door and frame was circular I decided to also build the facade around the door. So built this from thin MDF and stood it up within an XPS foam base (to keep the weight down). As I didn’t have access to a laser cutter, I cut the hole with drill and jigsaw then refined with the Dremel
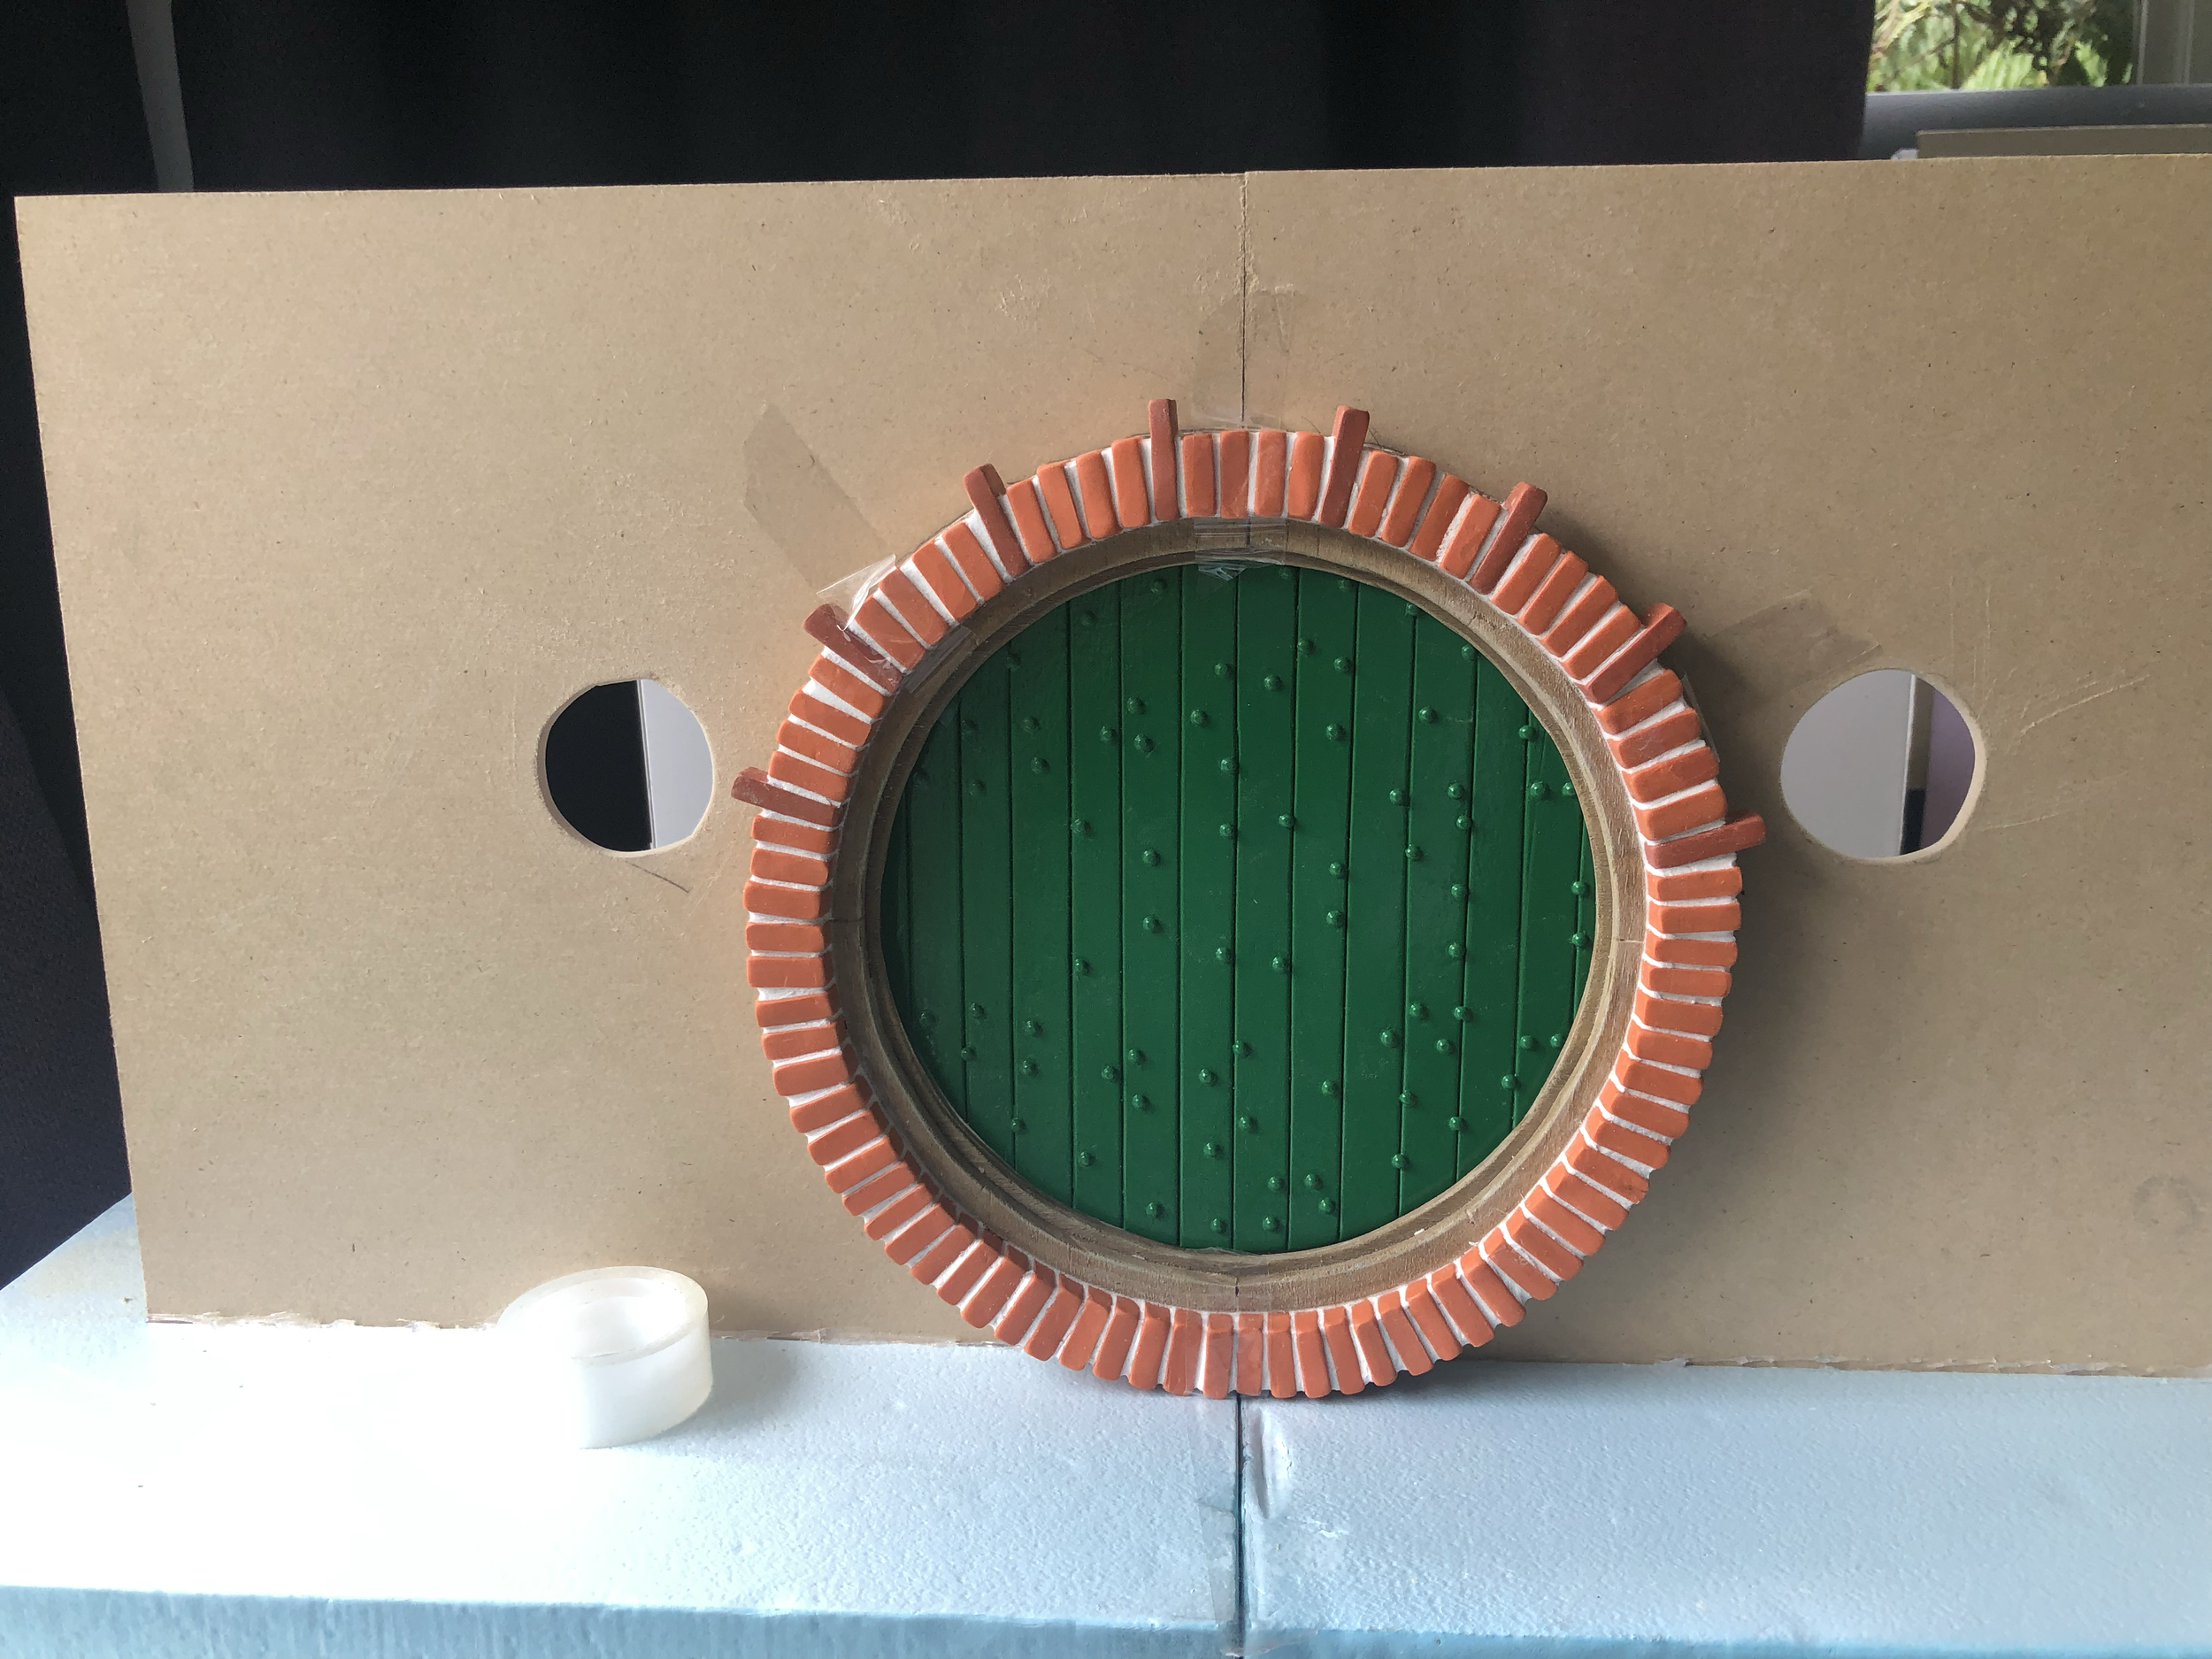
I kept Dremeling until the hole was just right to fit the door and frame into the space. Once the frame was in I decided the window spacing didn’t look optically right so ended up shifting the holes outwards a bit more and filling the old space with wood and filler

I covered the base in Sculptamold for the garden base
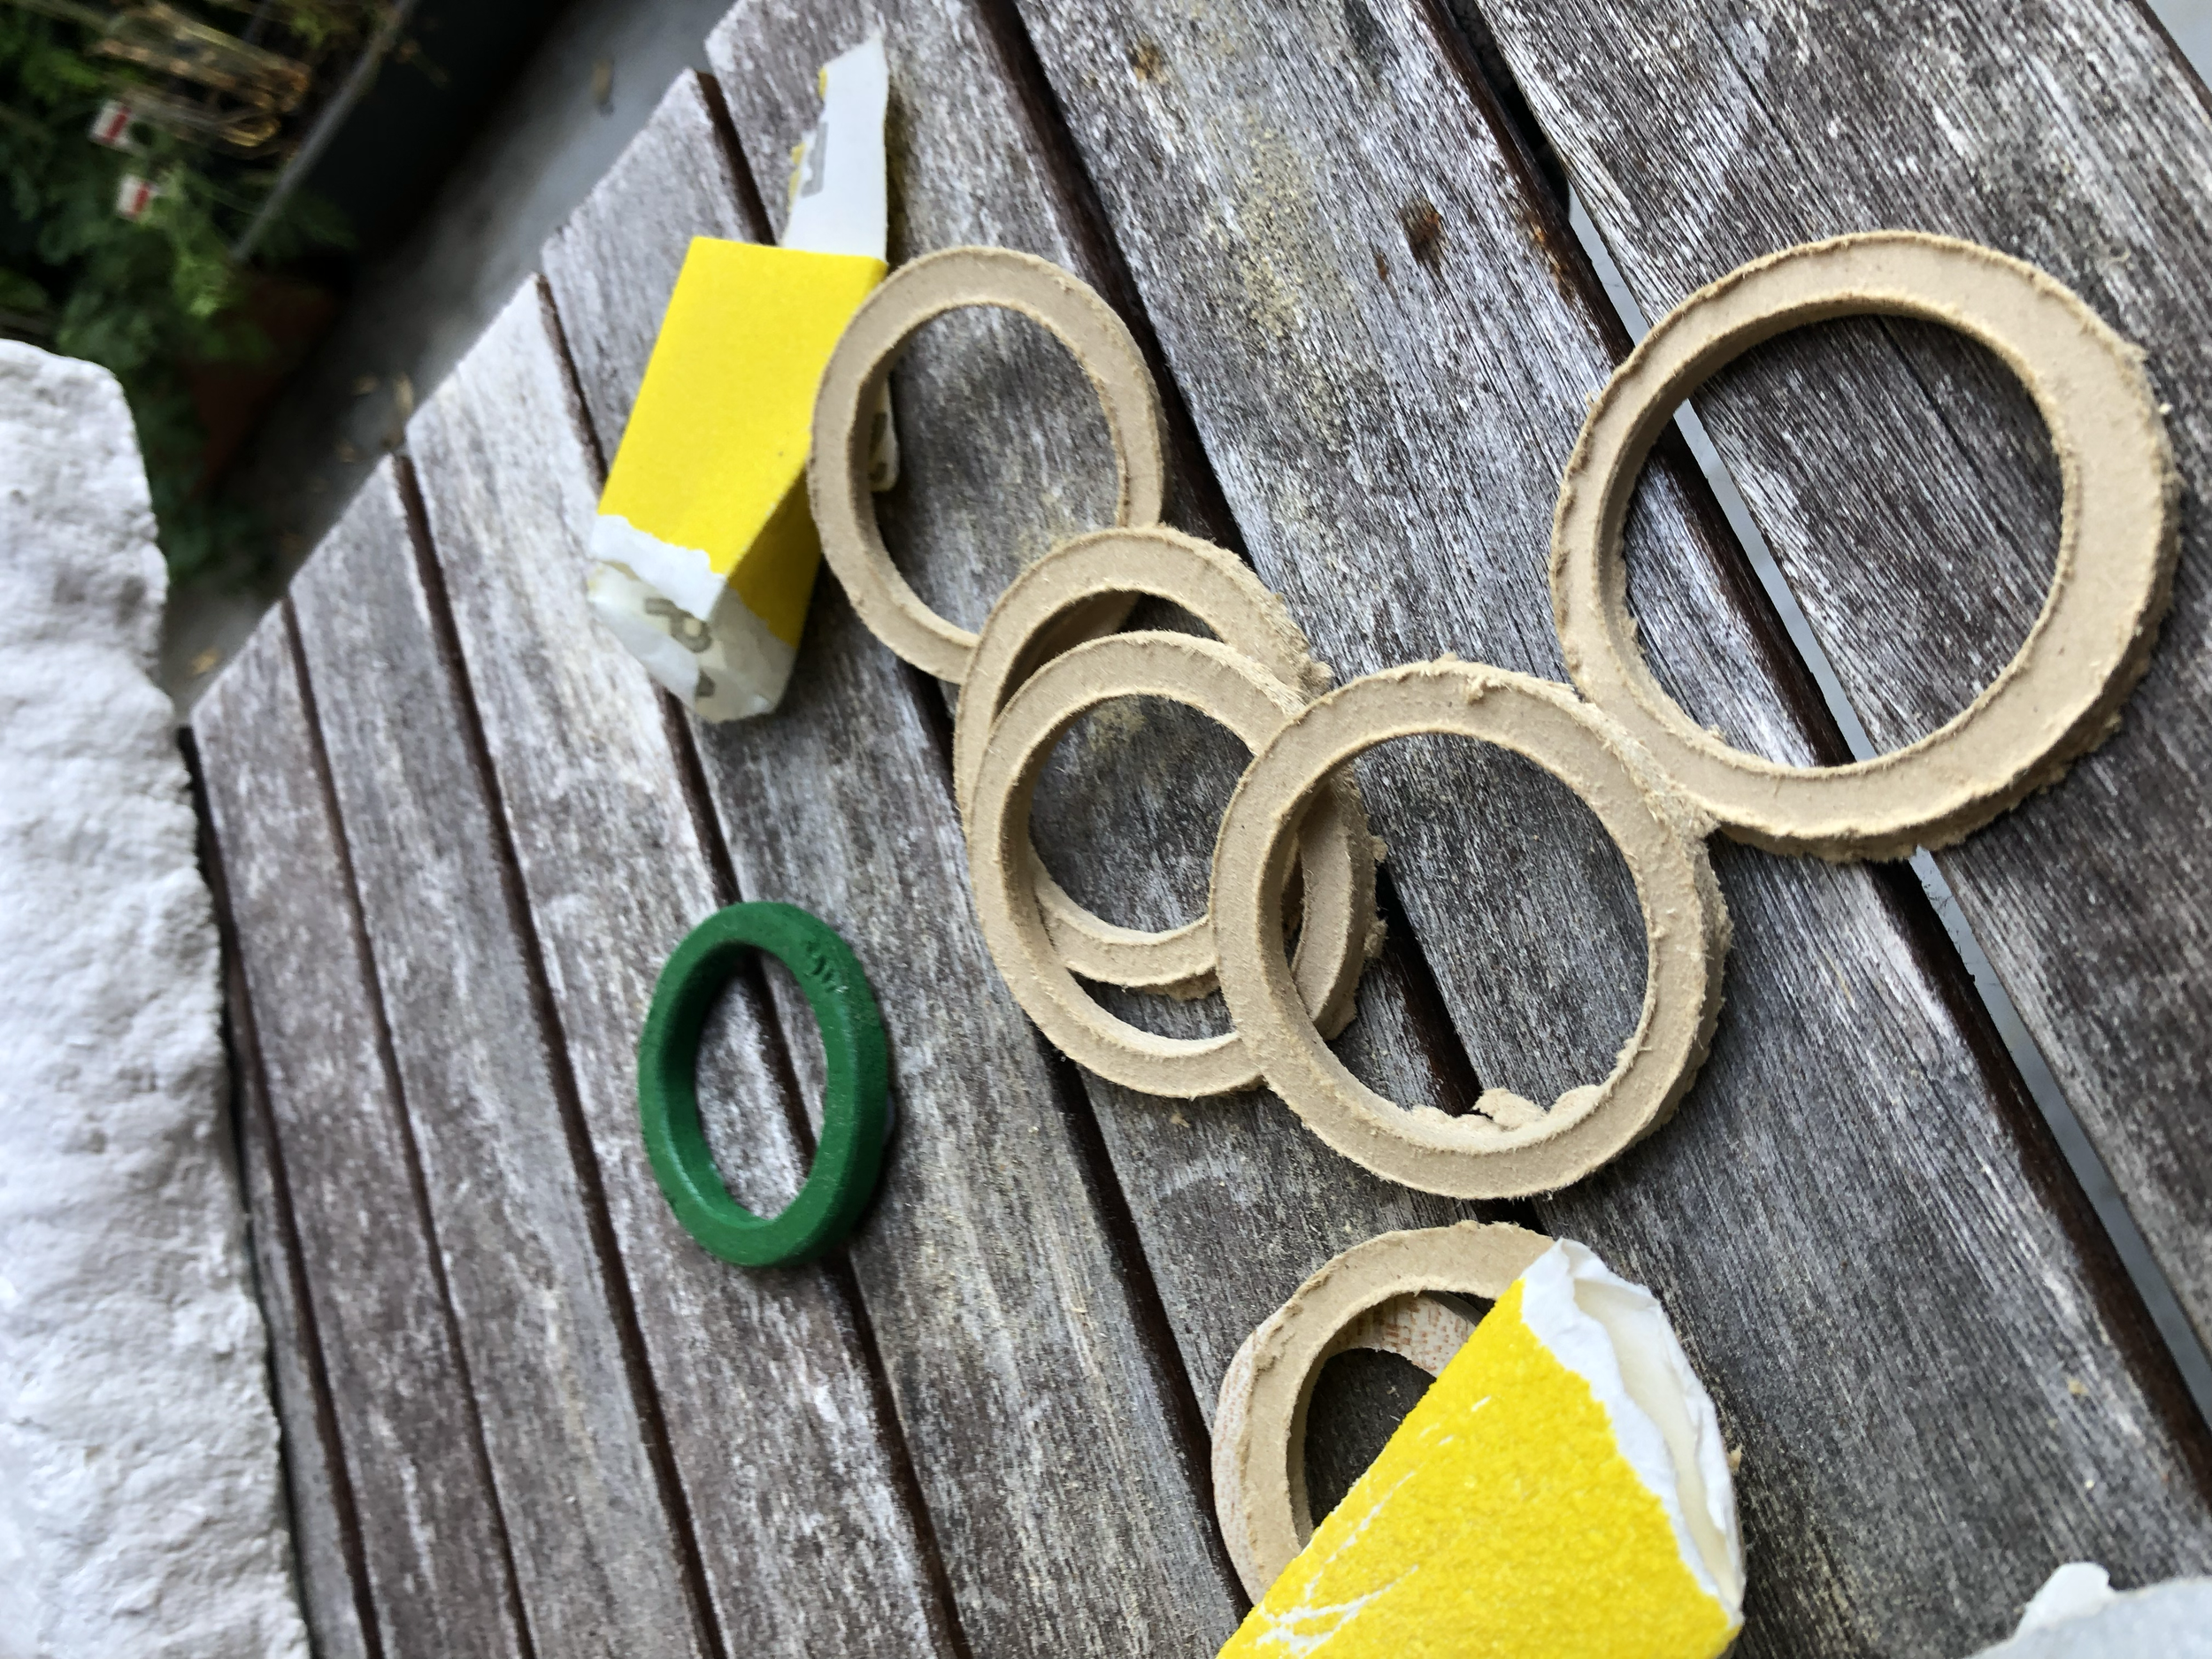
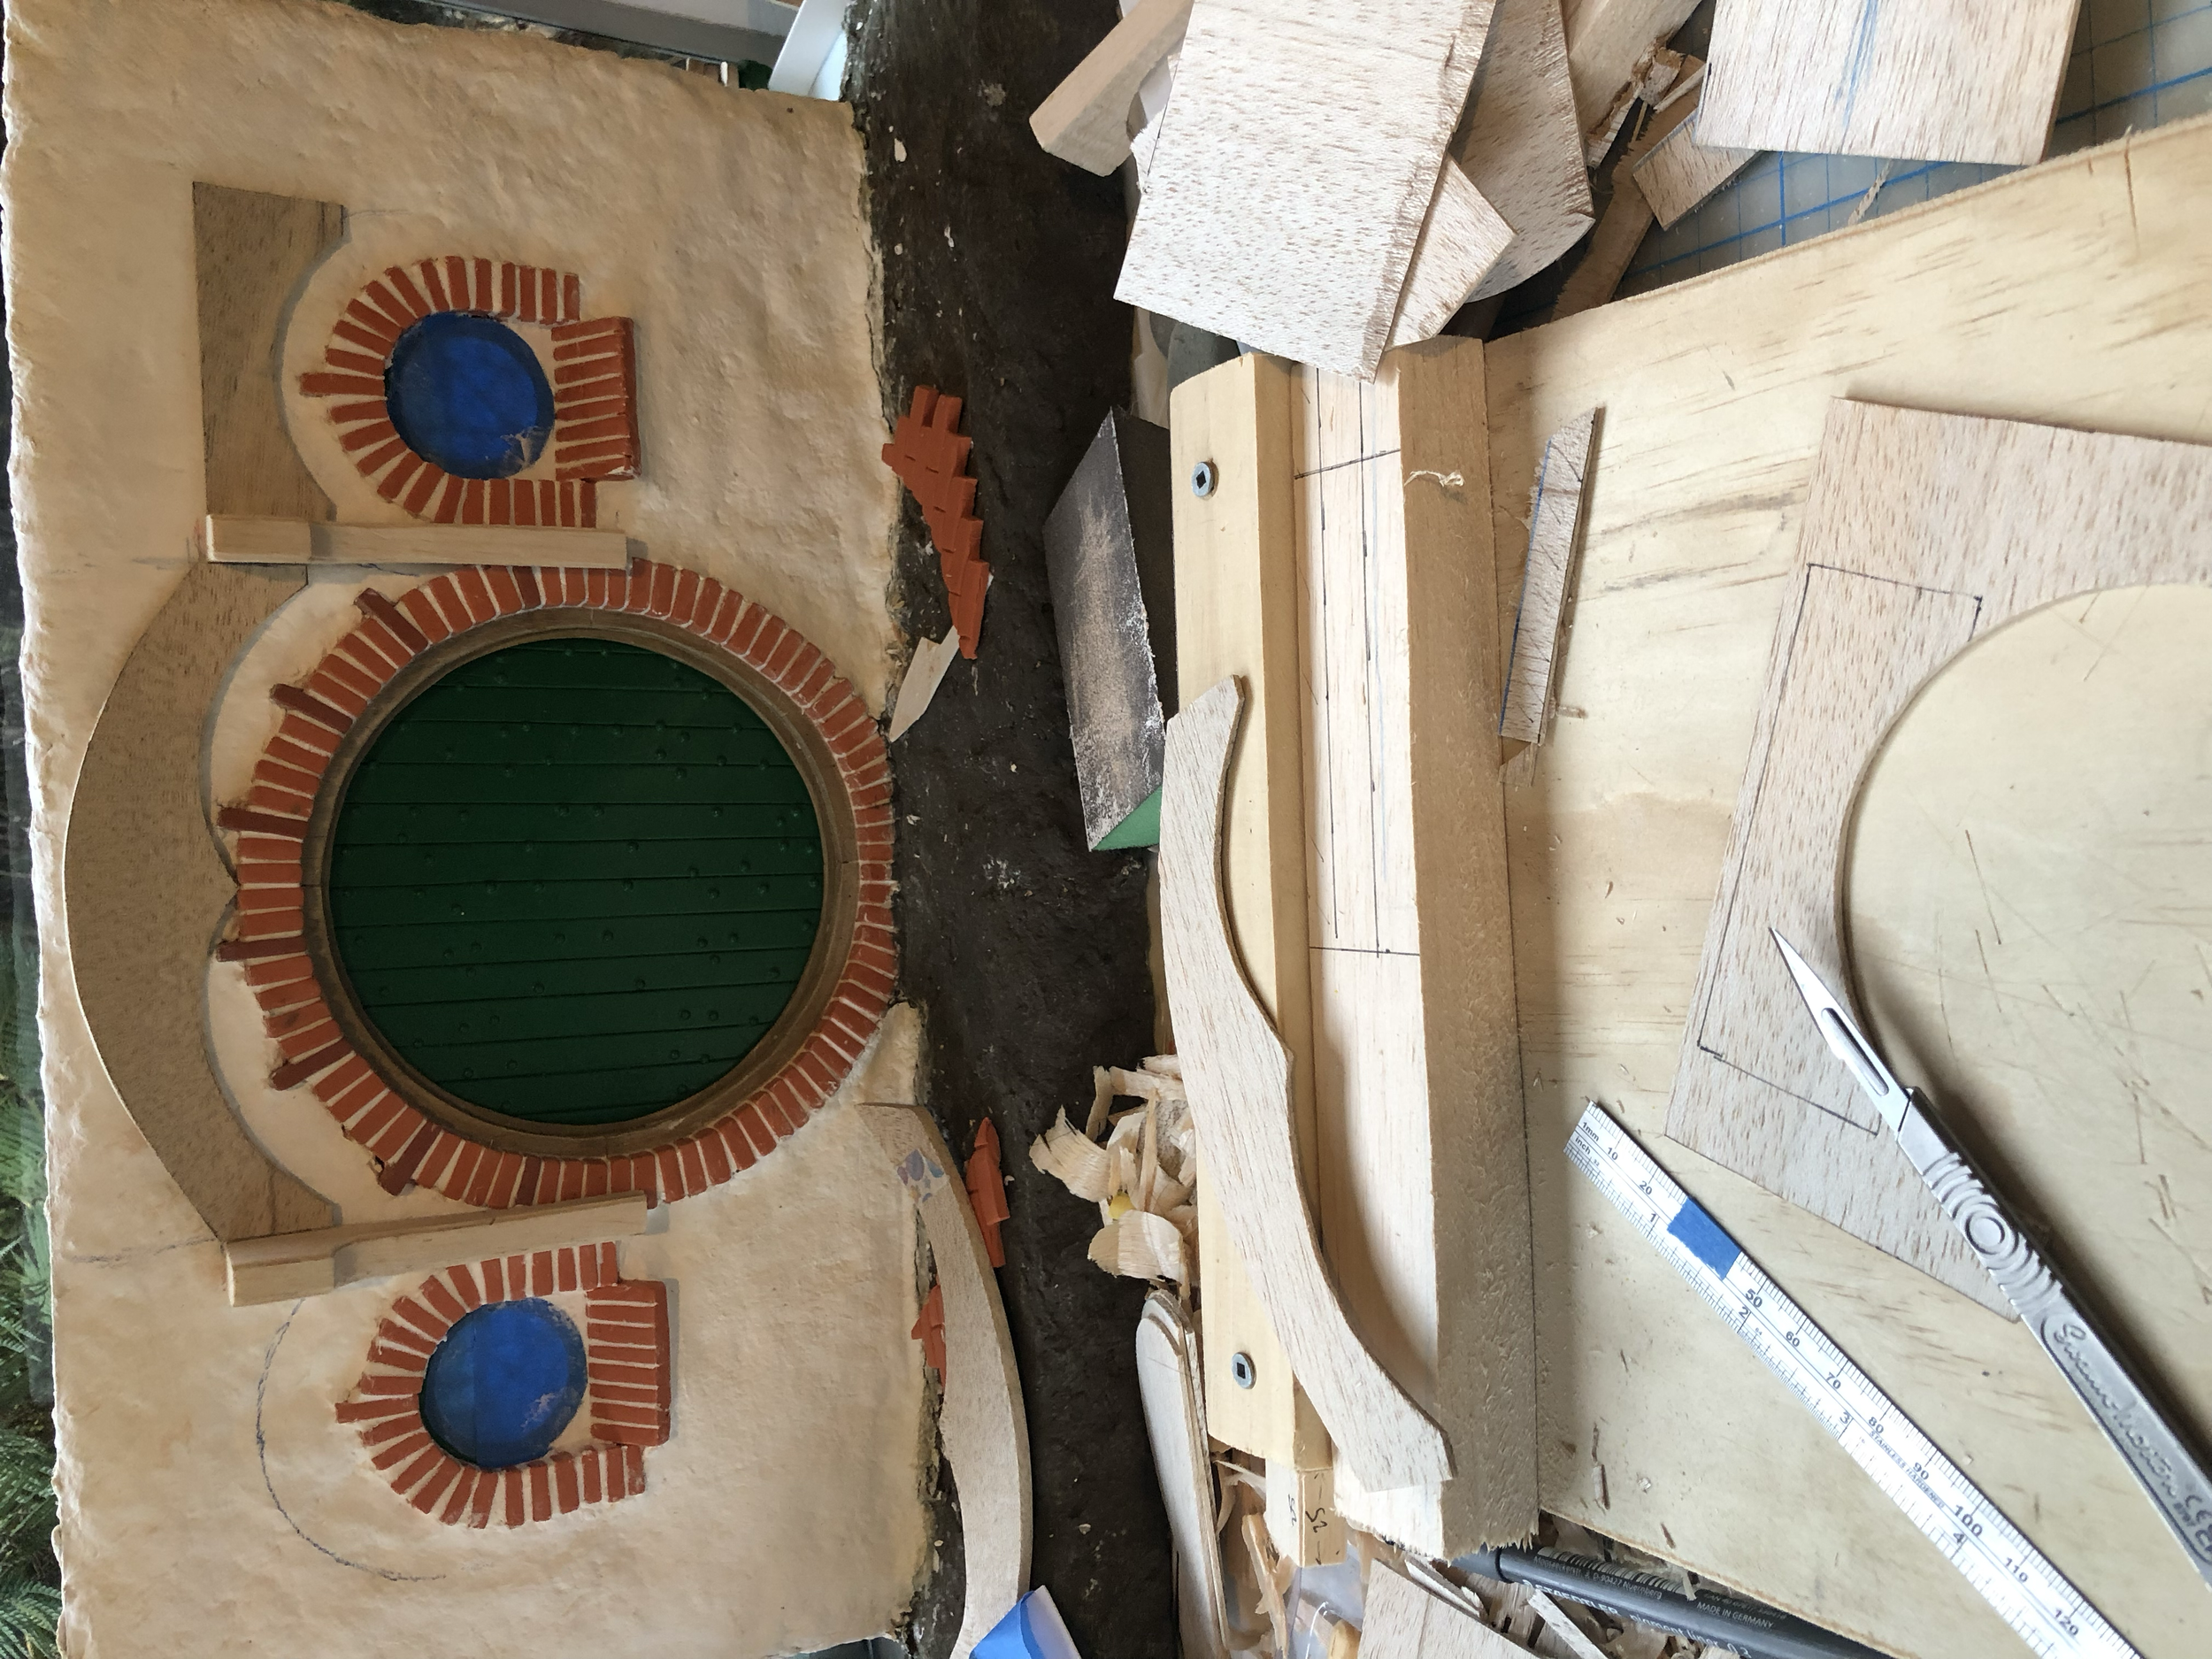
I cut the window frames from thin MDF using drill and circular hole cutter bits after first trying to saw by hand and not having much success.
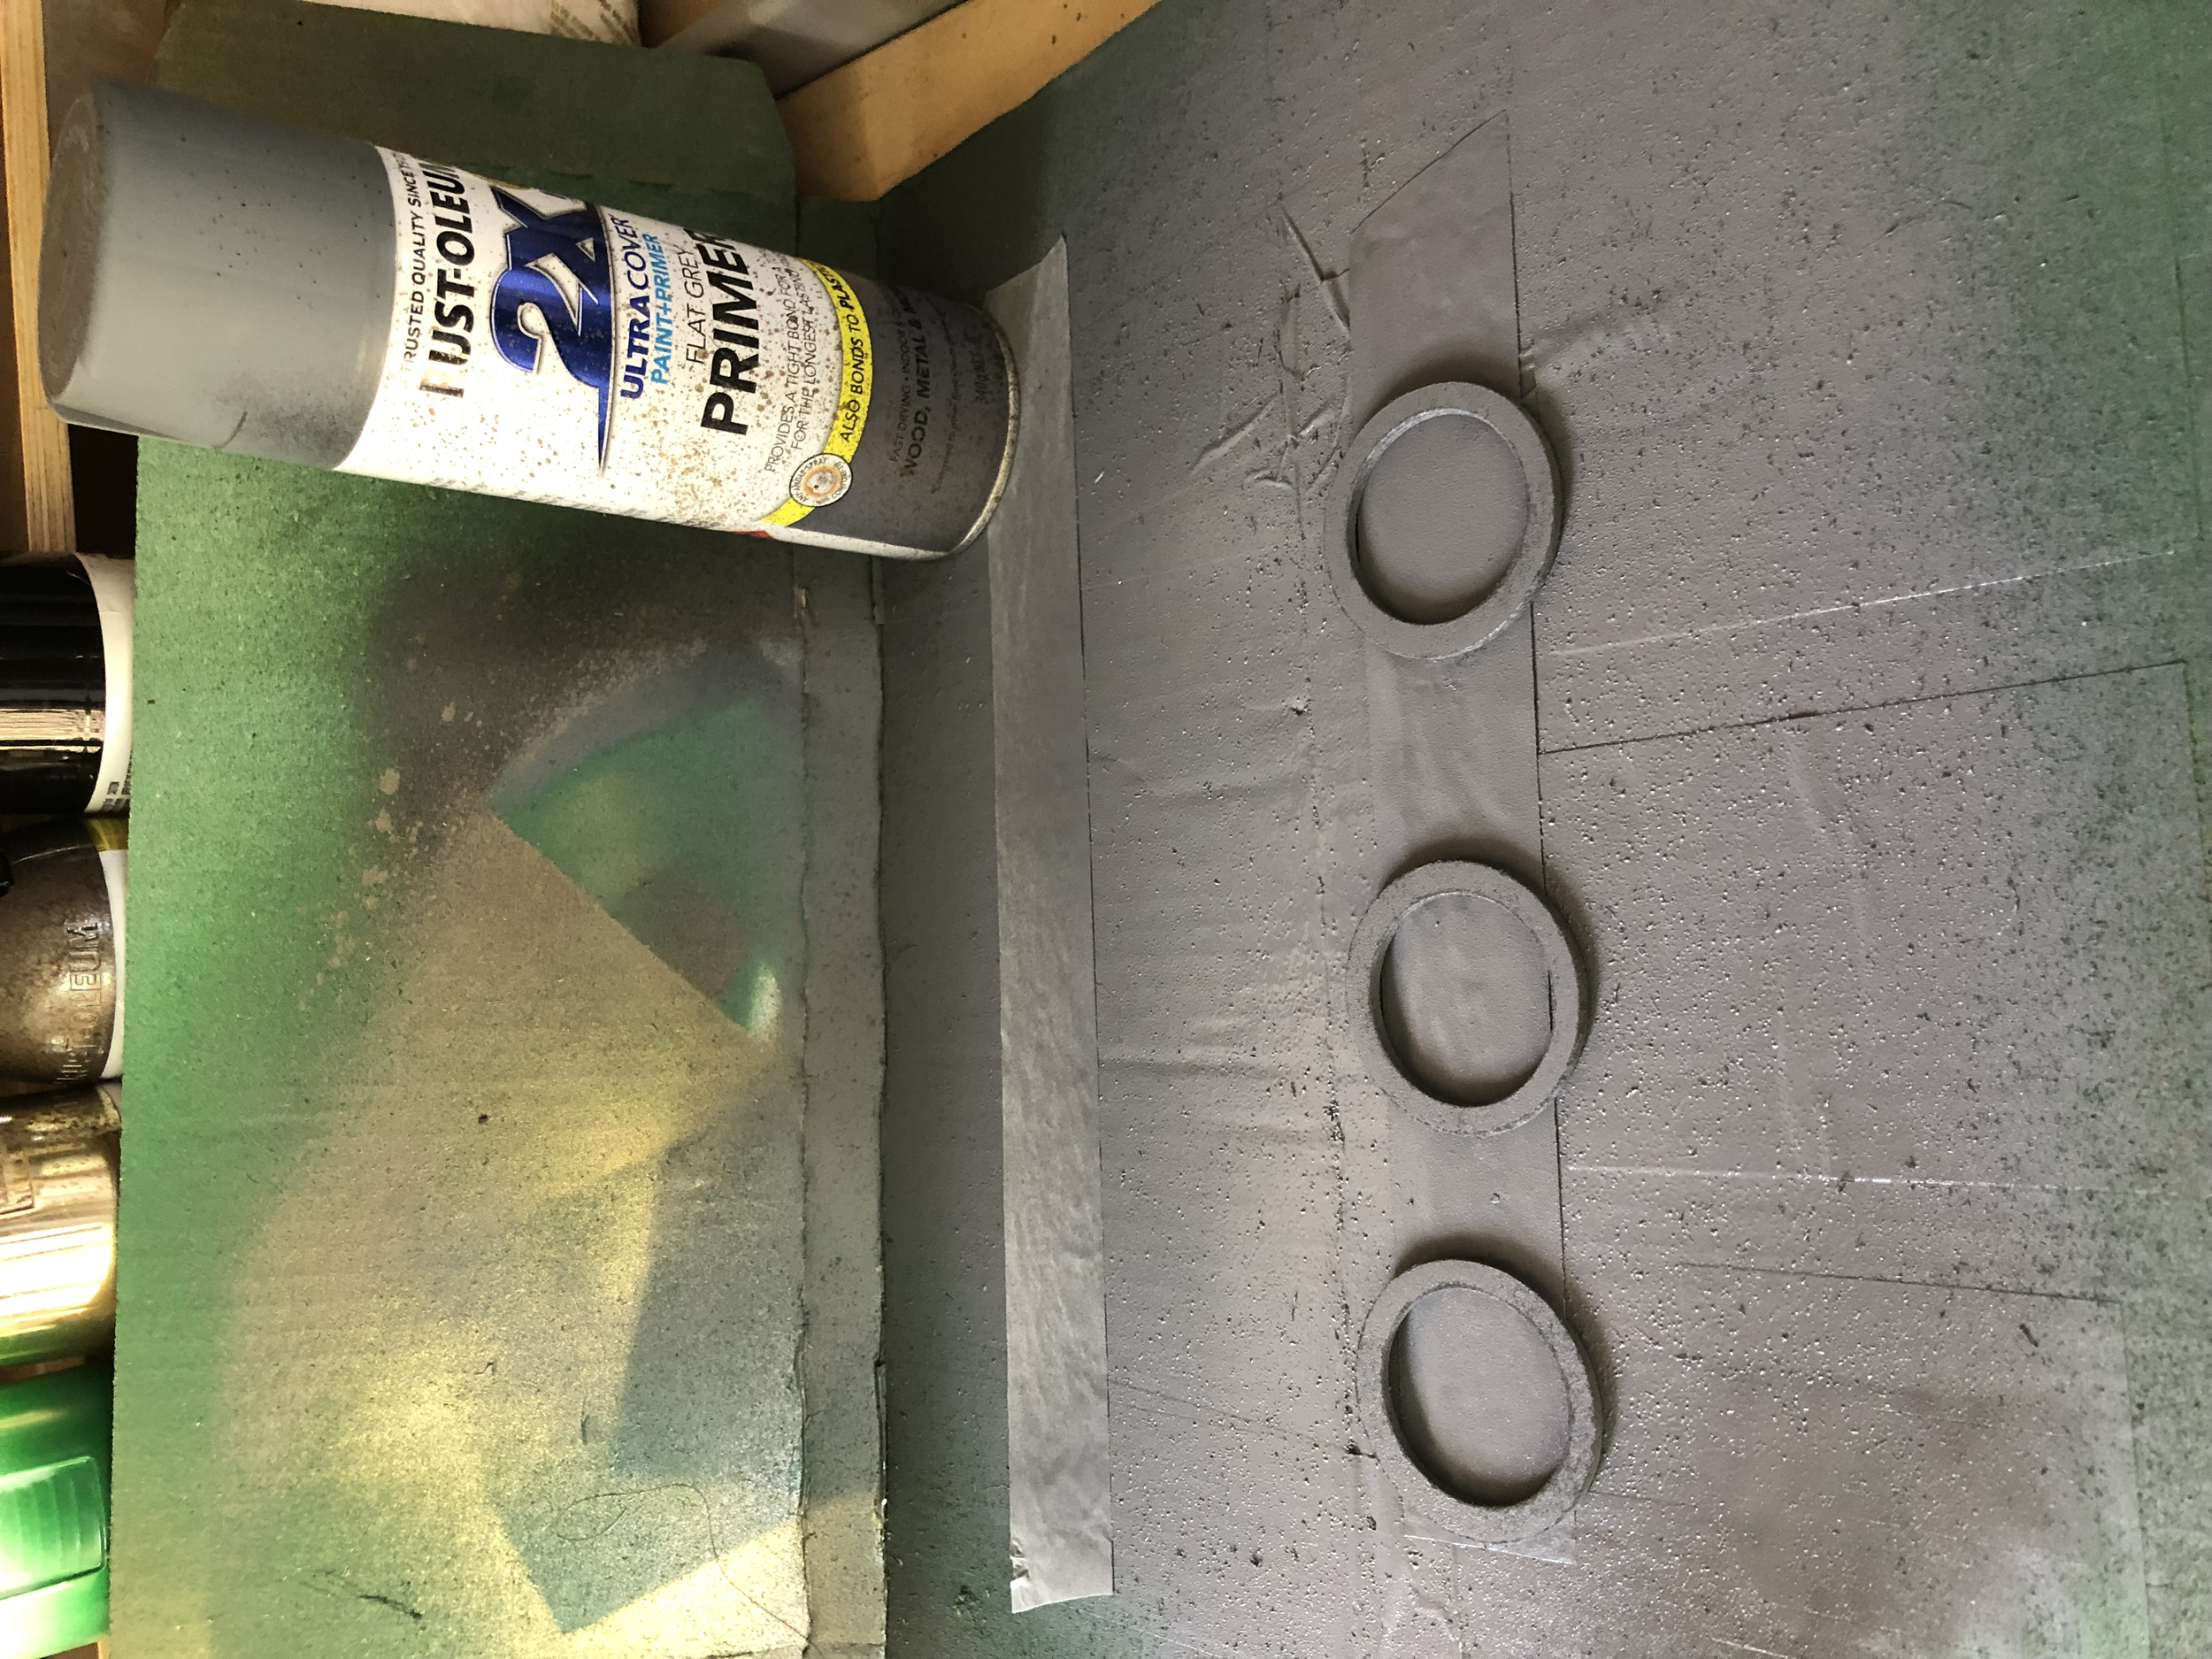
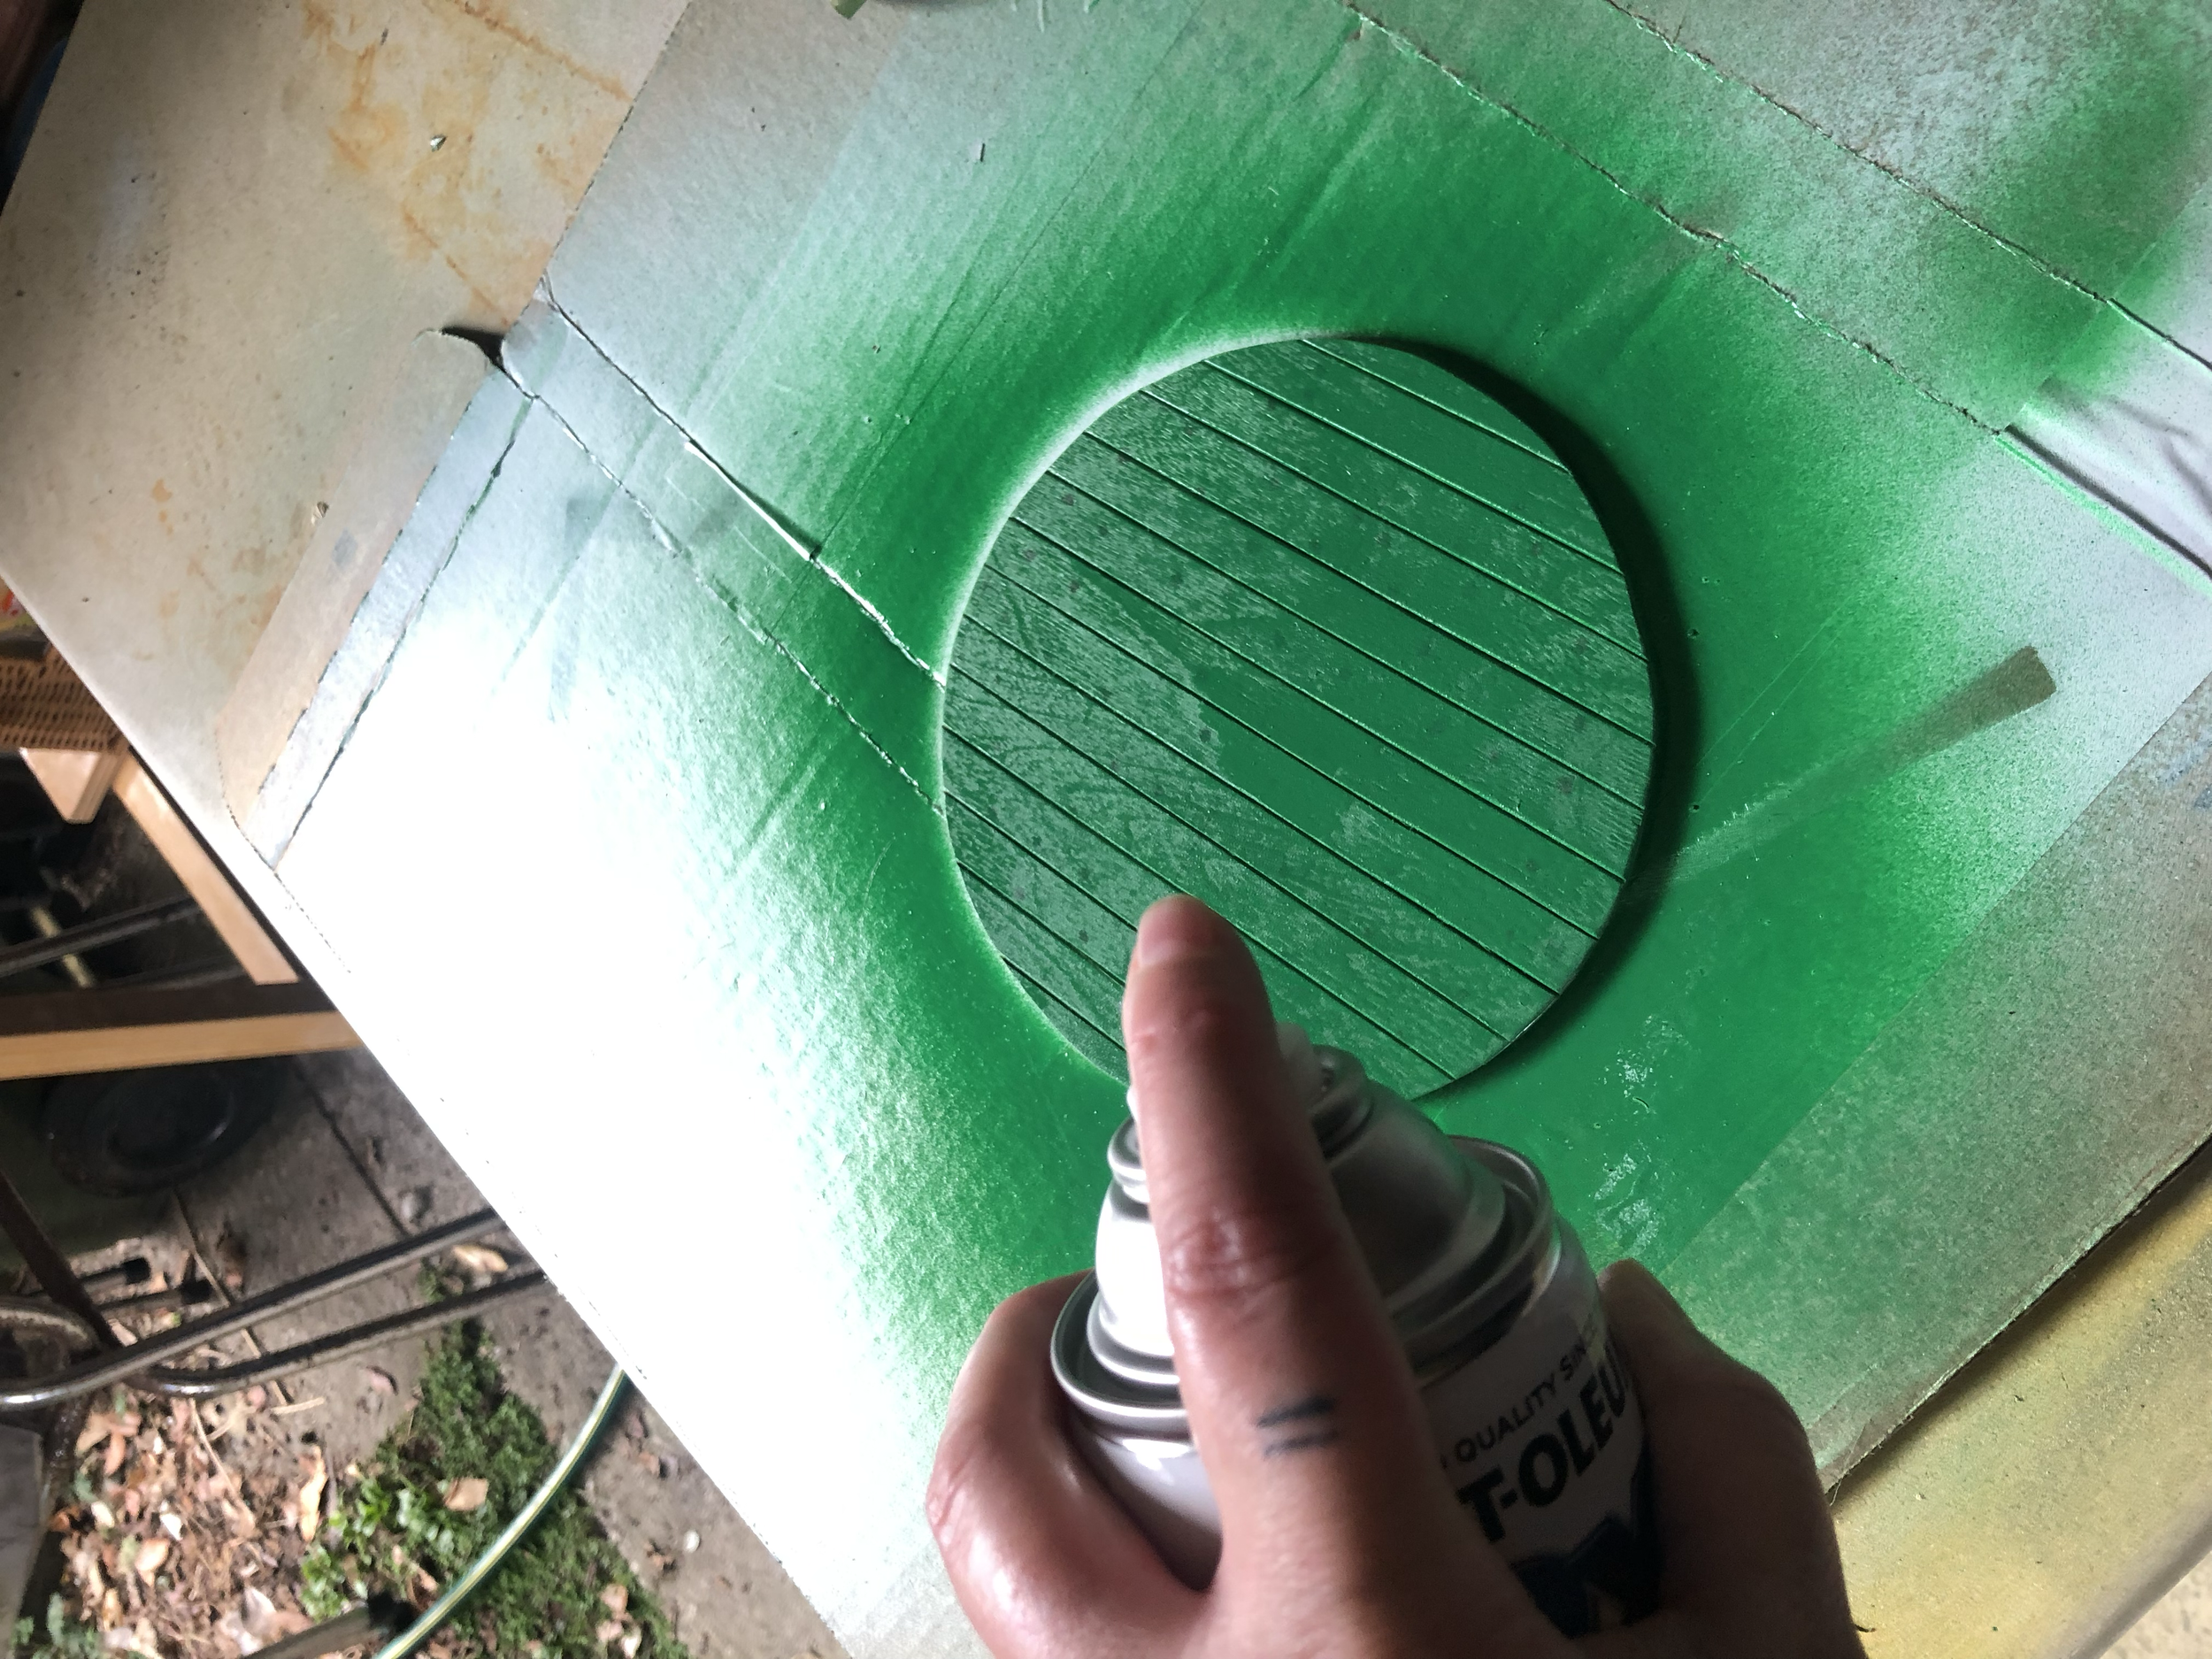
I then sanded the edges, prepped and primed, then painted with the same green spray paint as the door
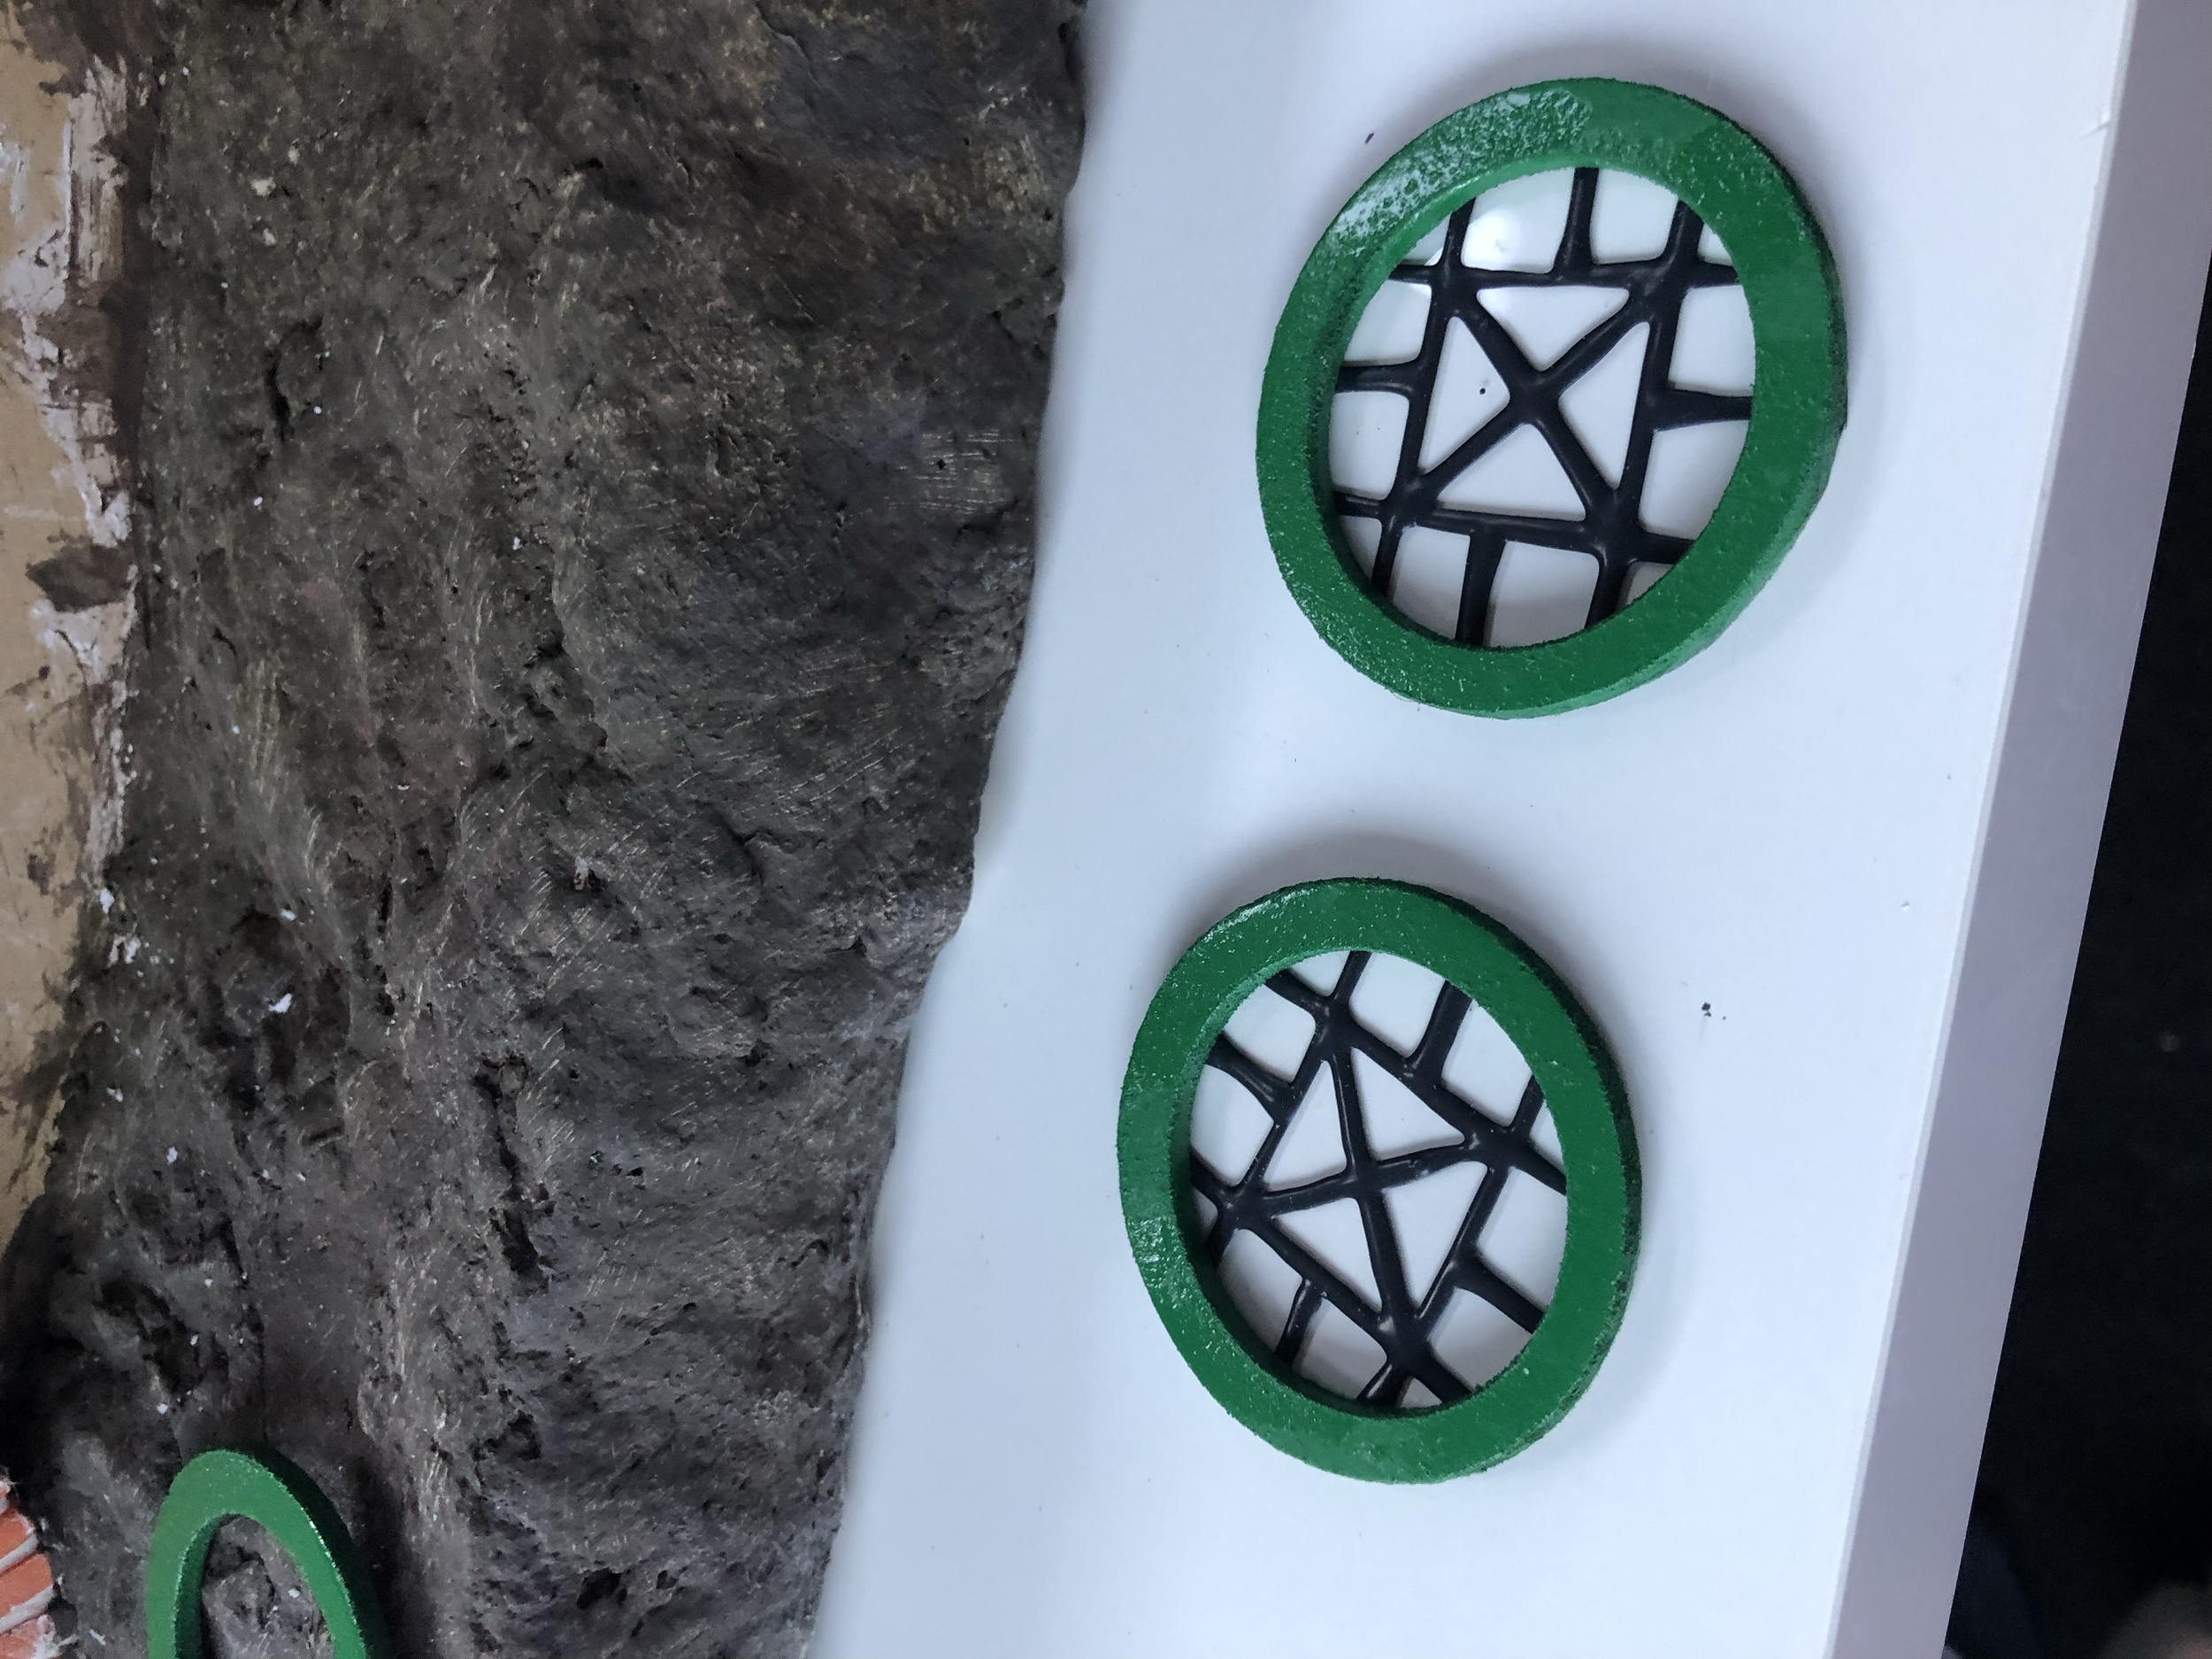
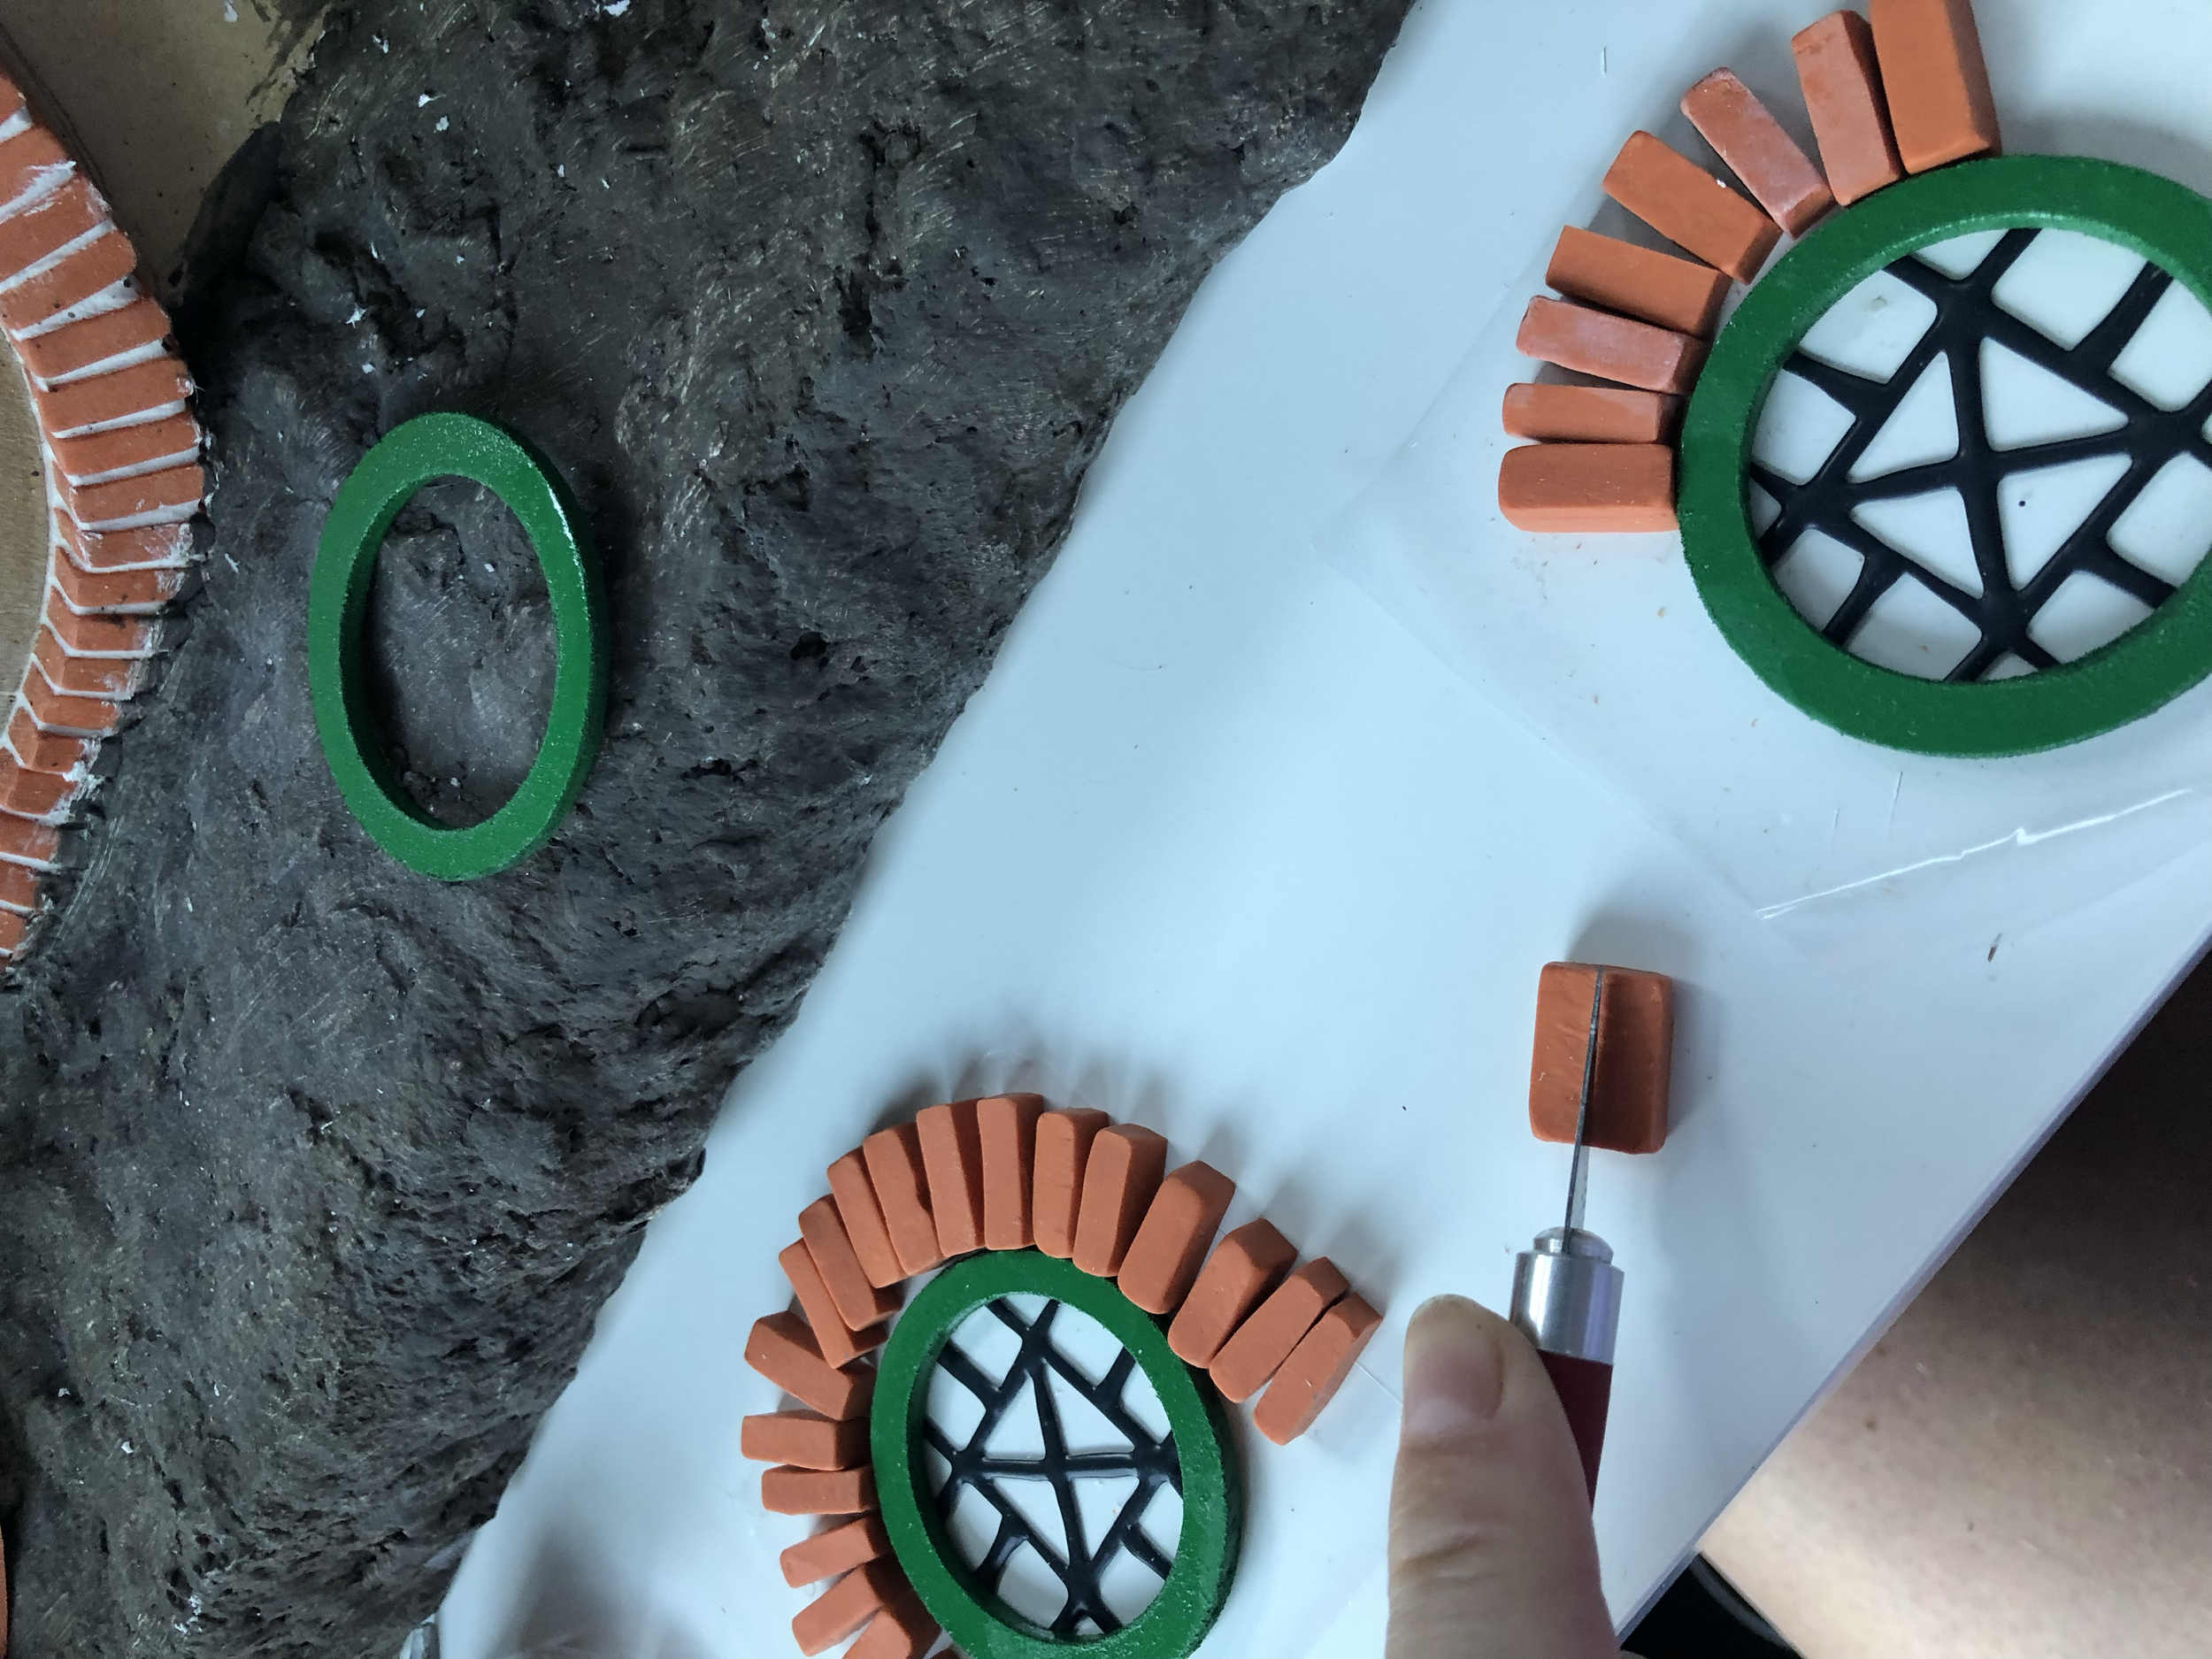
Using faux leading, I drew on a couple pieces of acetate to create the window pattern. I then glued these to the frames. Then started figuring out the brick surrounds

For the wooden panelling I used a bent piece of palight to get a suitable curve, as the curve wasn’t circular so couldn’t use the compass

I decided to make the inside tile floor with the foam tile method, where I used a toothpick to make indents to create tile shapes

Painted the tiles
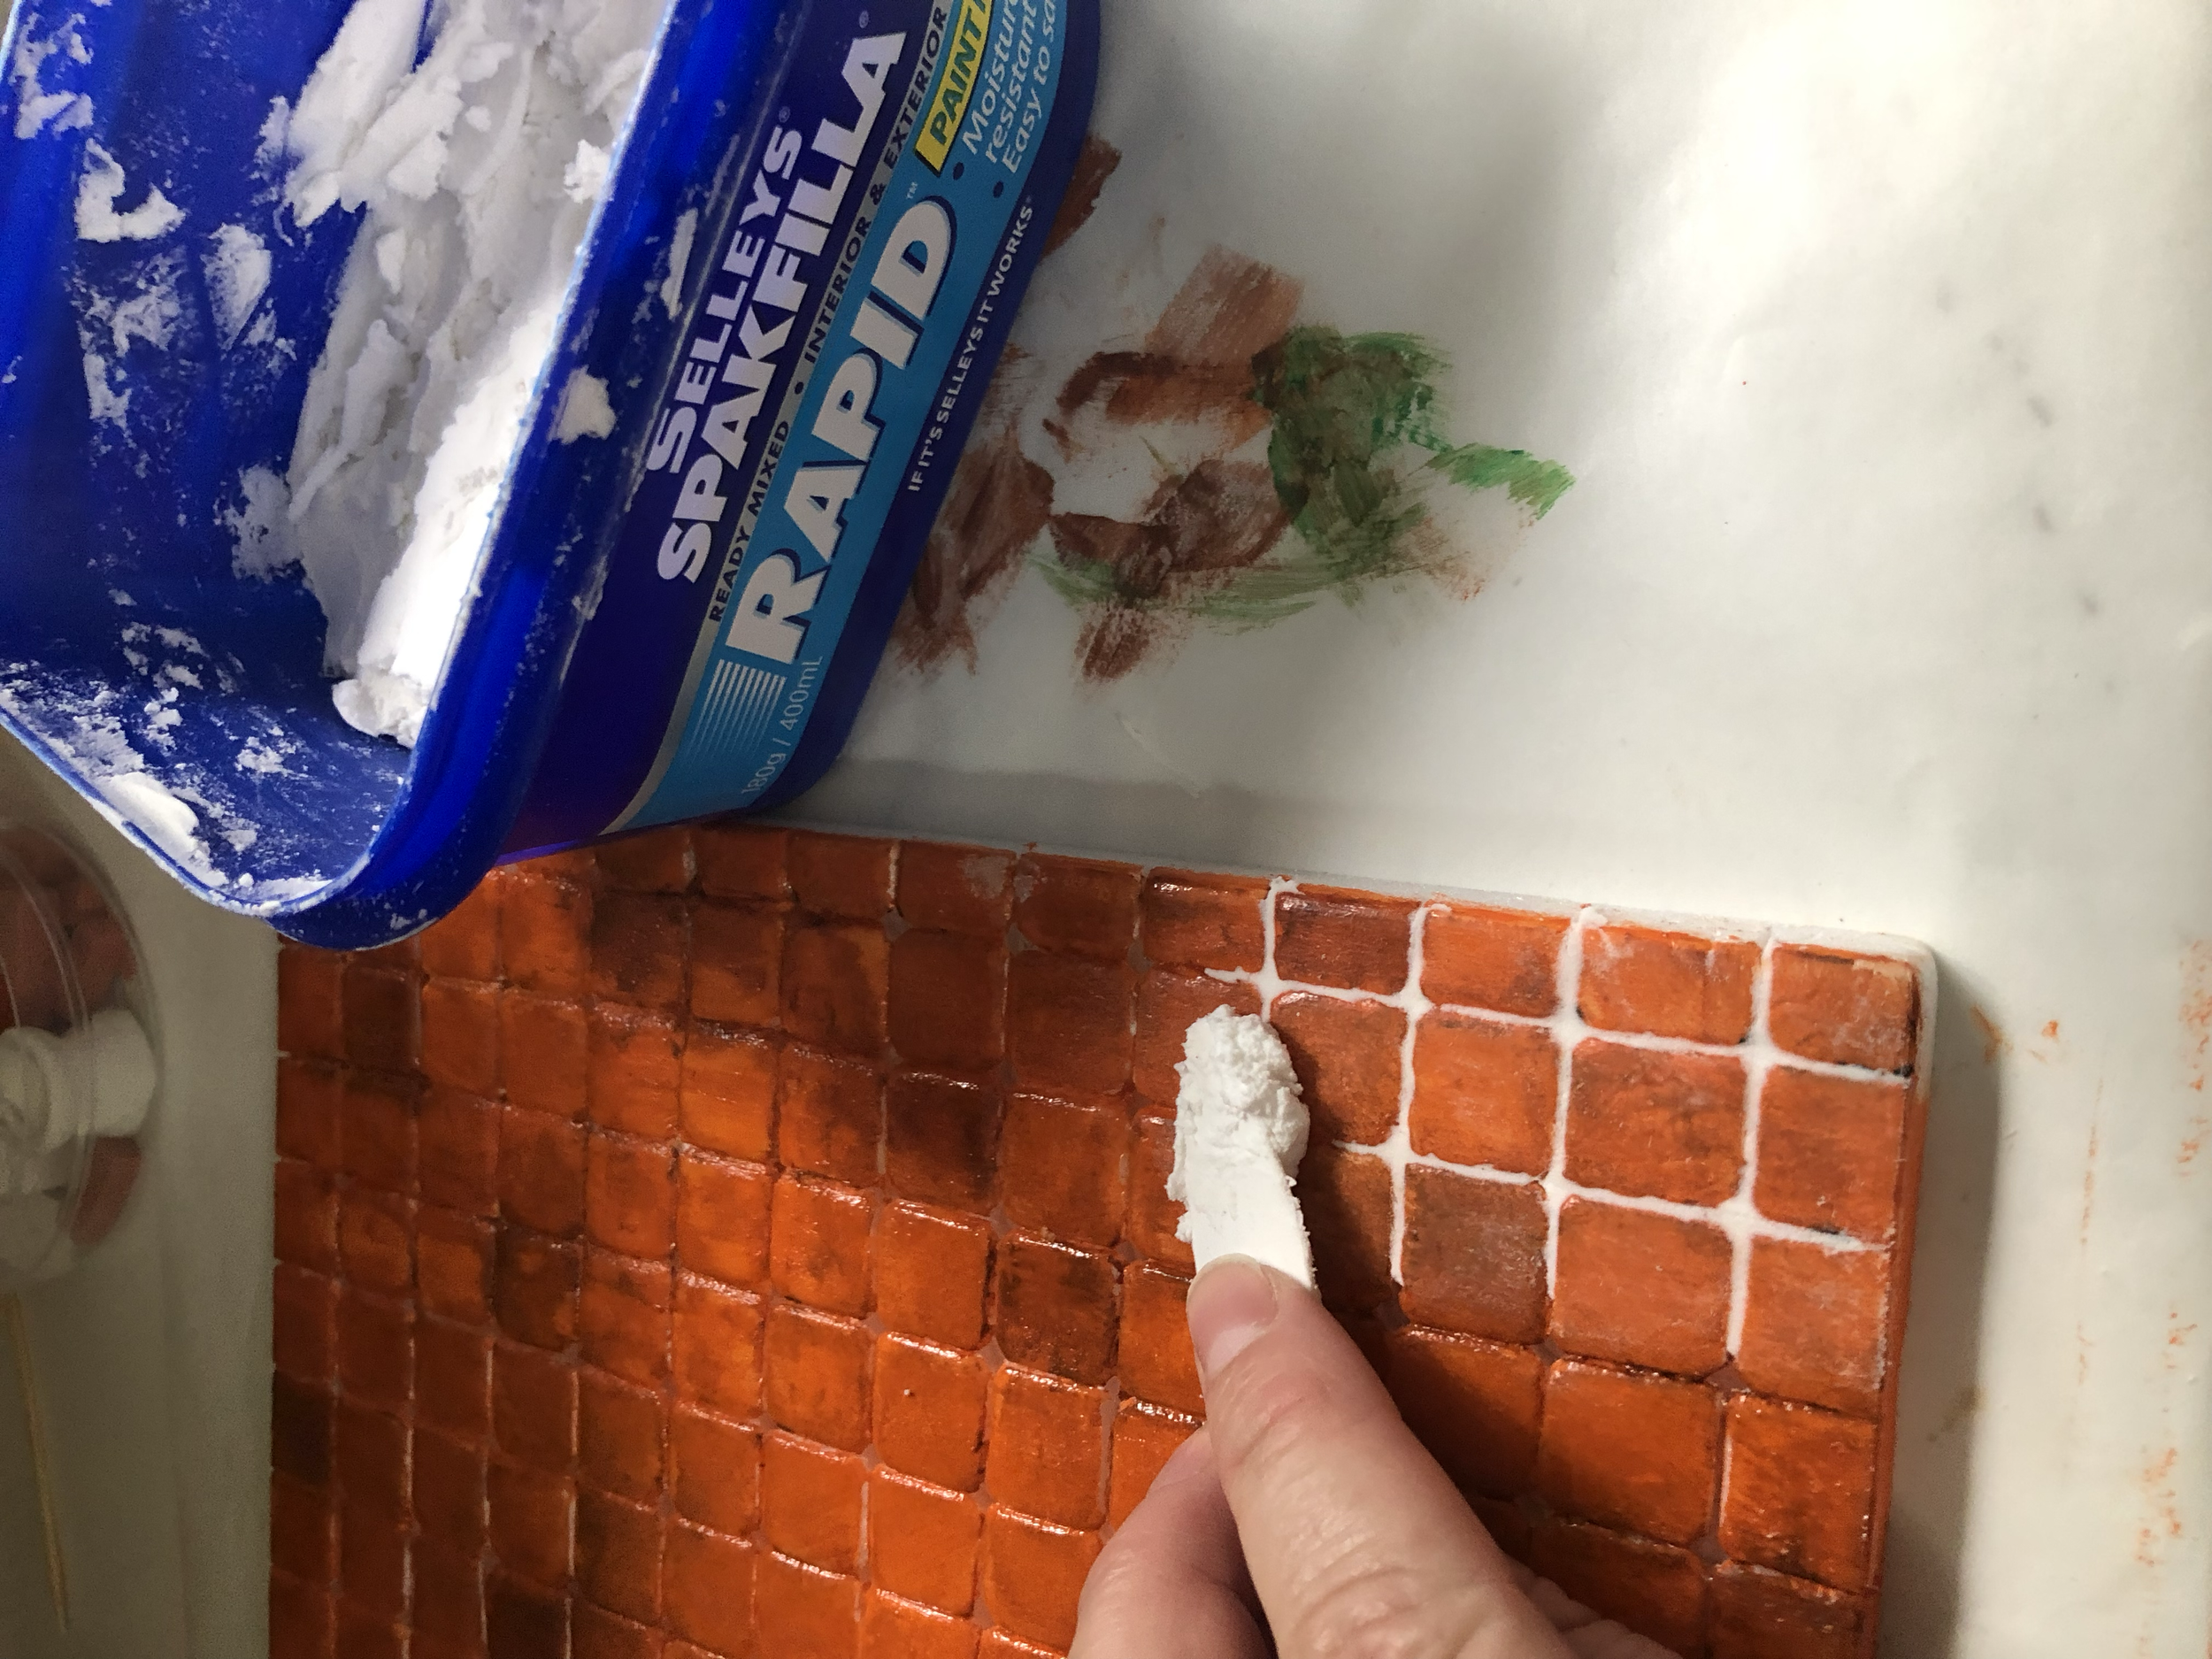
Painted several more layers for individualisation and weathering, then added spackle into the grooves
Added spackling to the walls and stuck in the window bricks
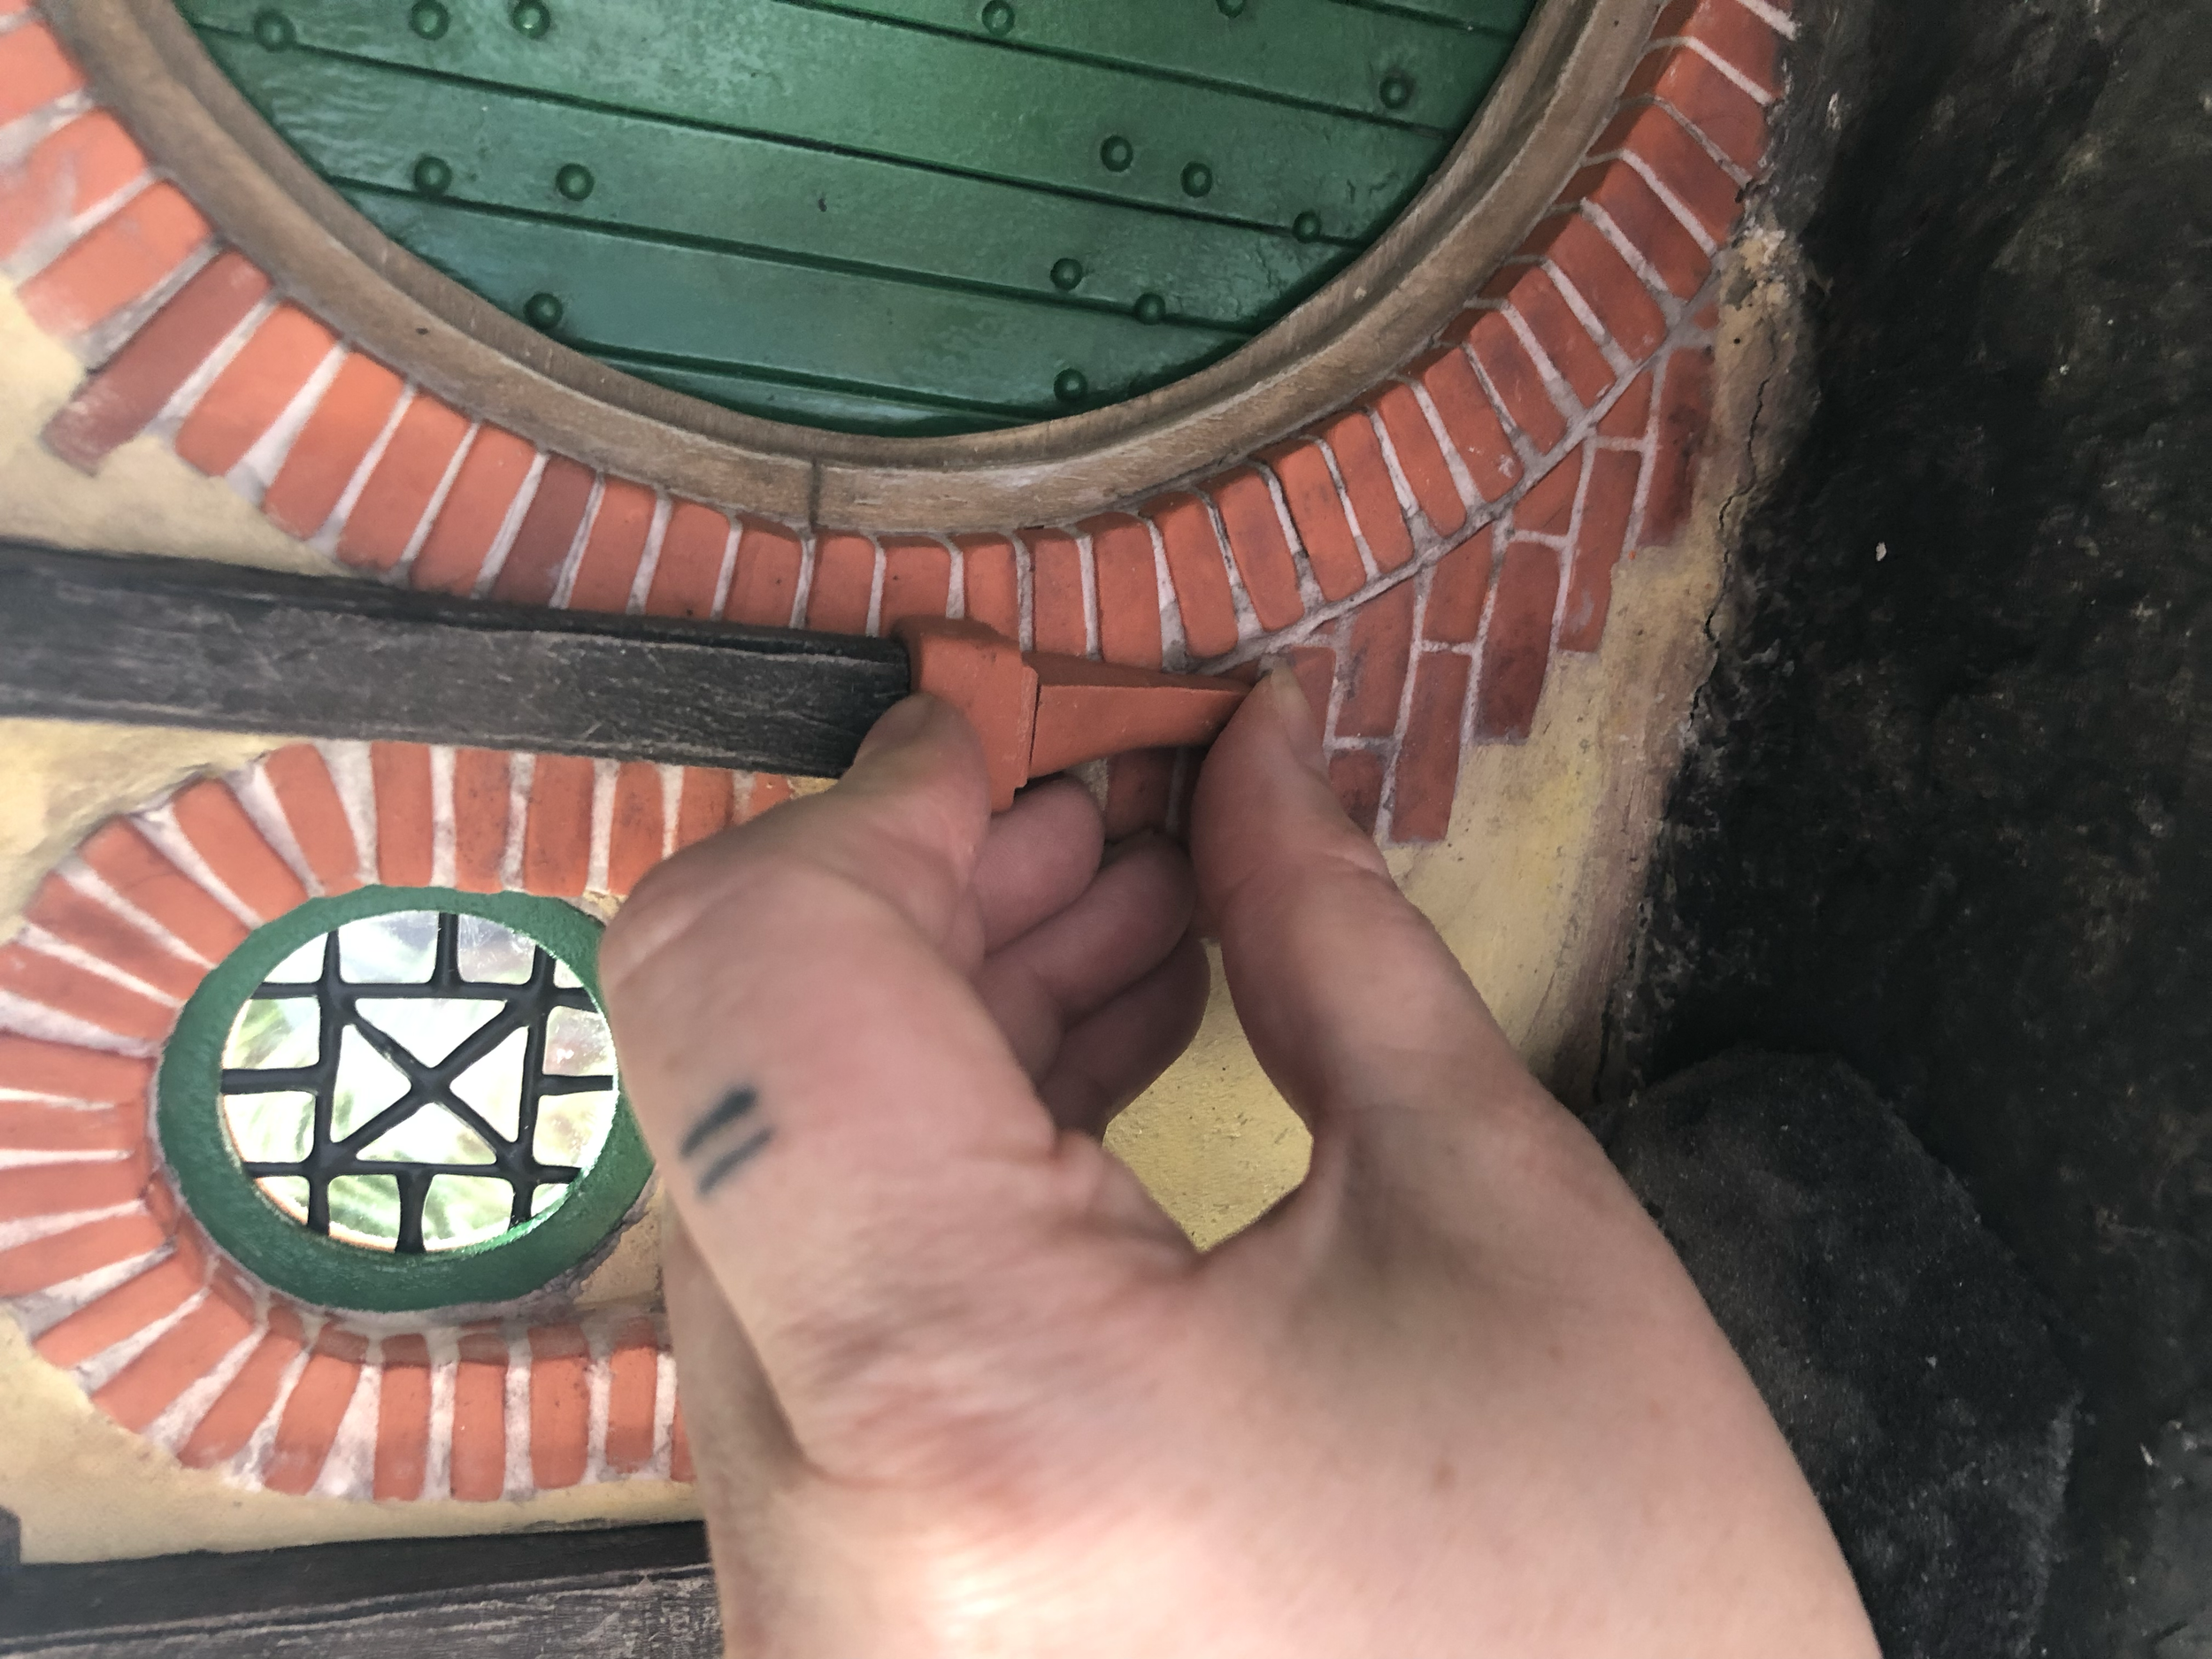
Creating surface bricks for the door surround from Sculpy
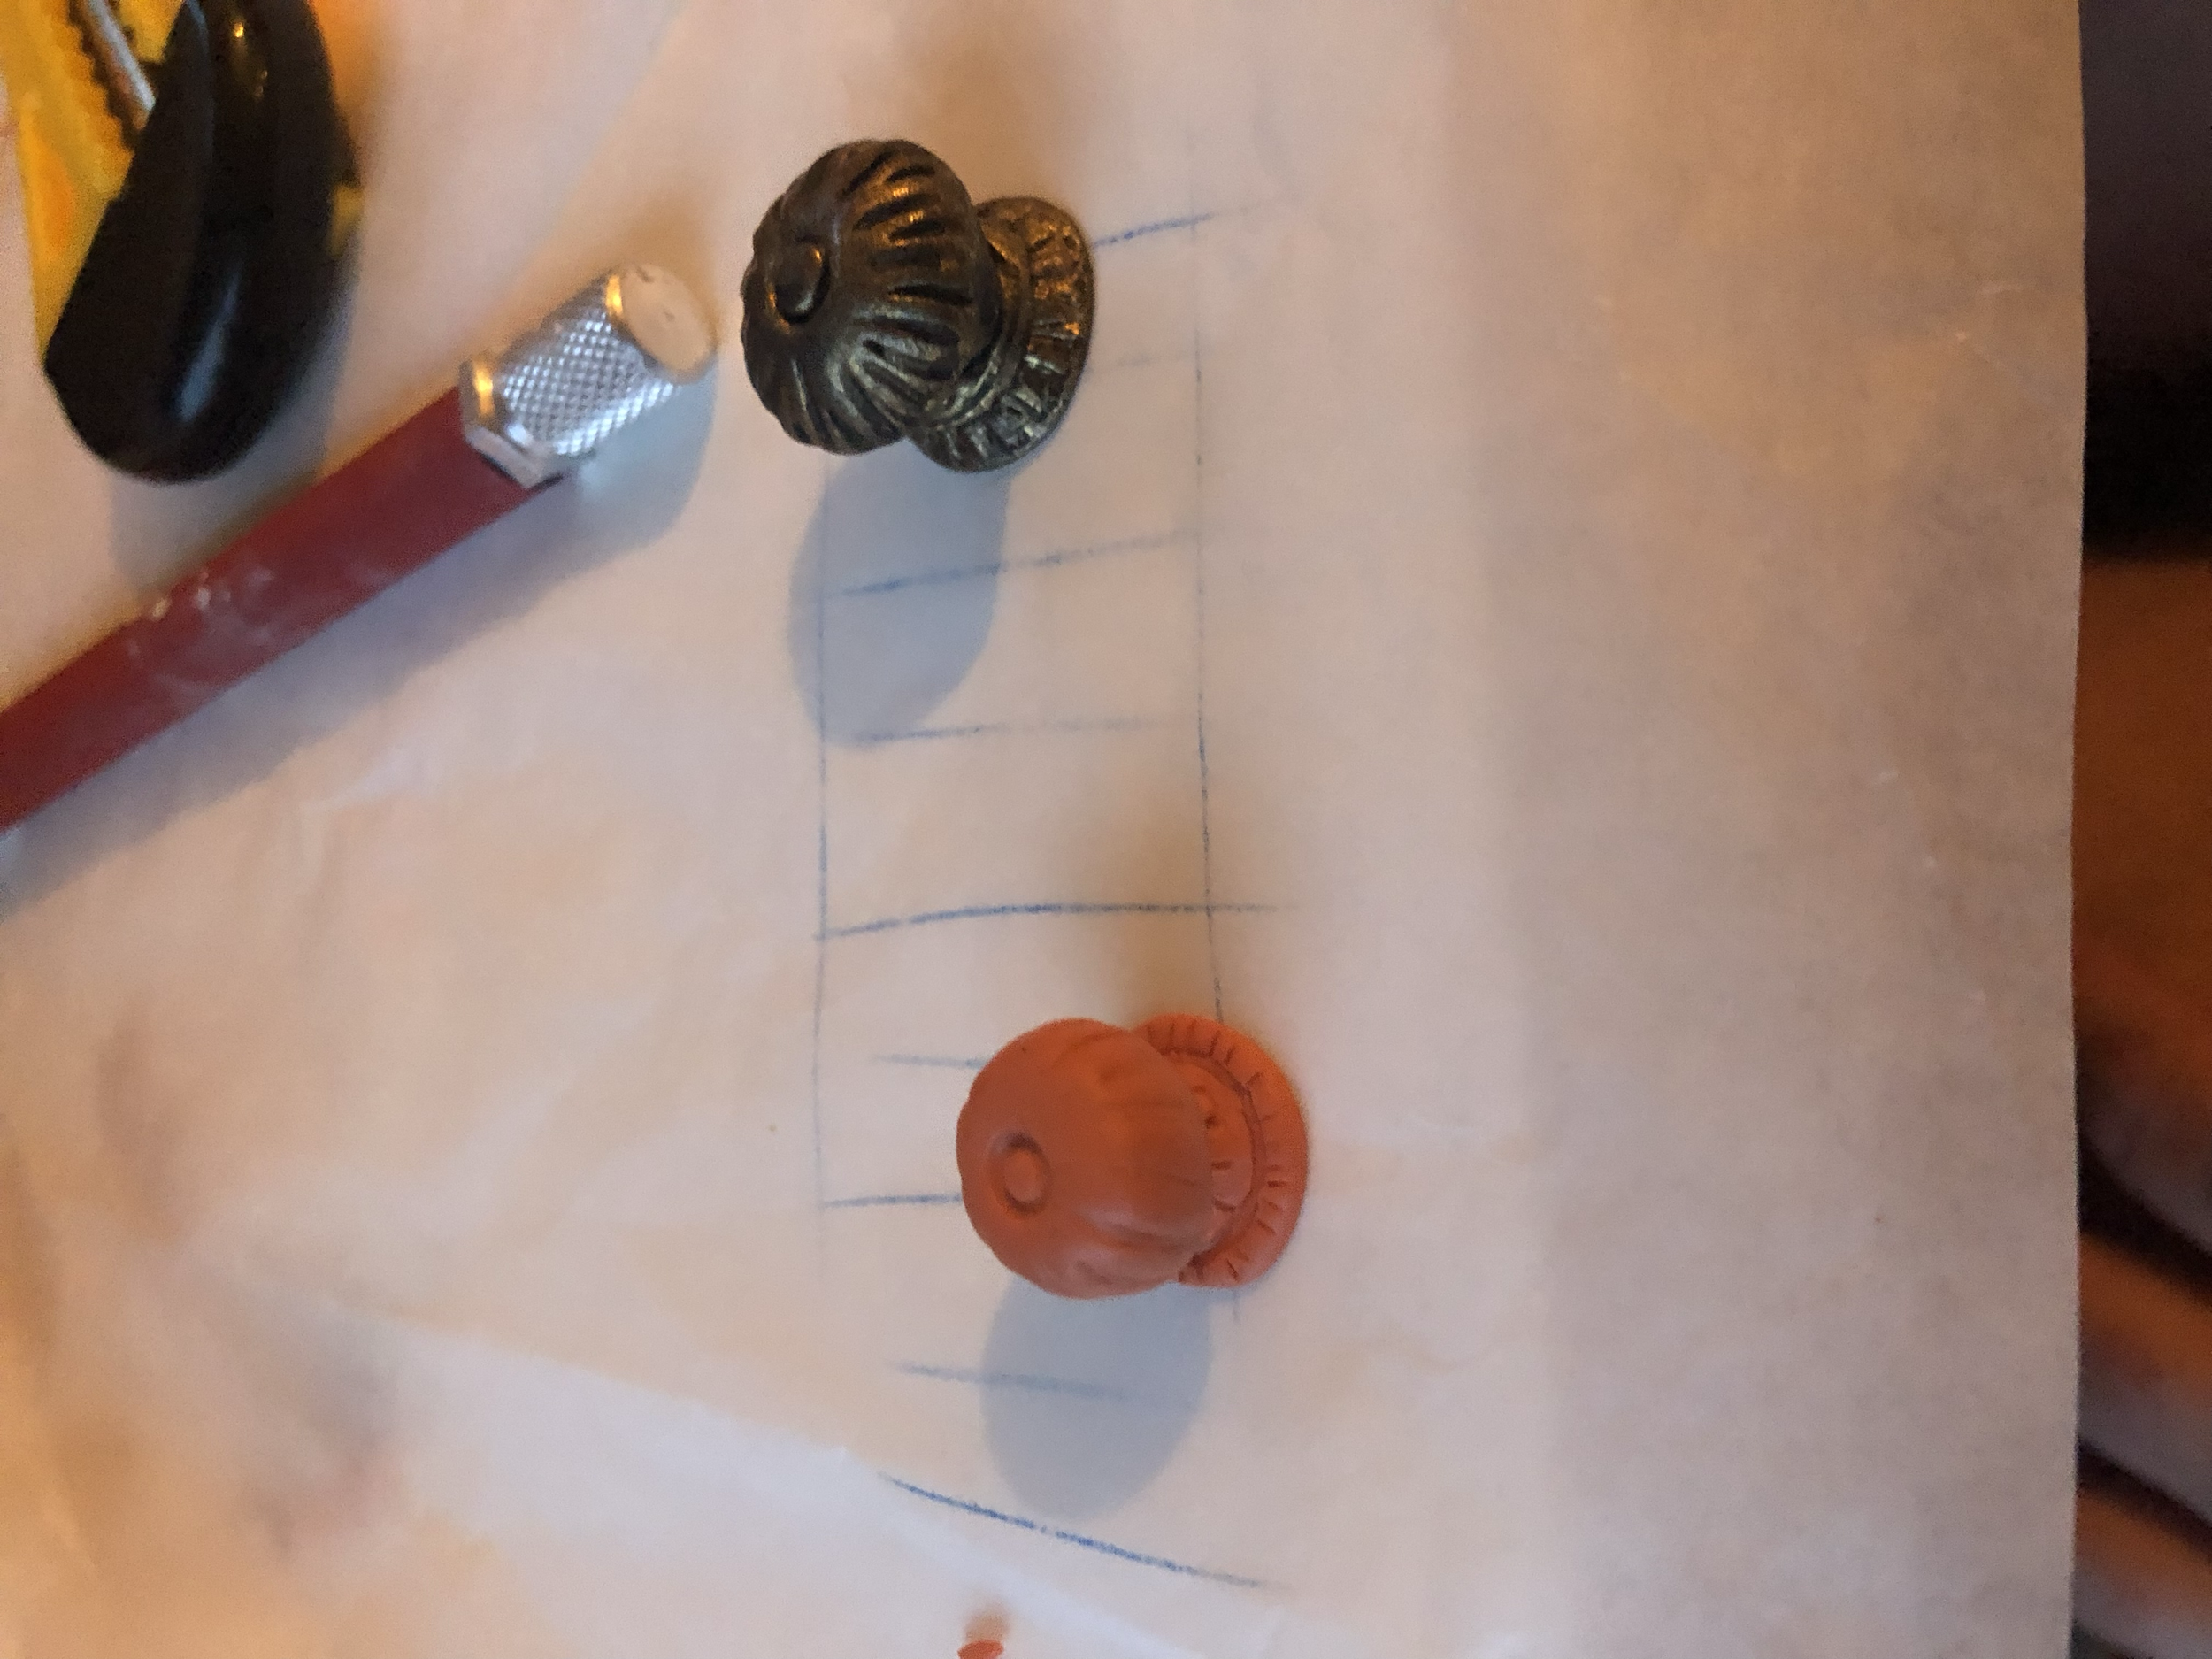
I decided to make a smaller doorknob that looked optically more to scale
I cut and carved the posts from balsa
Putting the wood up to test layout. This was one of the hardest steps, figuring out how to sit the central posts on top of the brick but also within the plaster walls behind it, and to be in line with the other wood panel pieces. It took quite a bit of figuring out which step happened in which order and how to get around the depth differences. I’m so curious as to how they built the actual set!
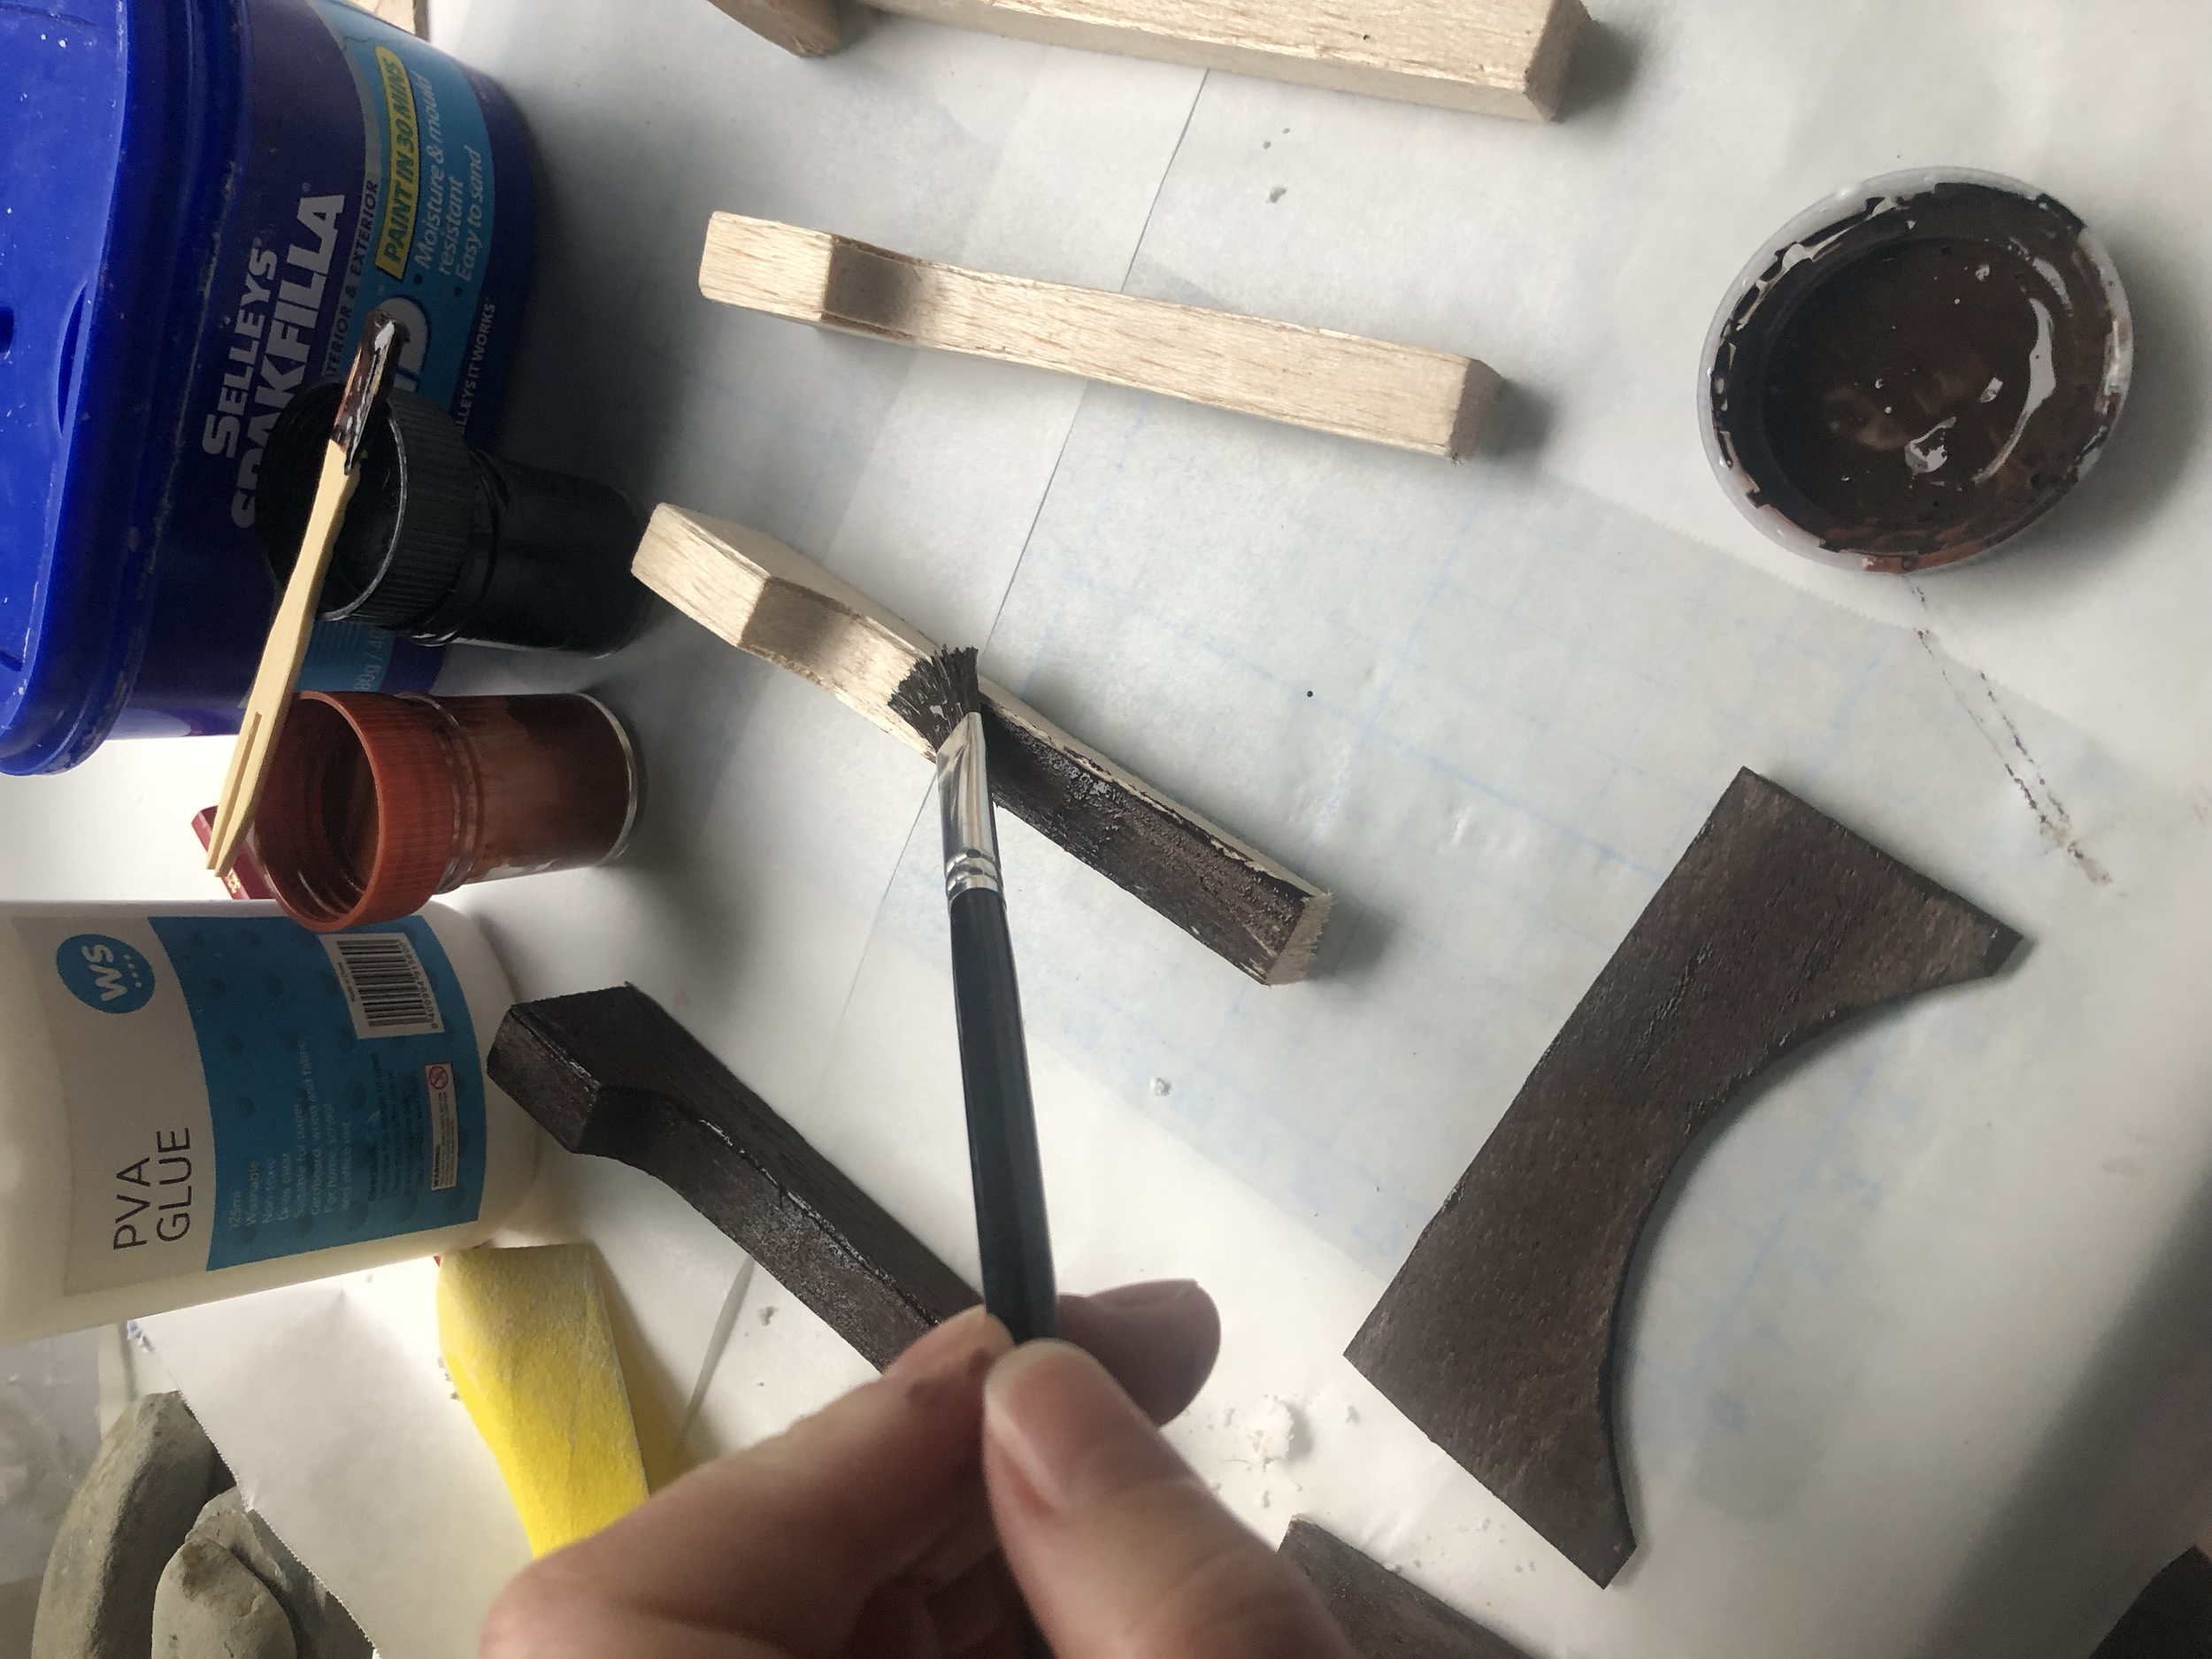
Painting the wood base colour. I ended up carving a semi-circular piece from the back of the two central posts so it could sit on top of the bricked round as well as into the plaster wall behind. I’ve very curious how the actual set was made!


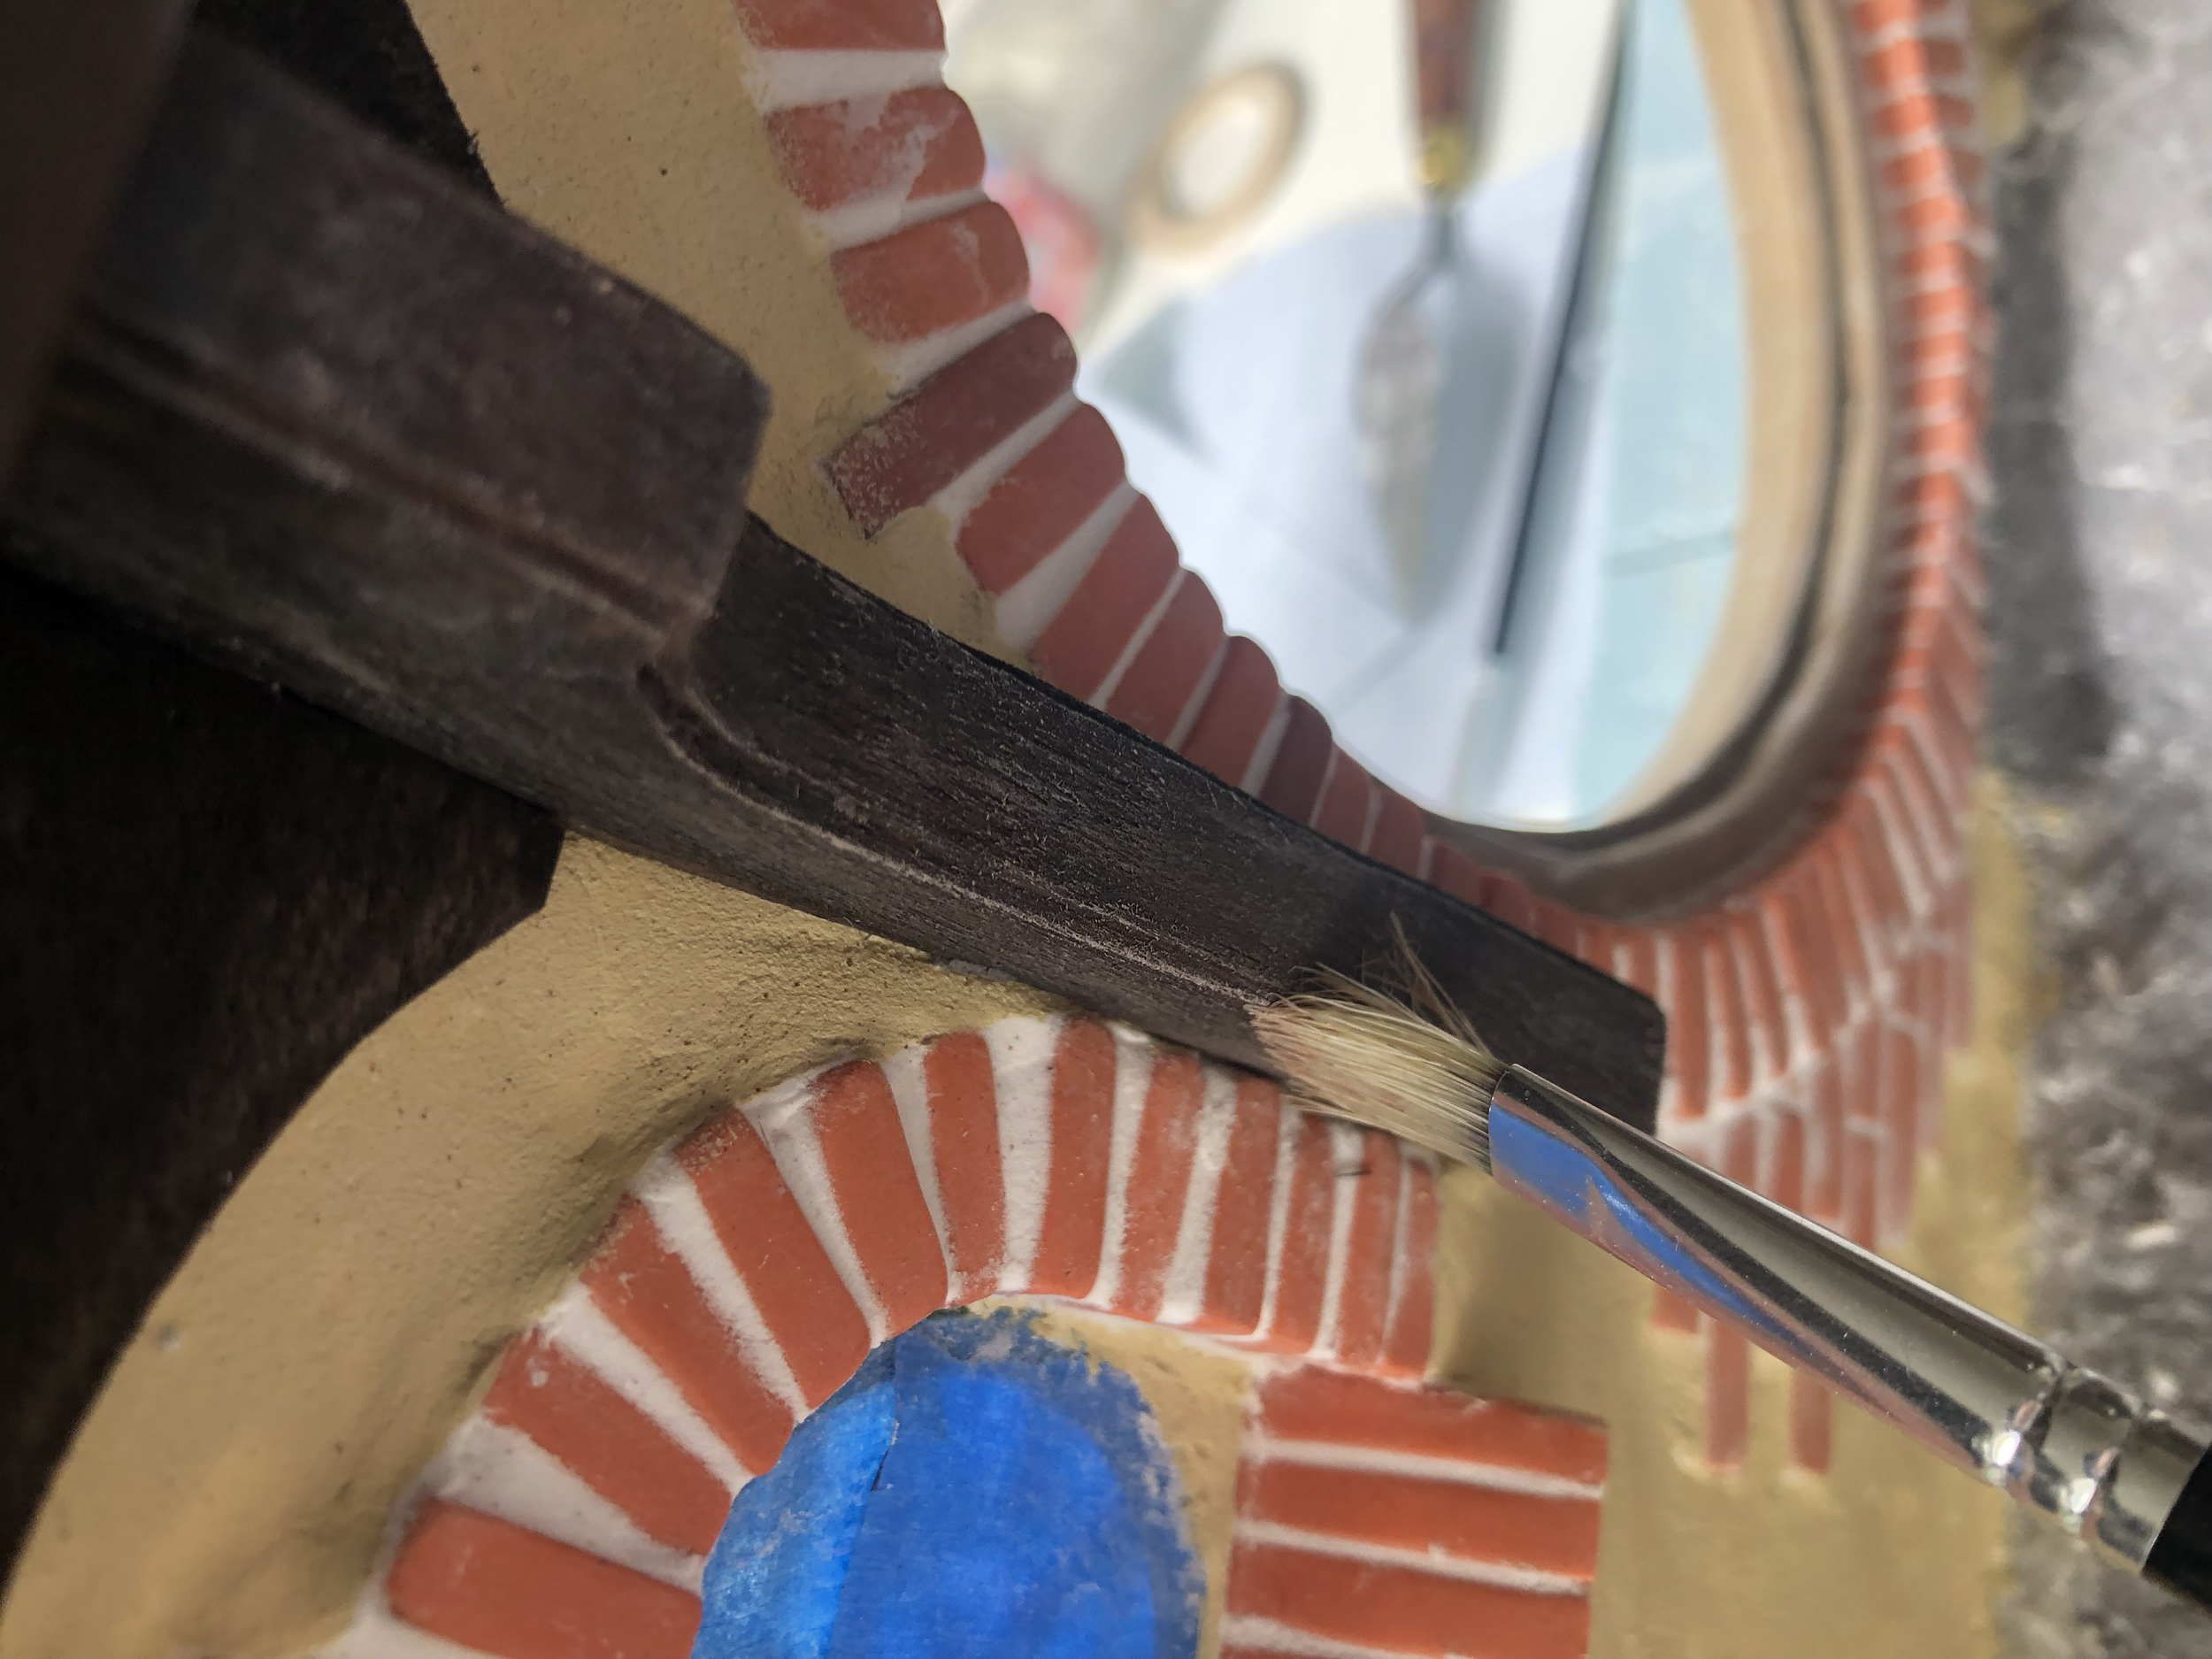
Dry brushing highlights
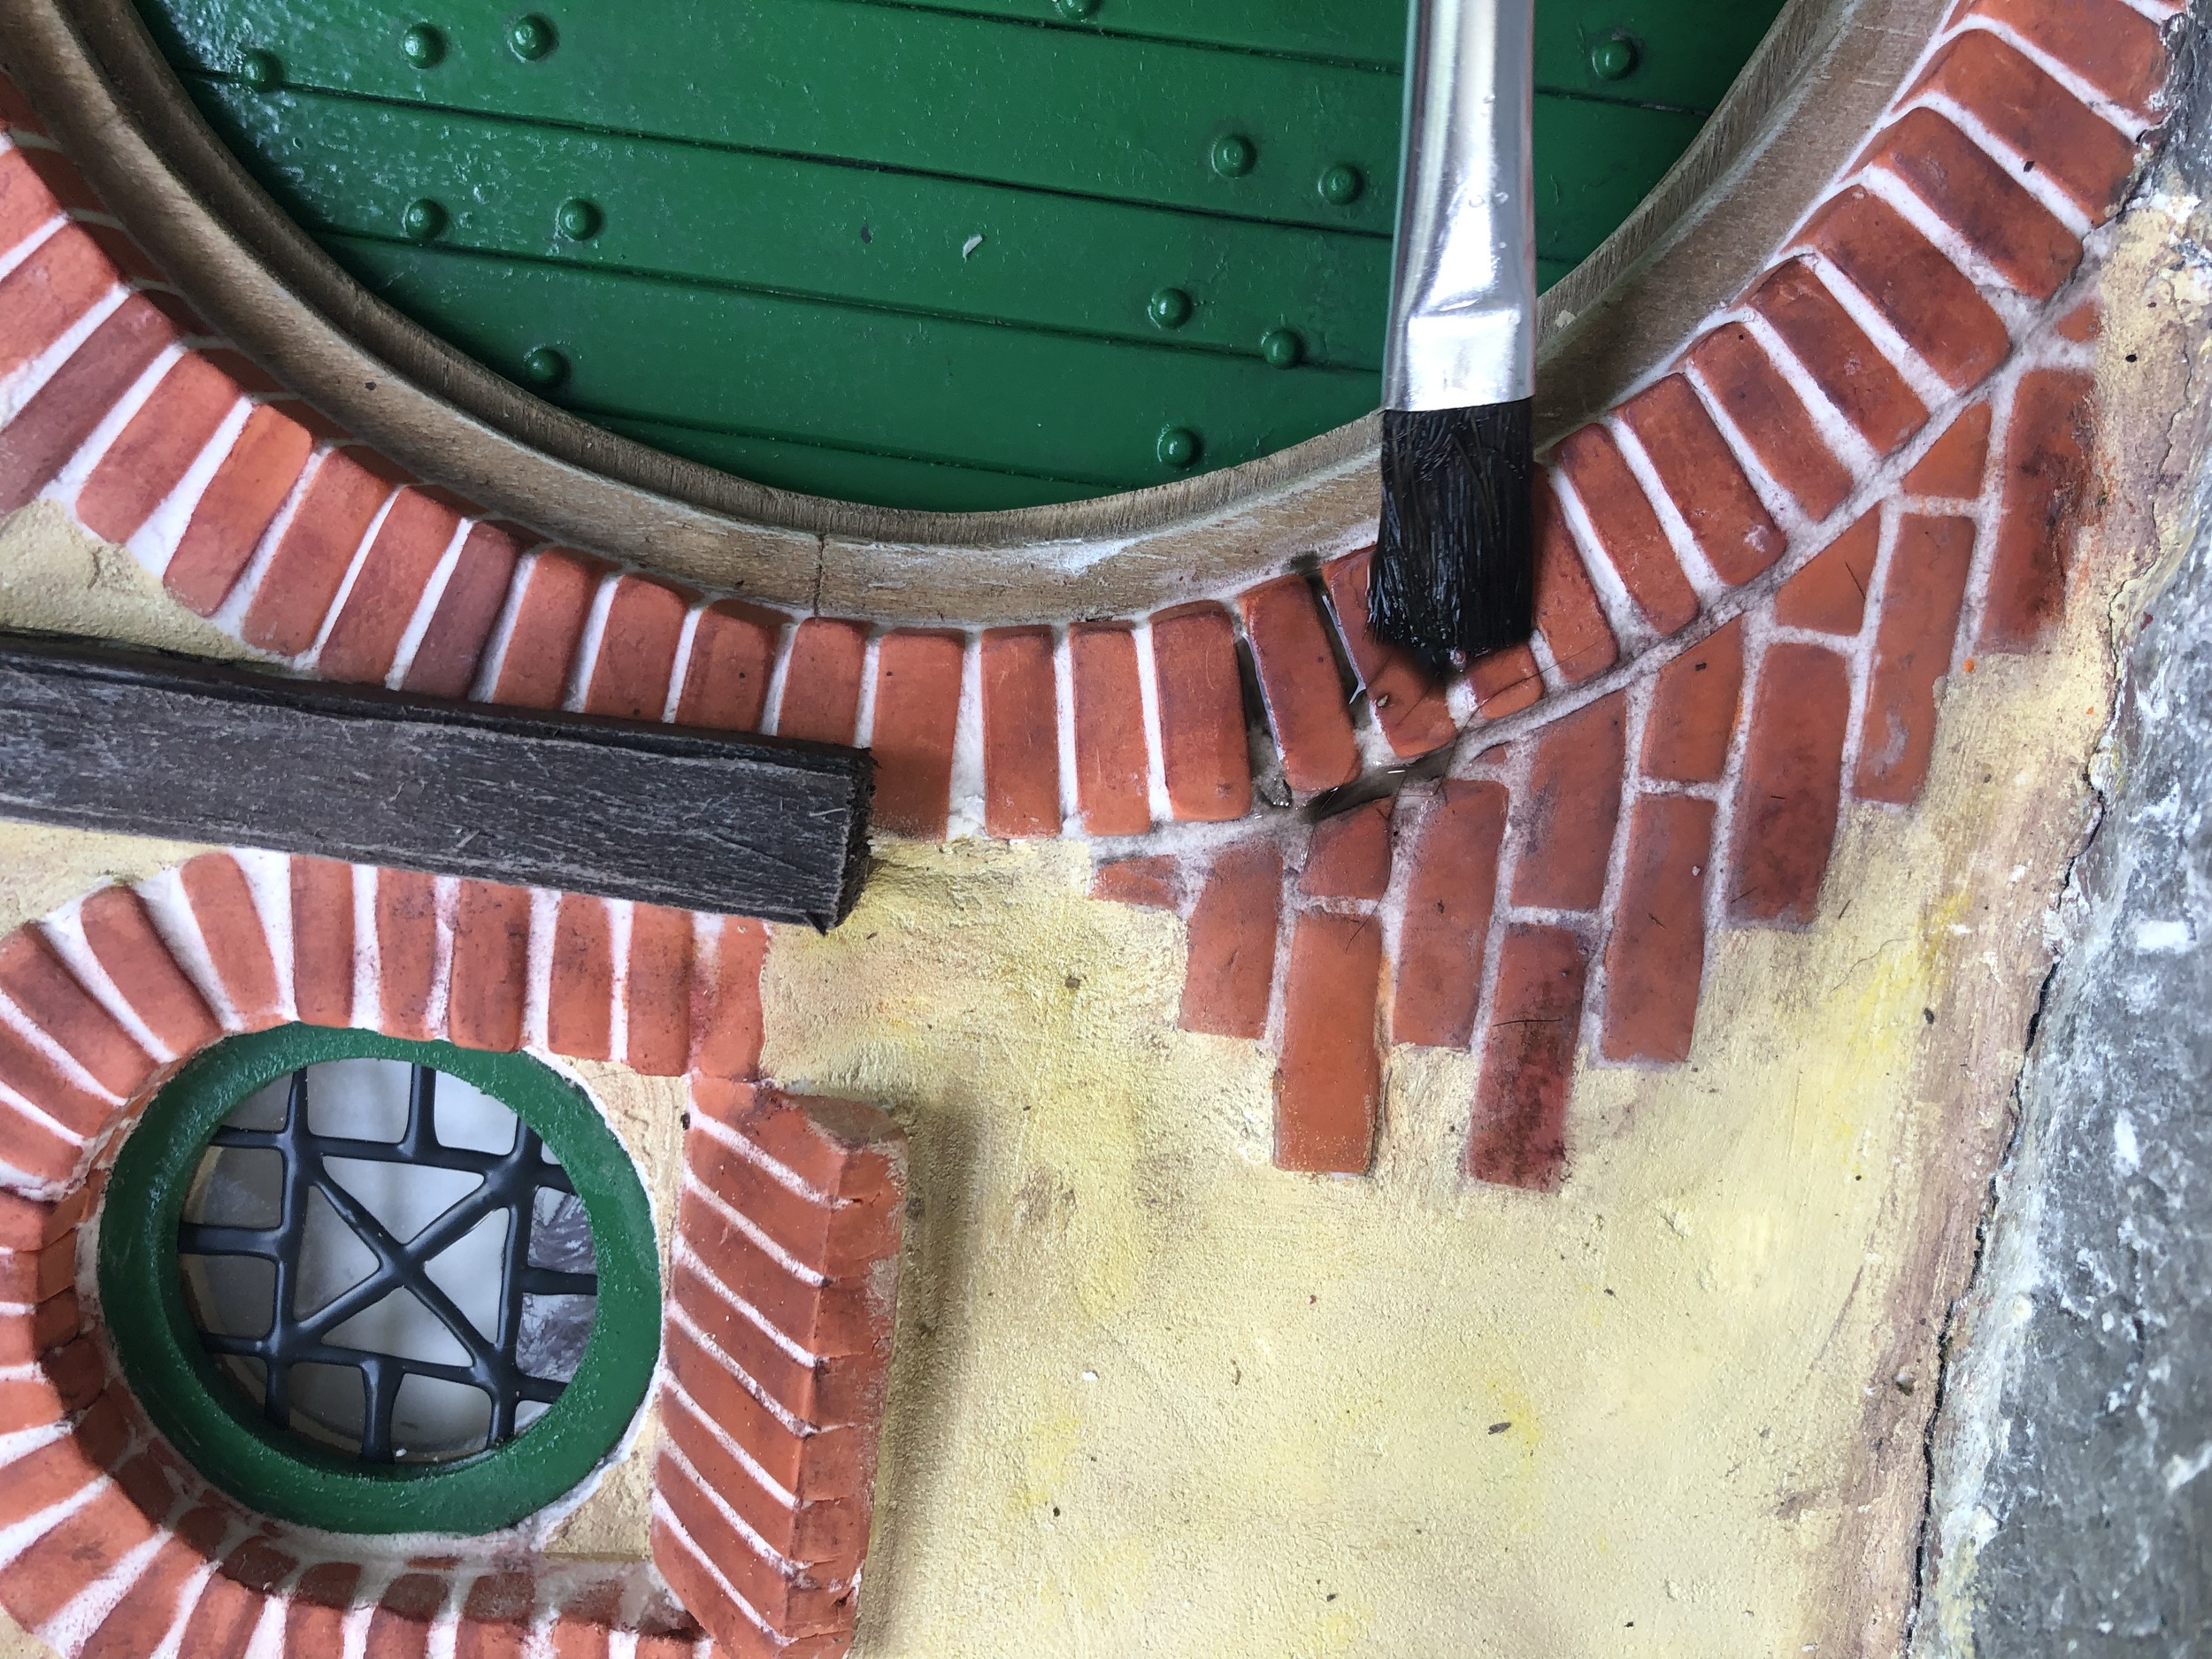
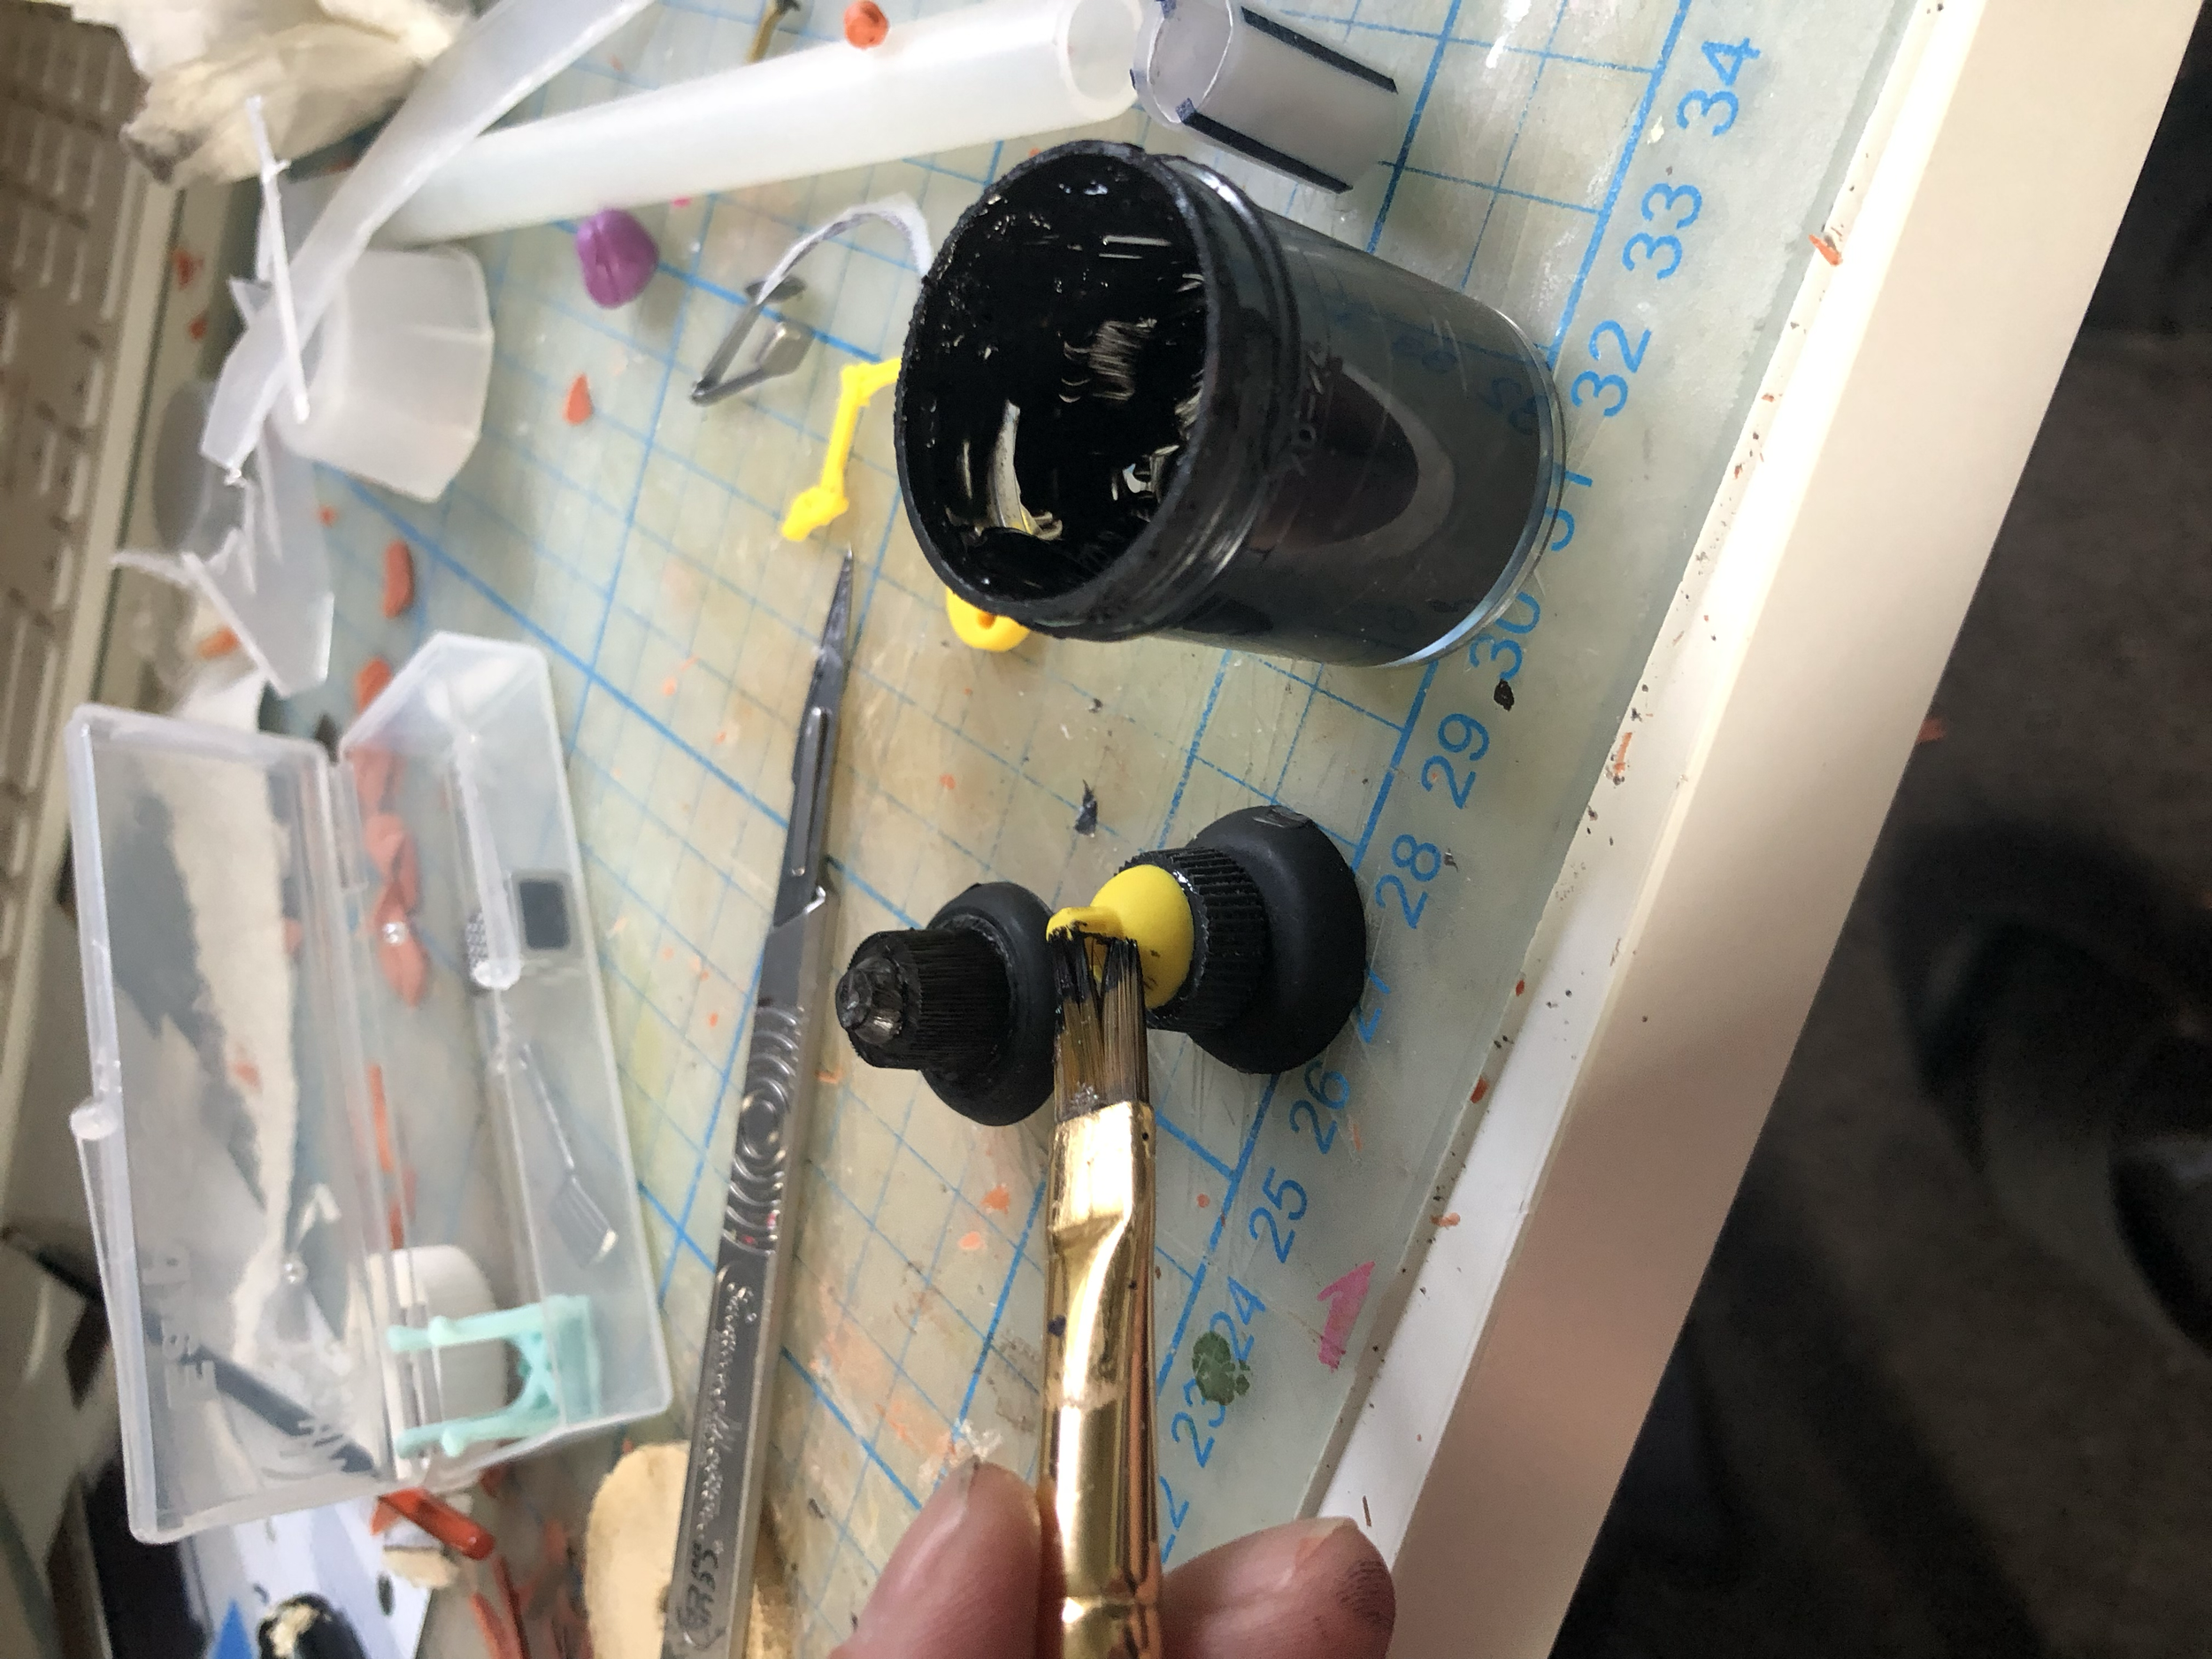
Weathering with inks and paints
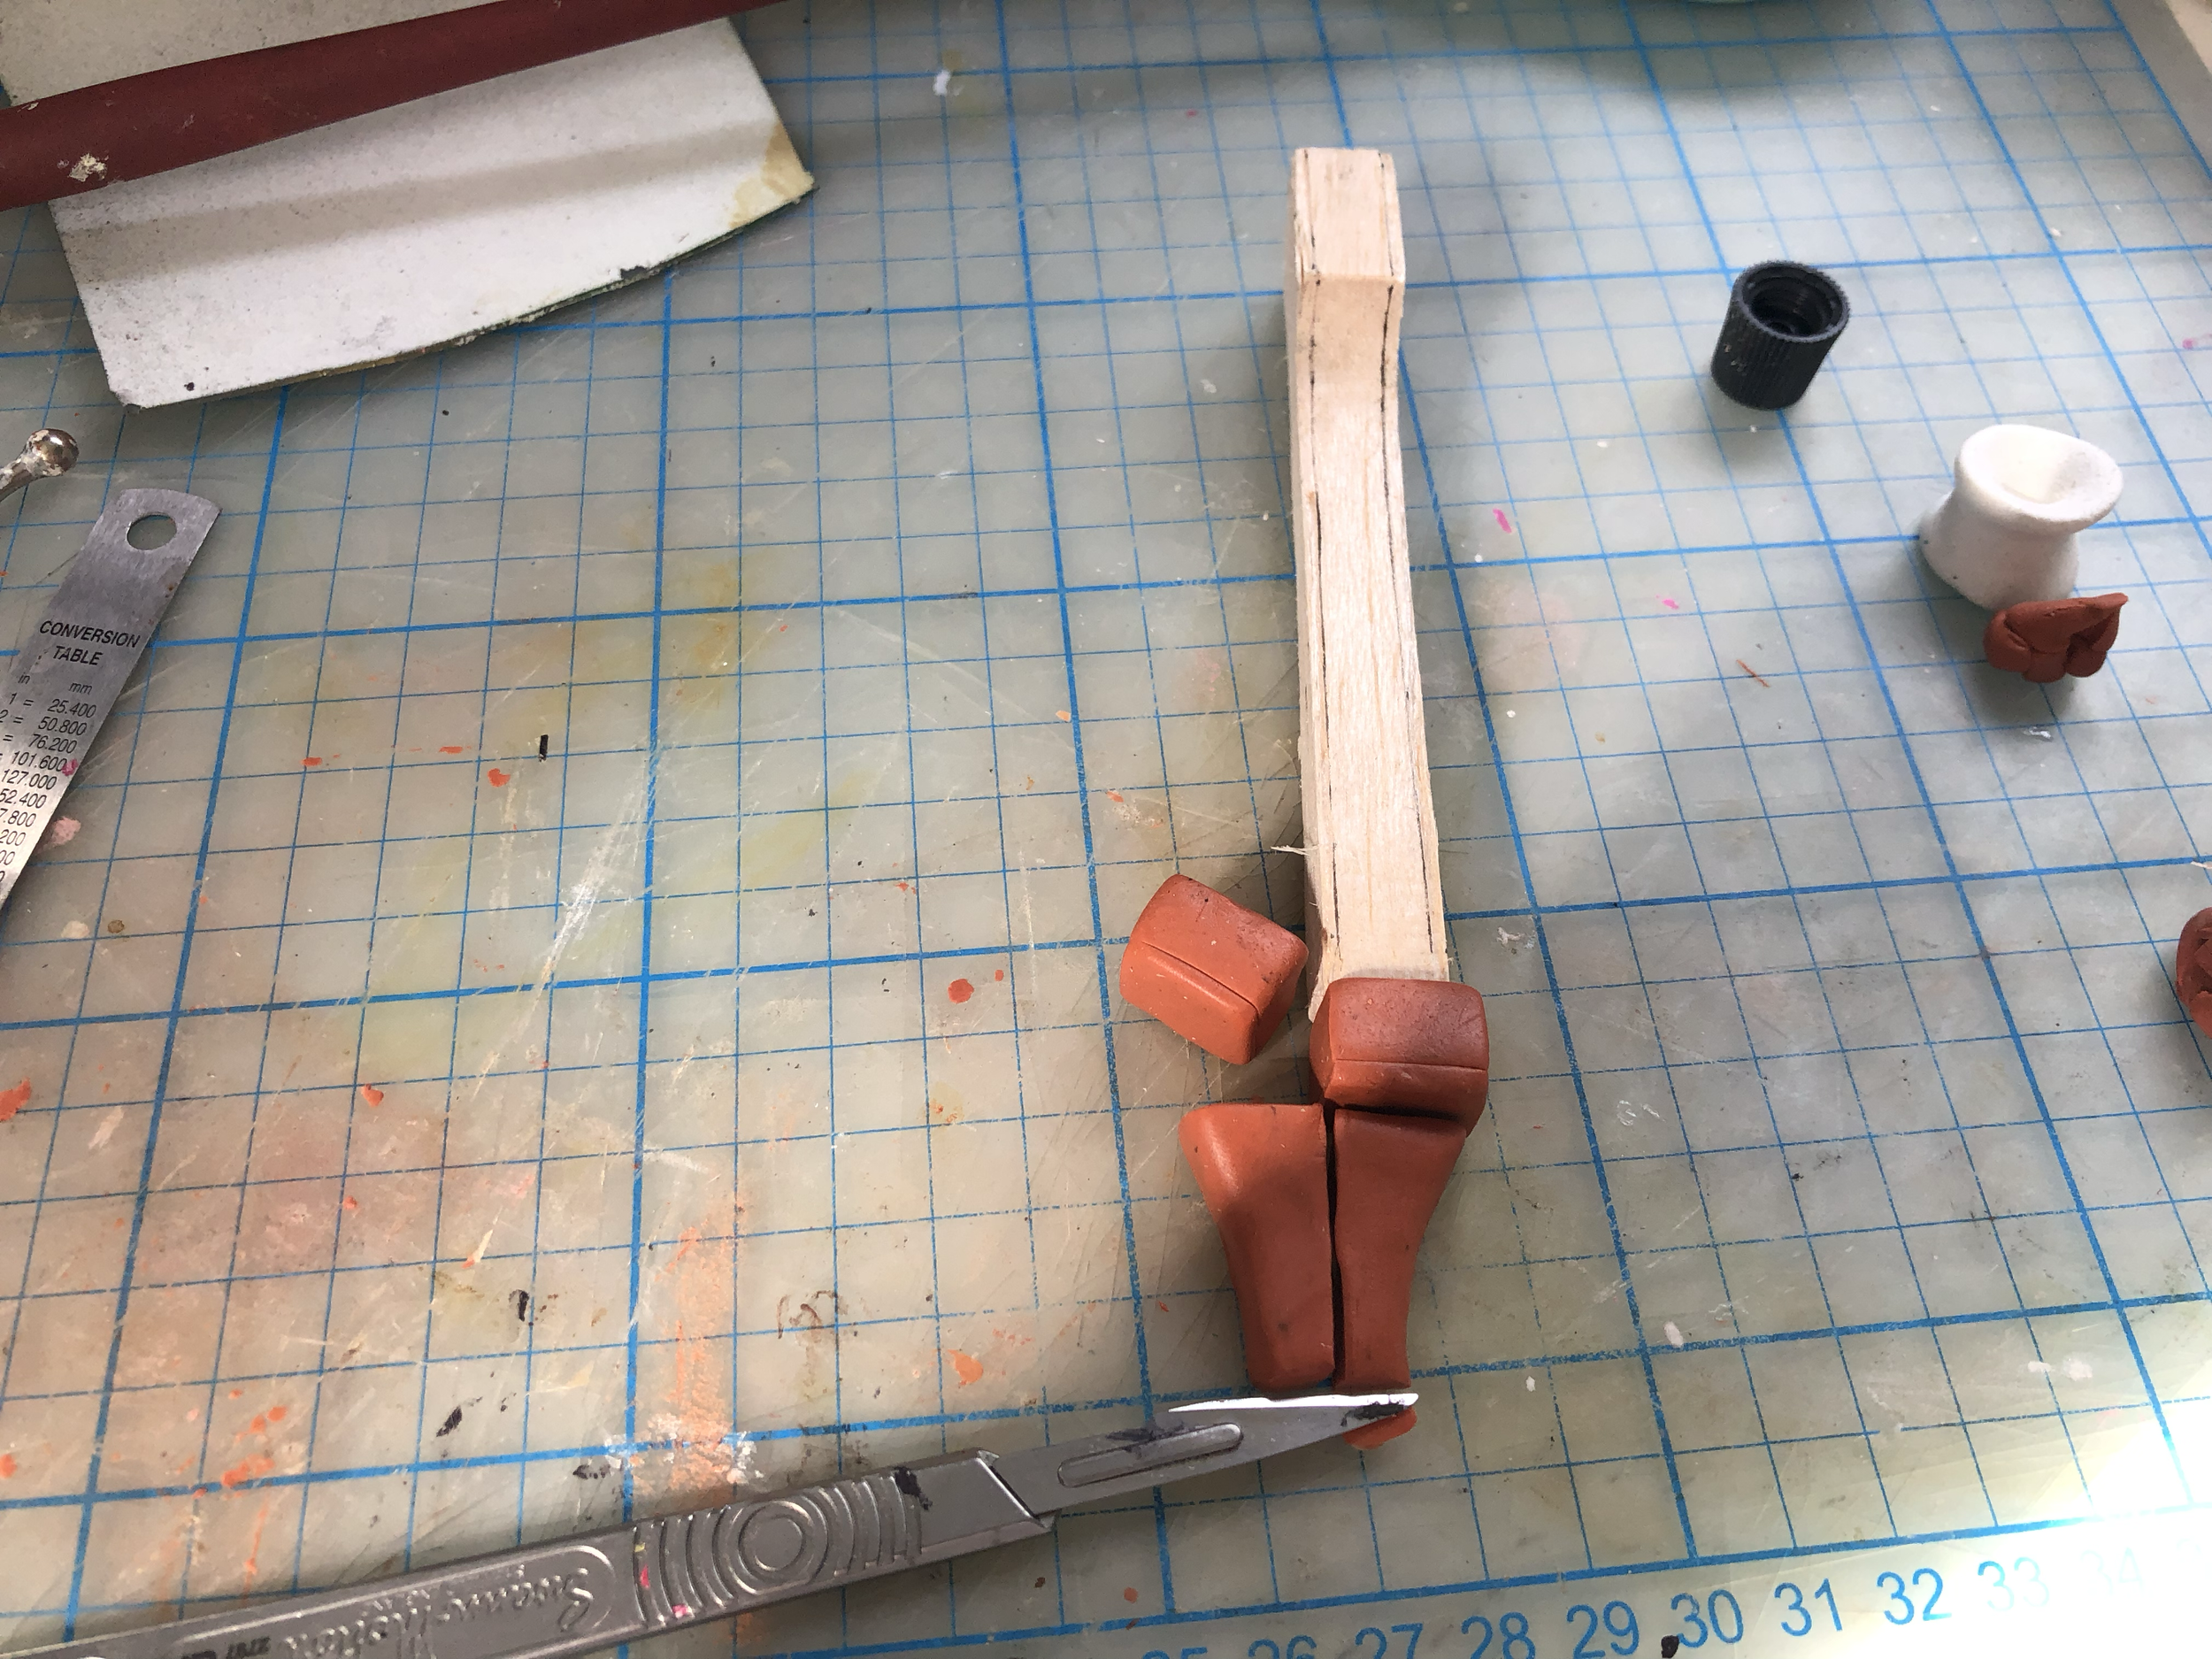
Creating the post ends from clay
Attaching
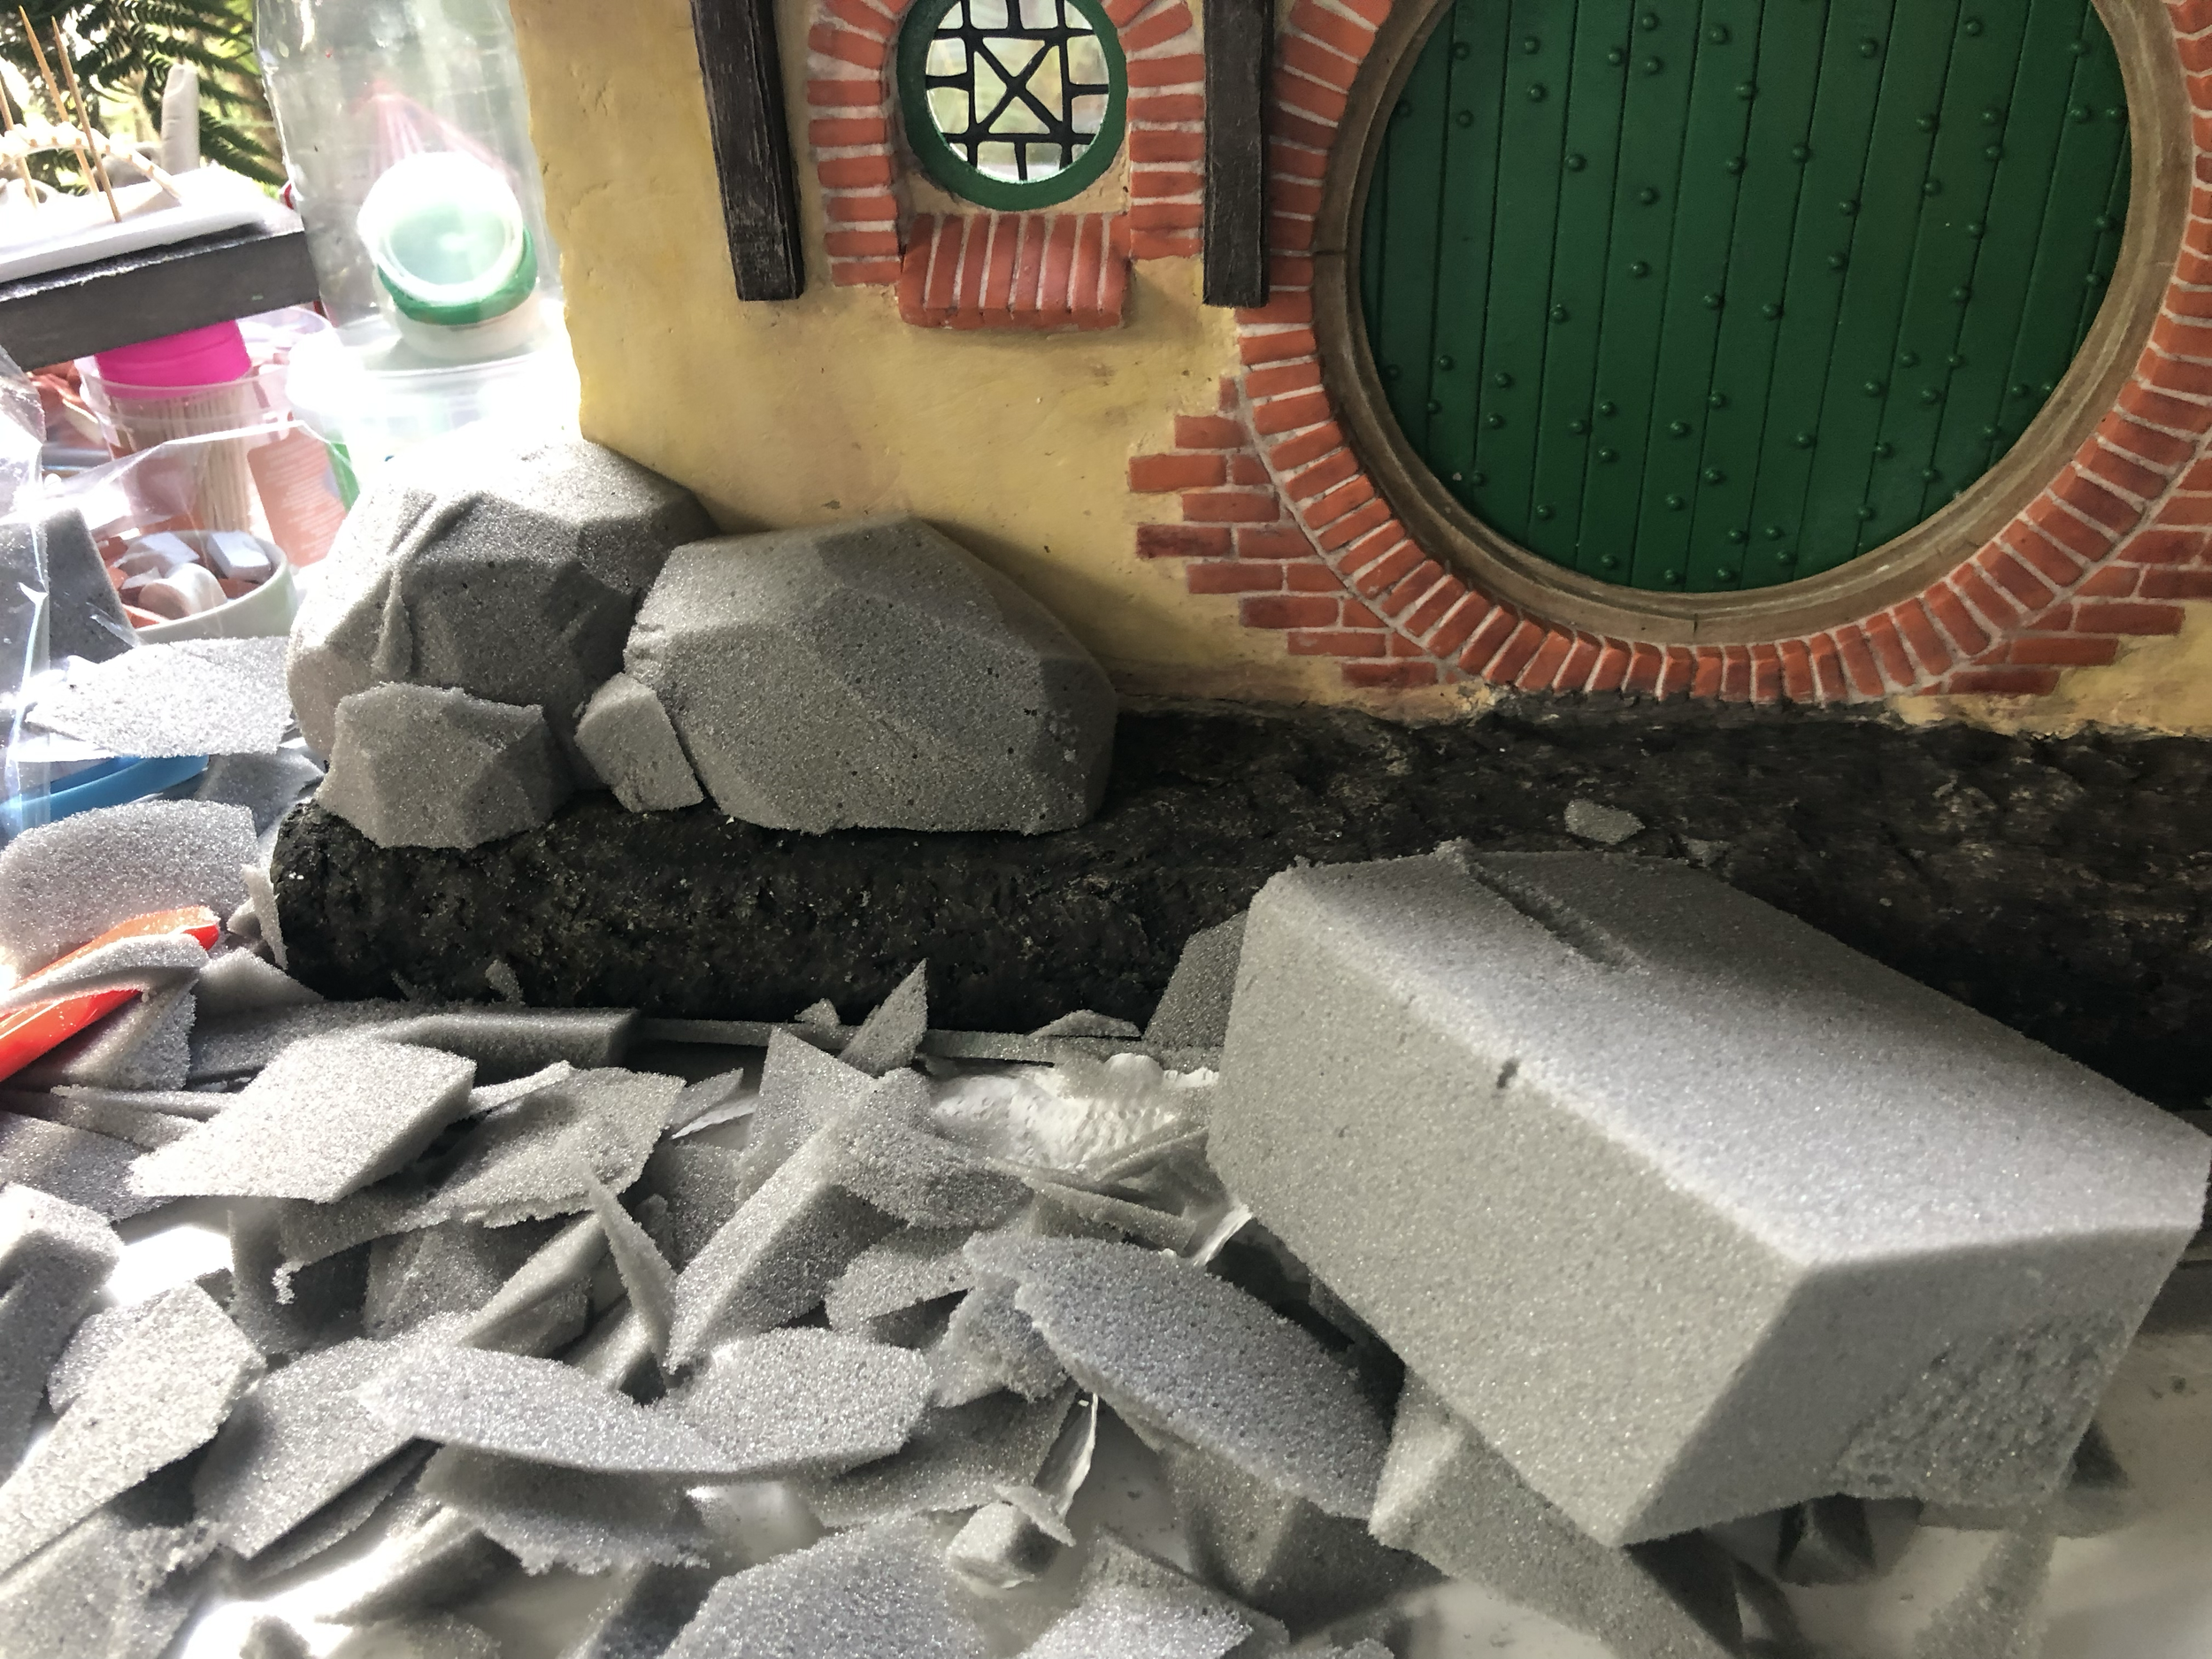
Adding floral foam for the dressing stage
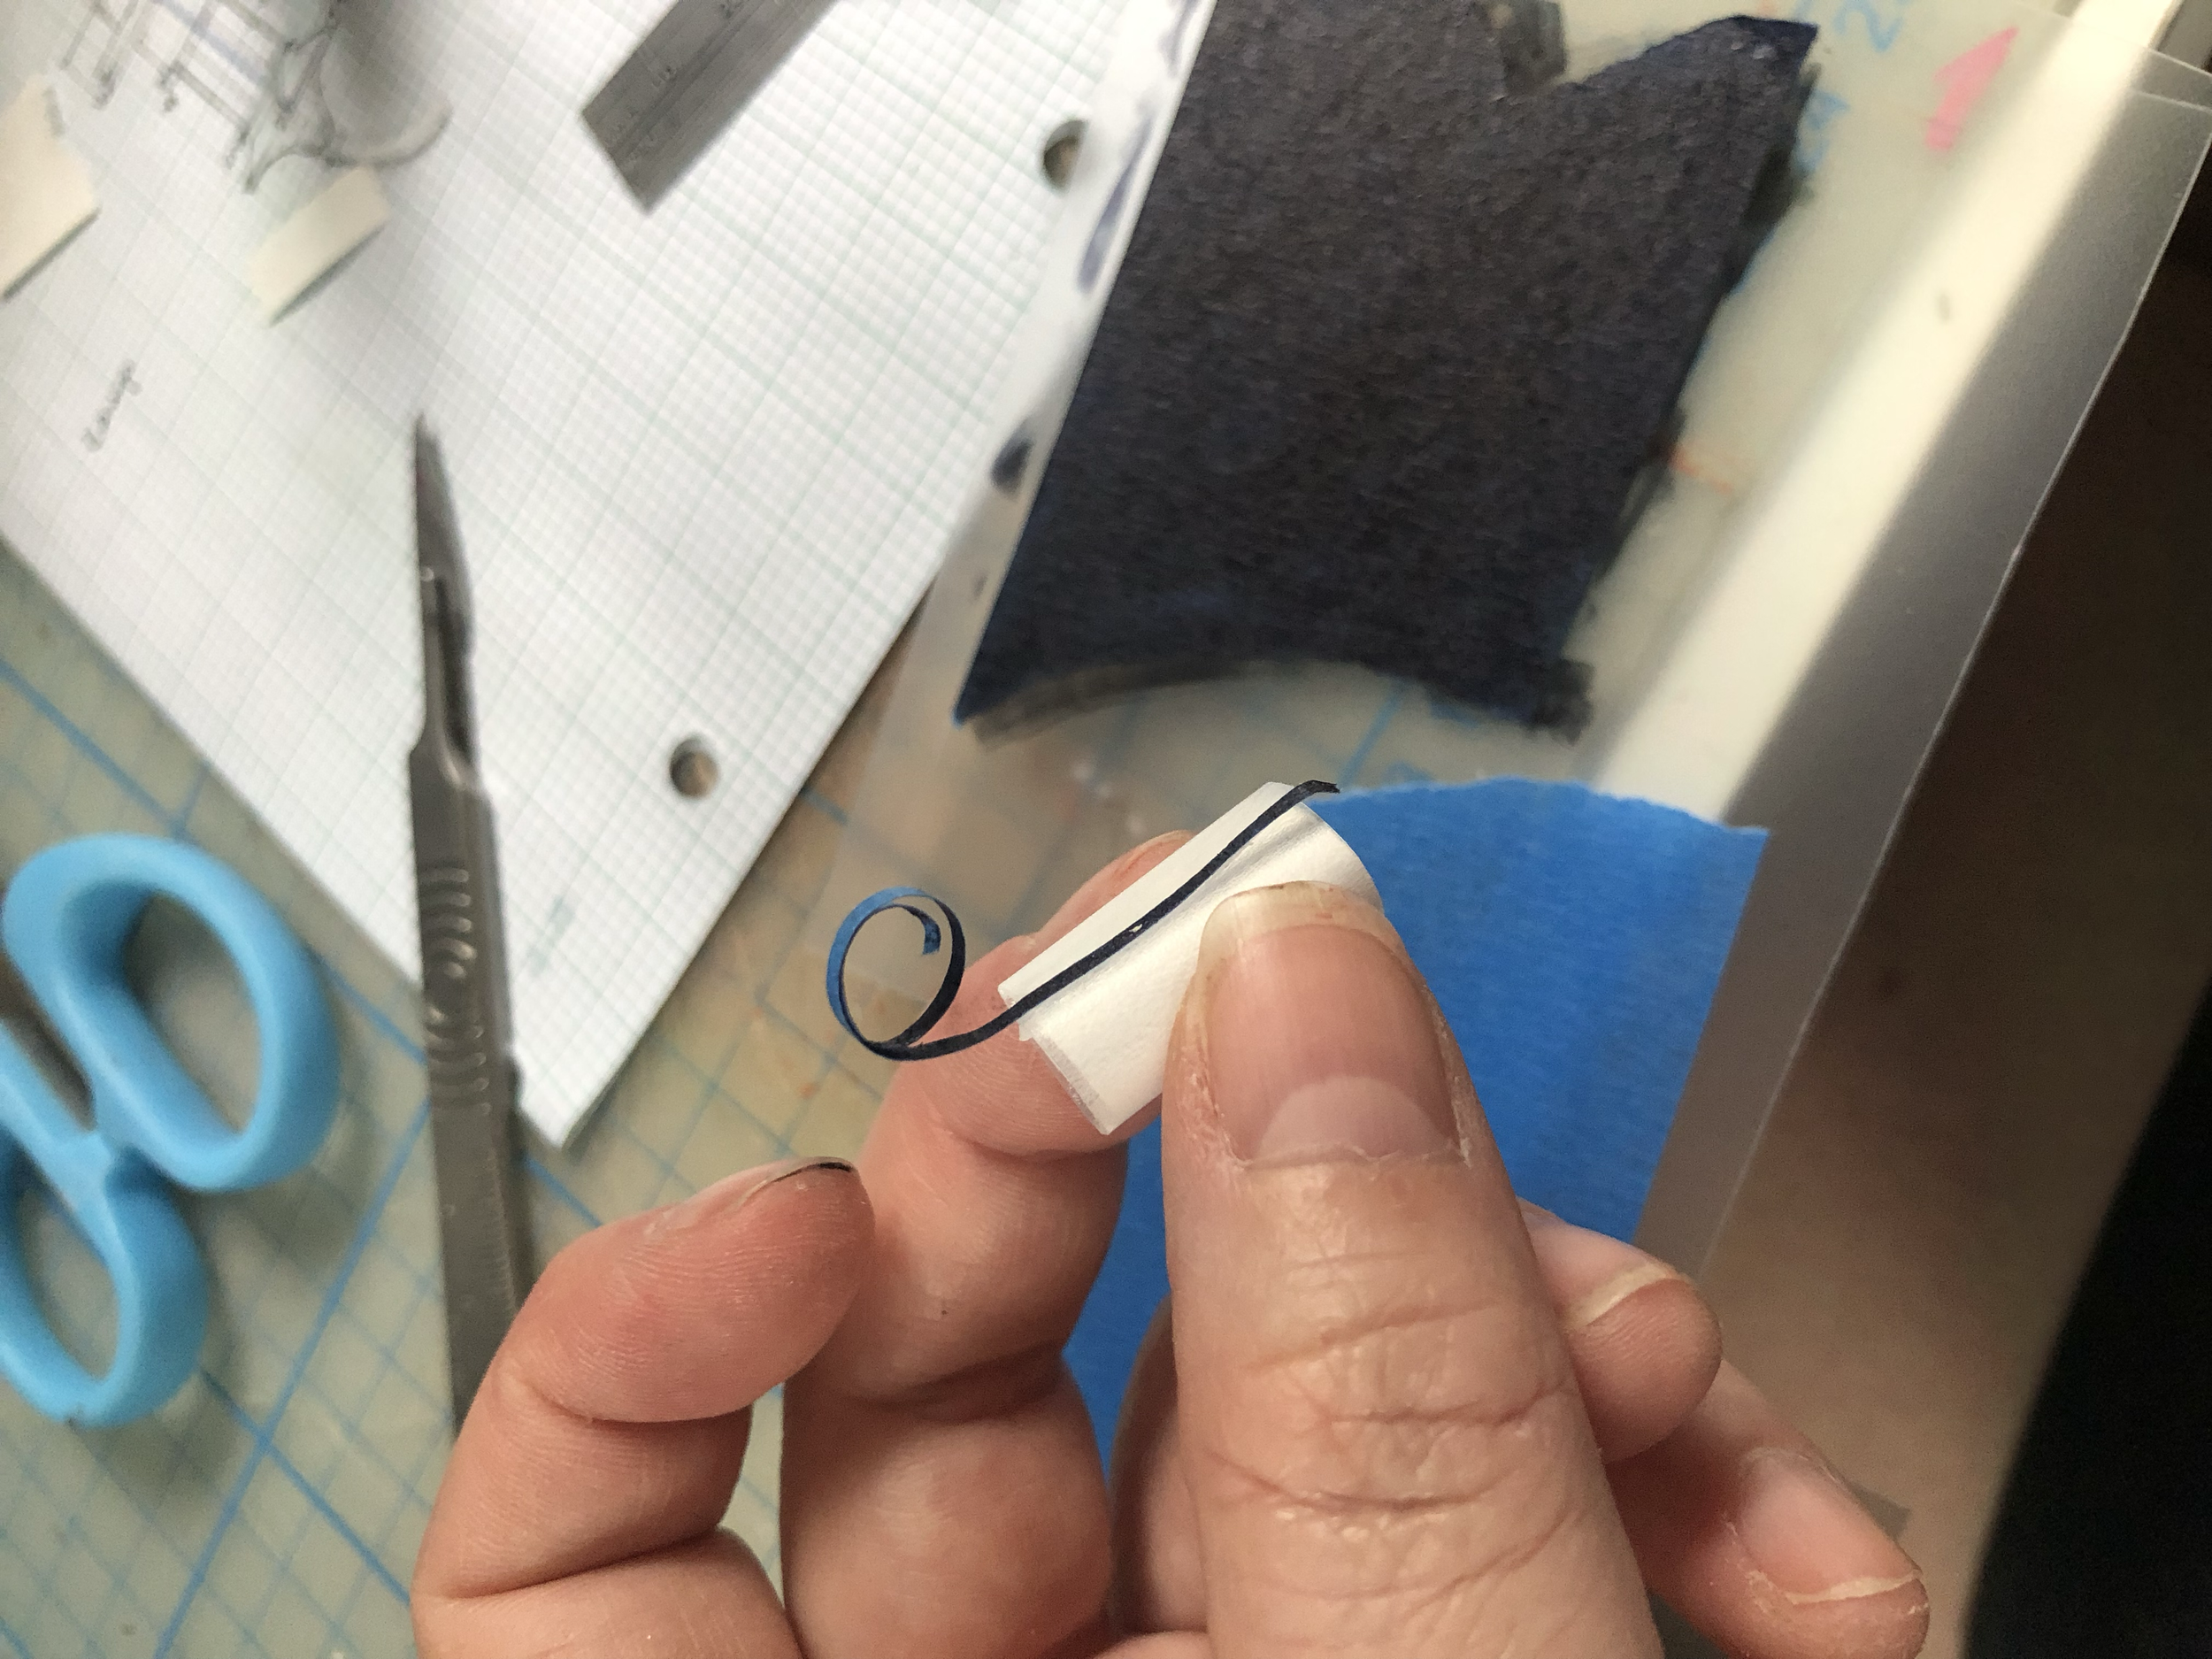
Making lamp from frosted plastic and painted tape strips
Painting kit-bashed pieces for the lamp
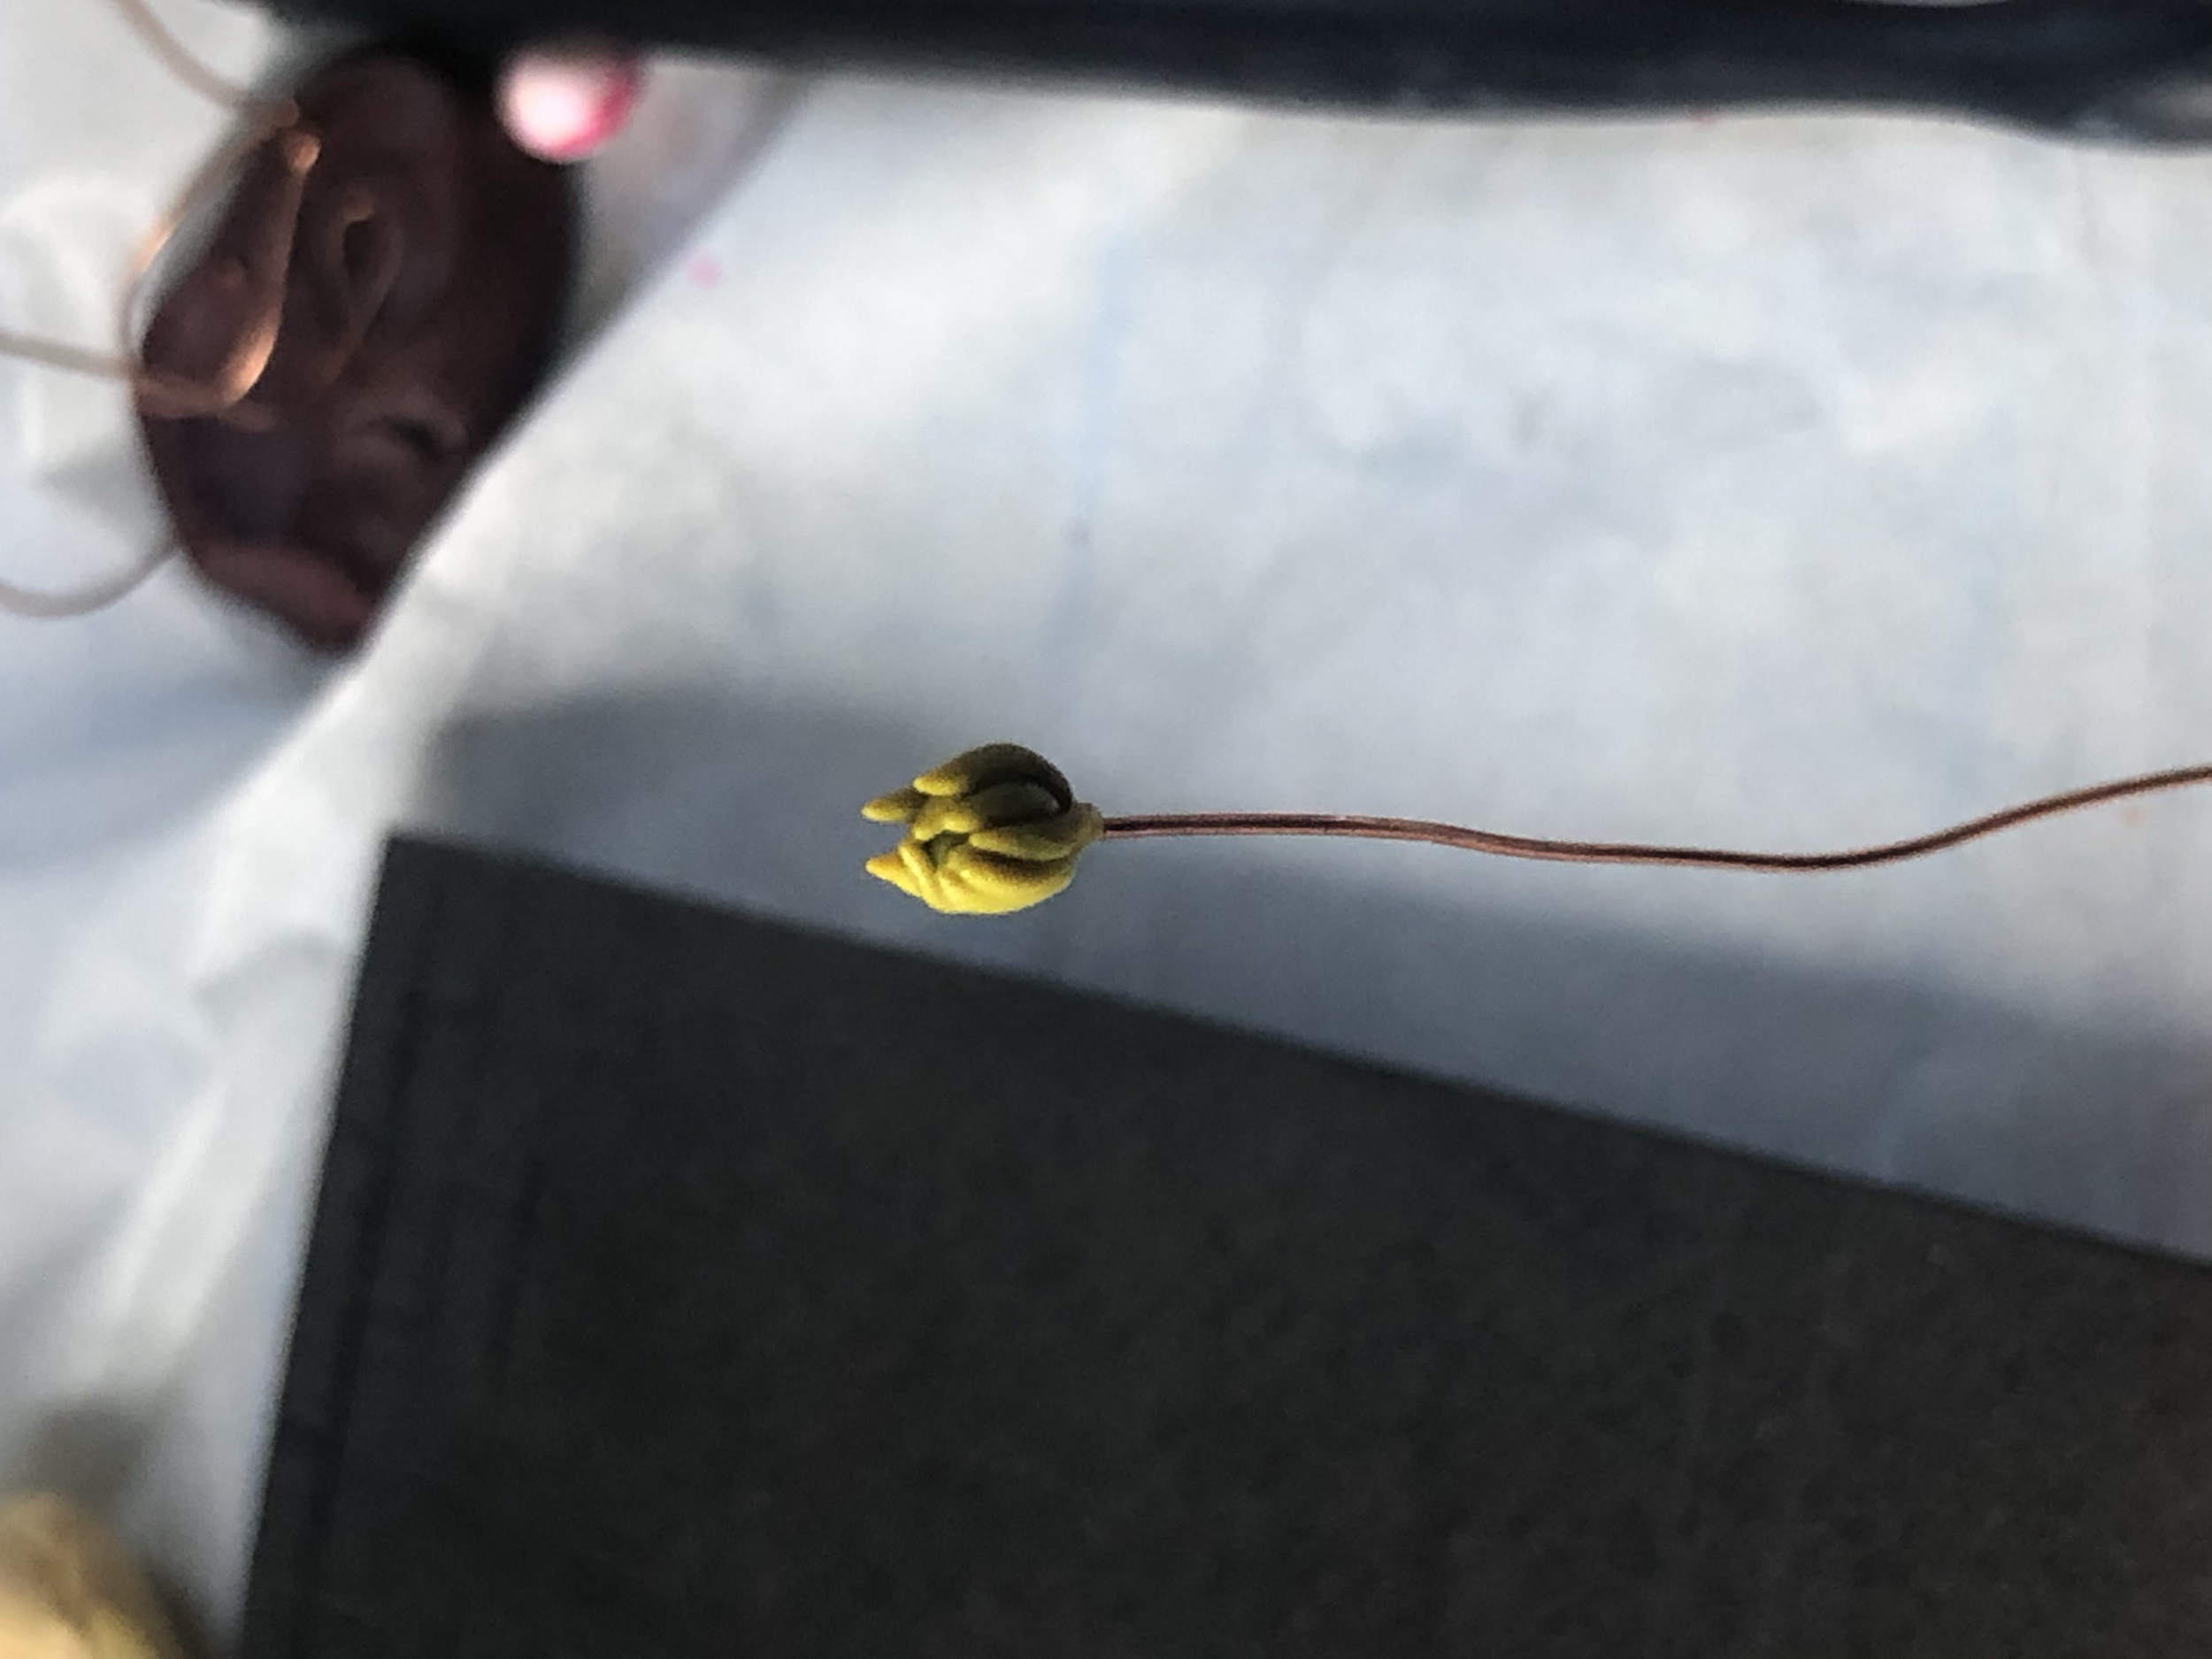
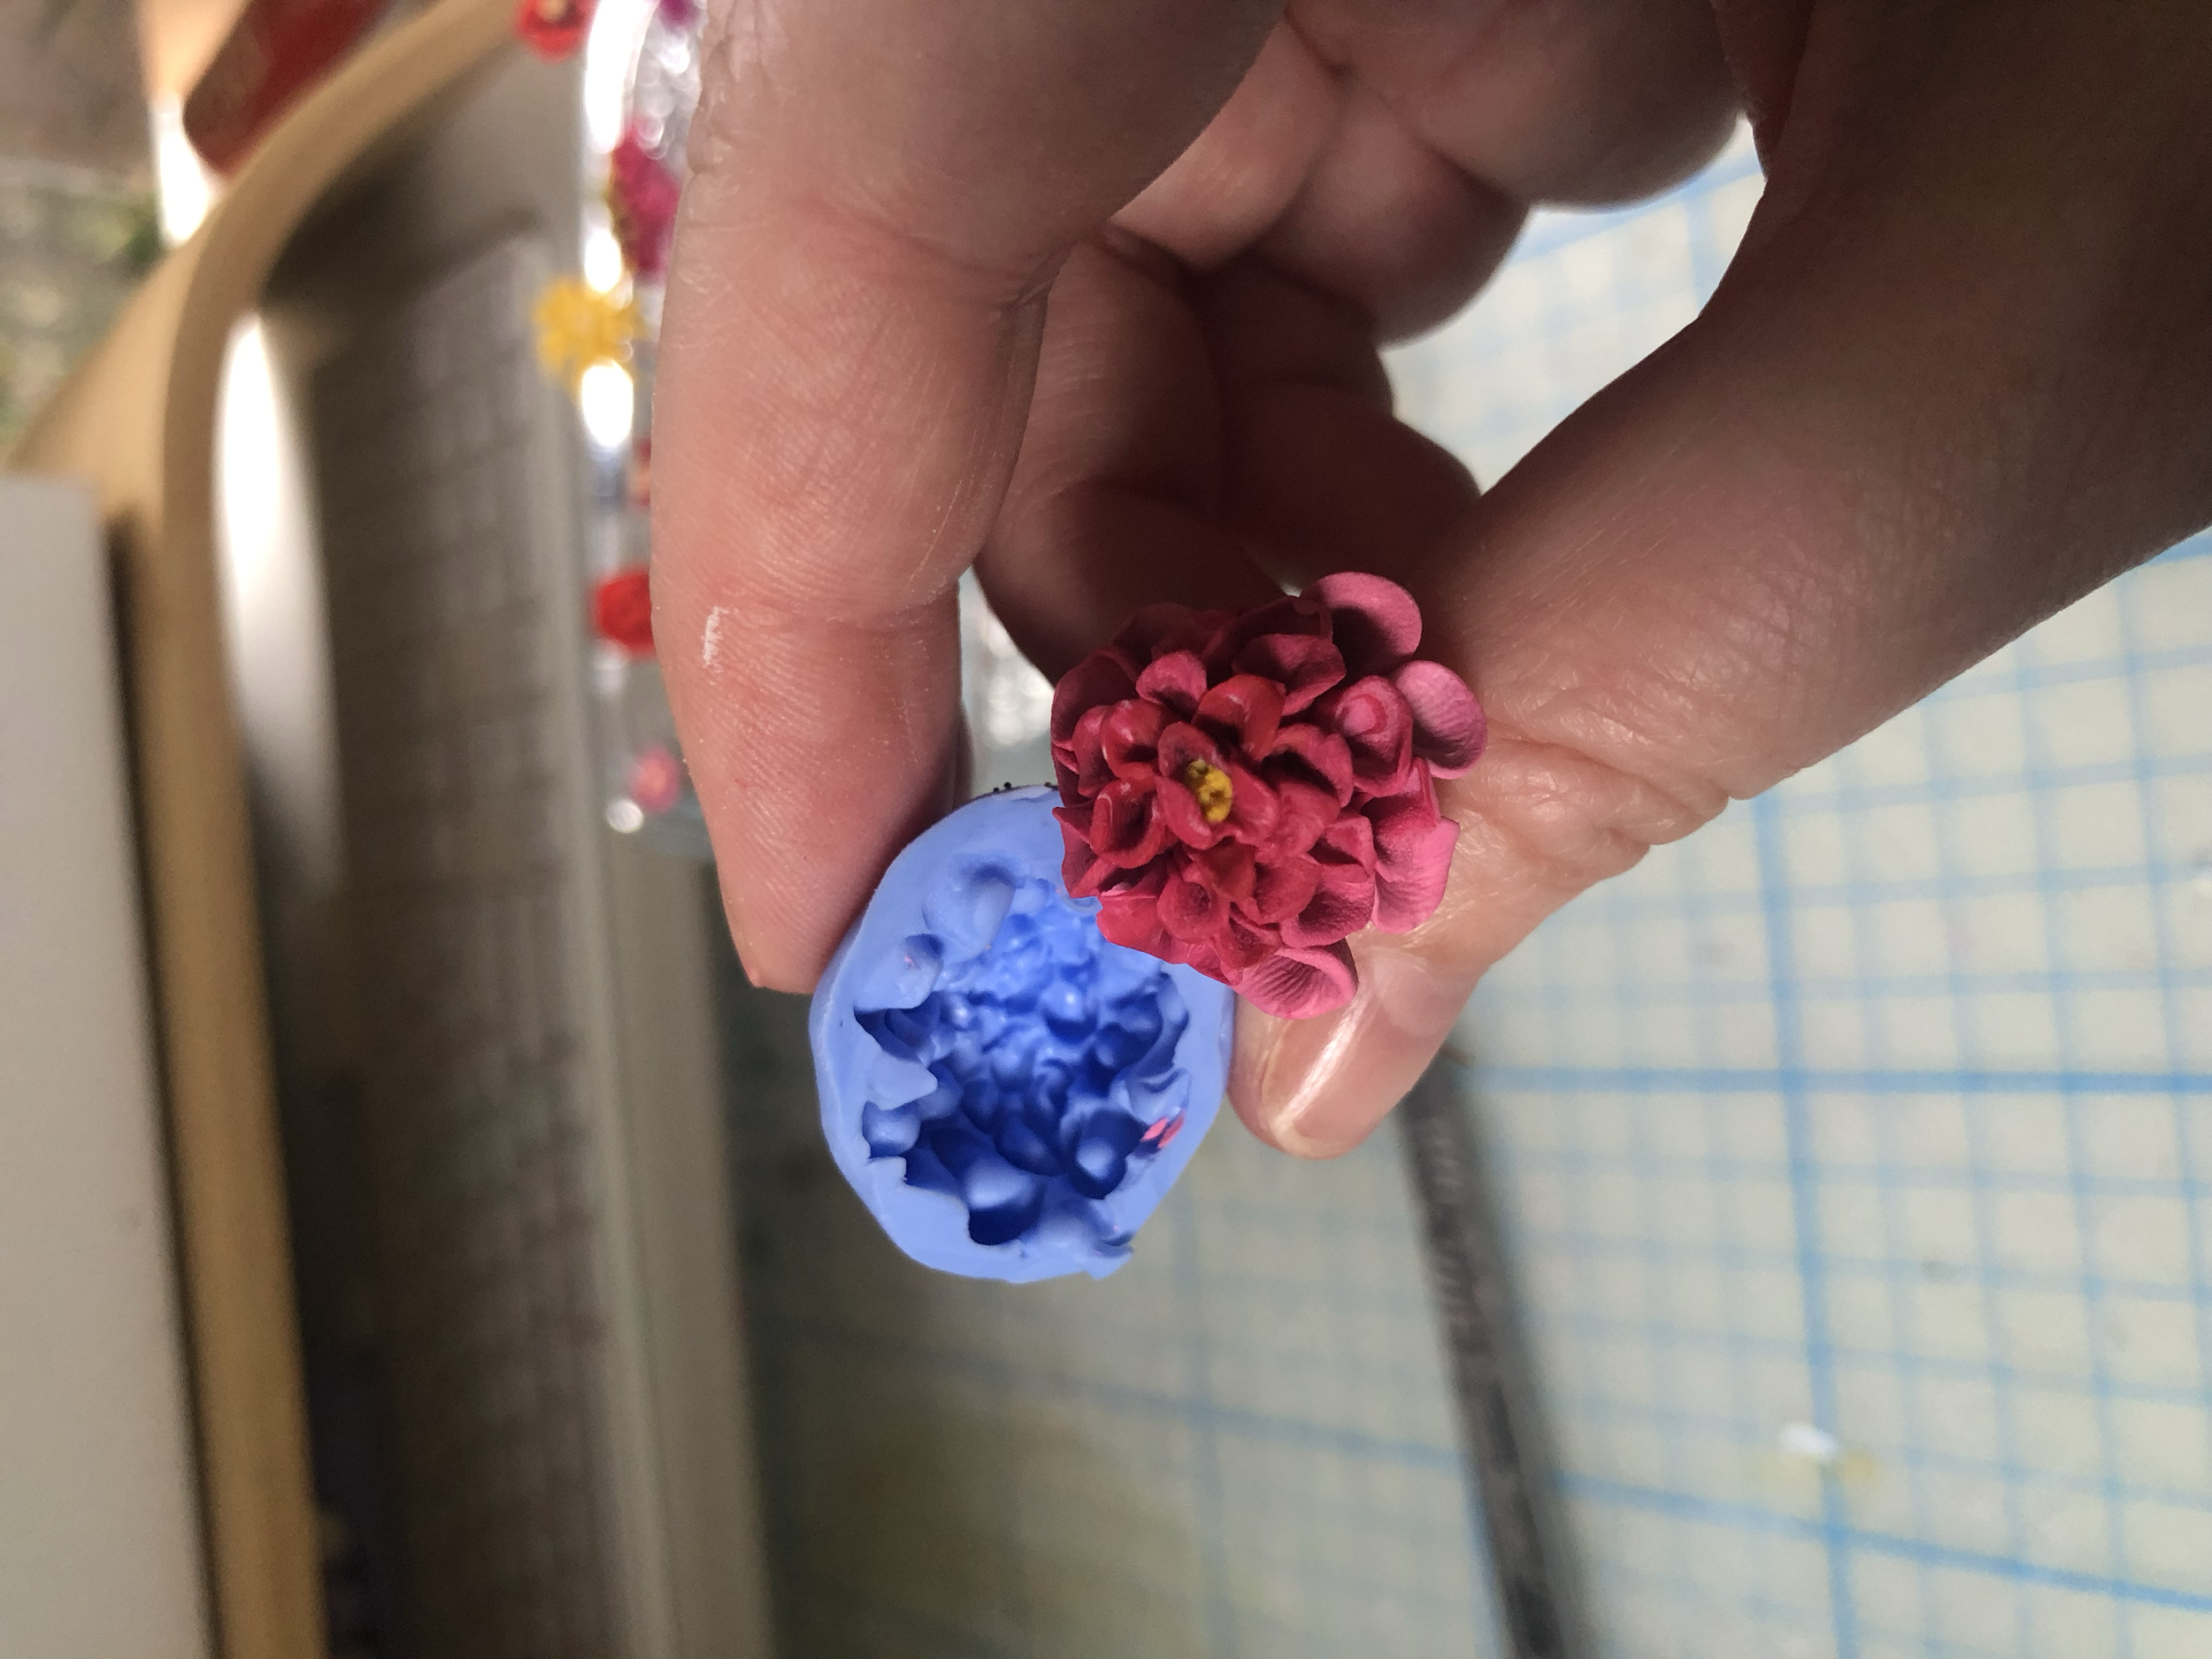
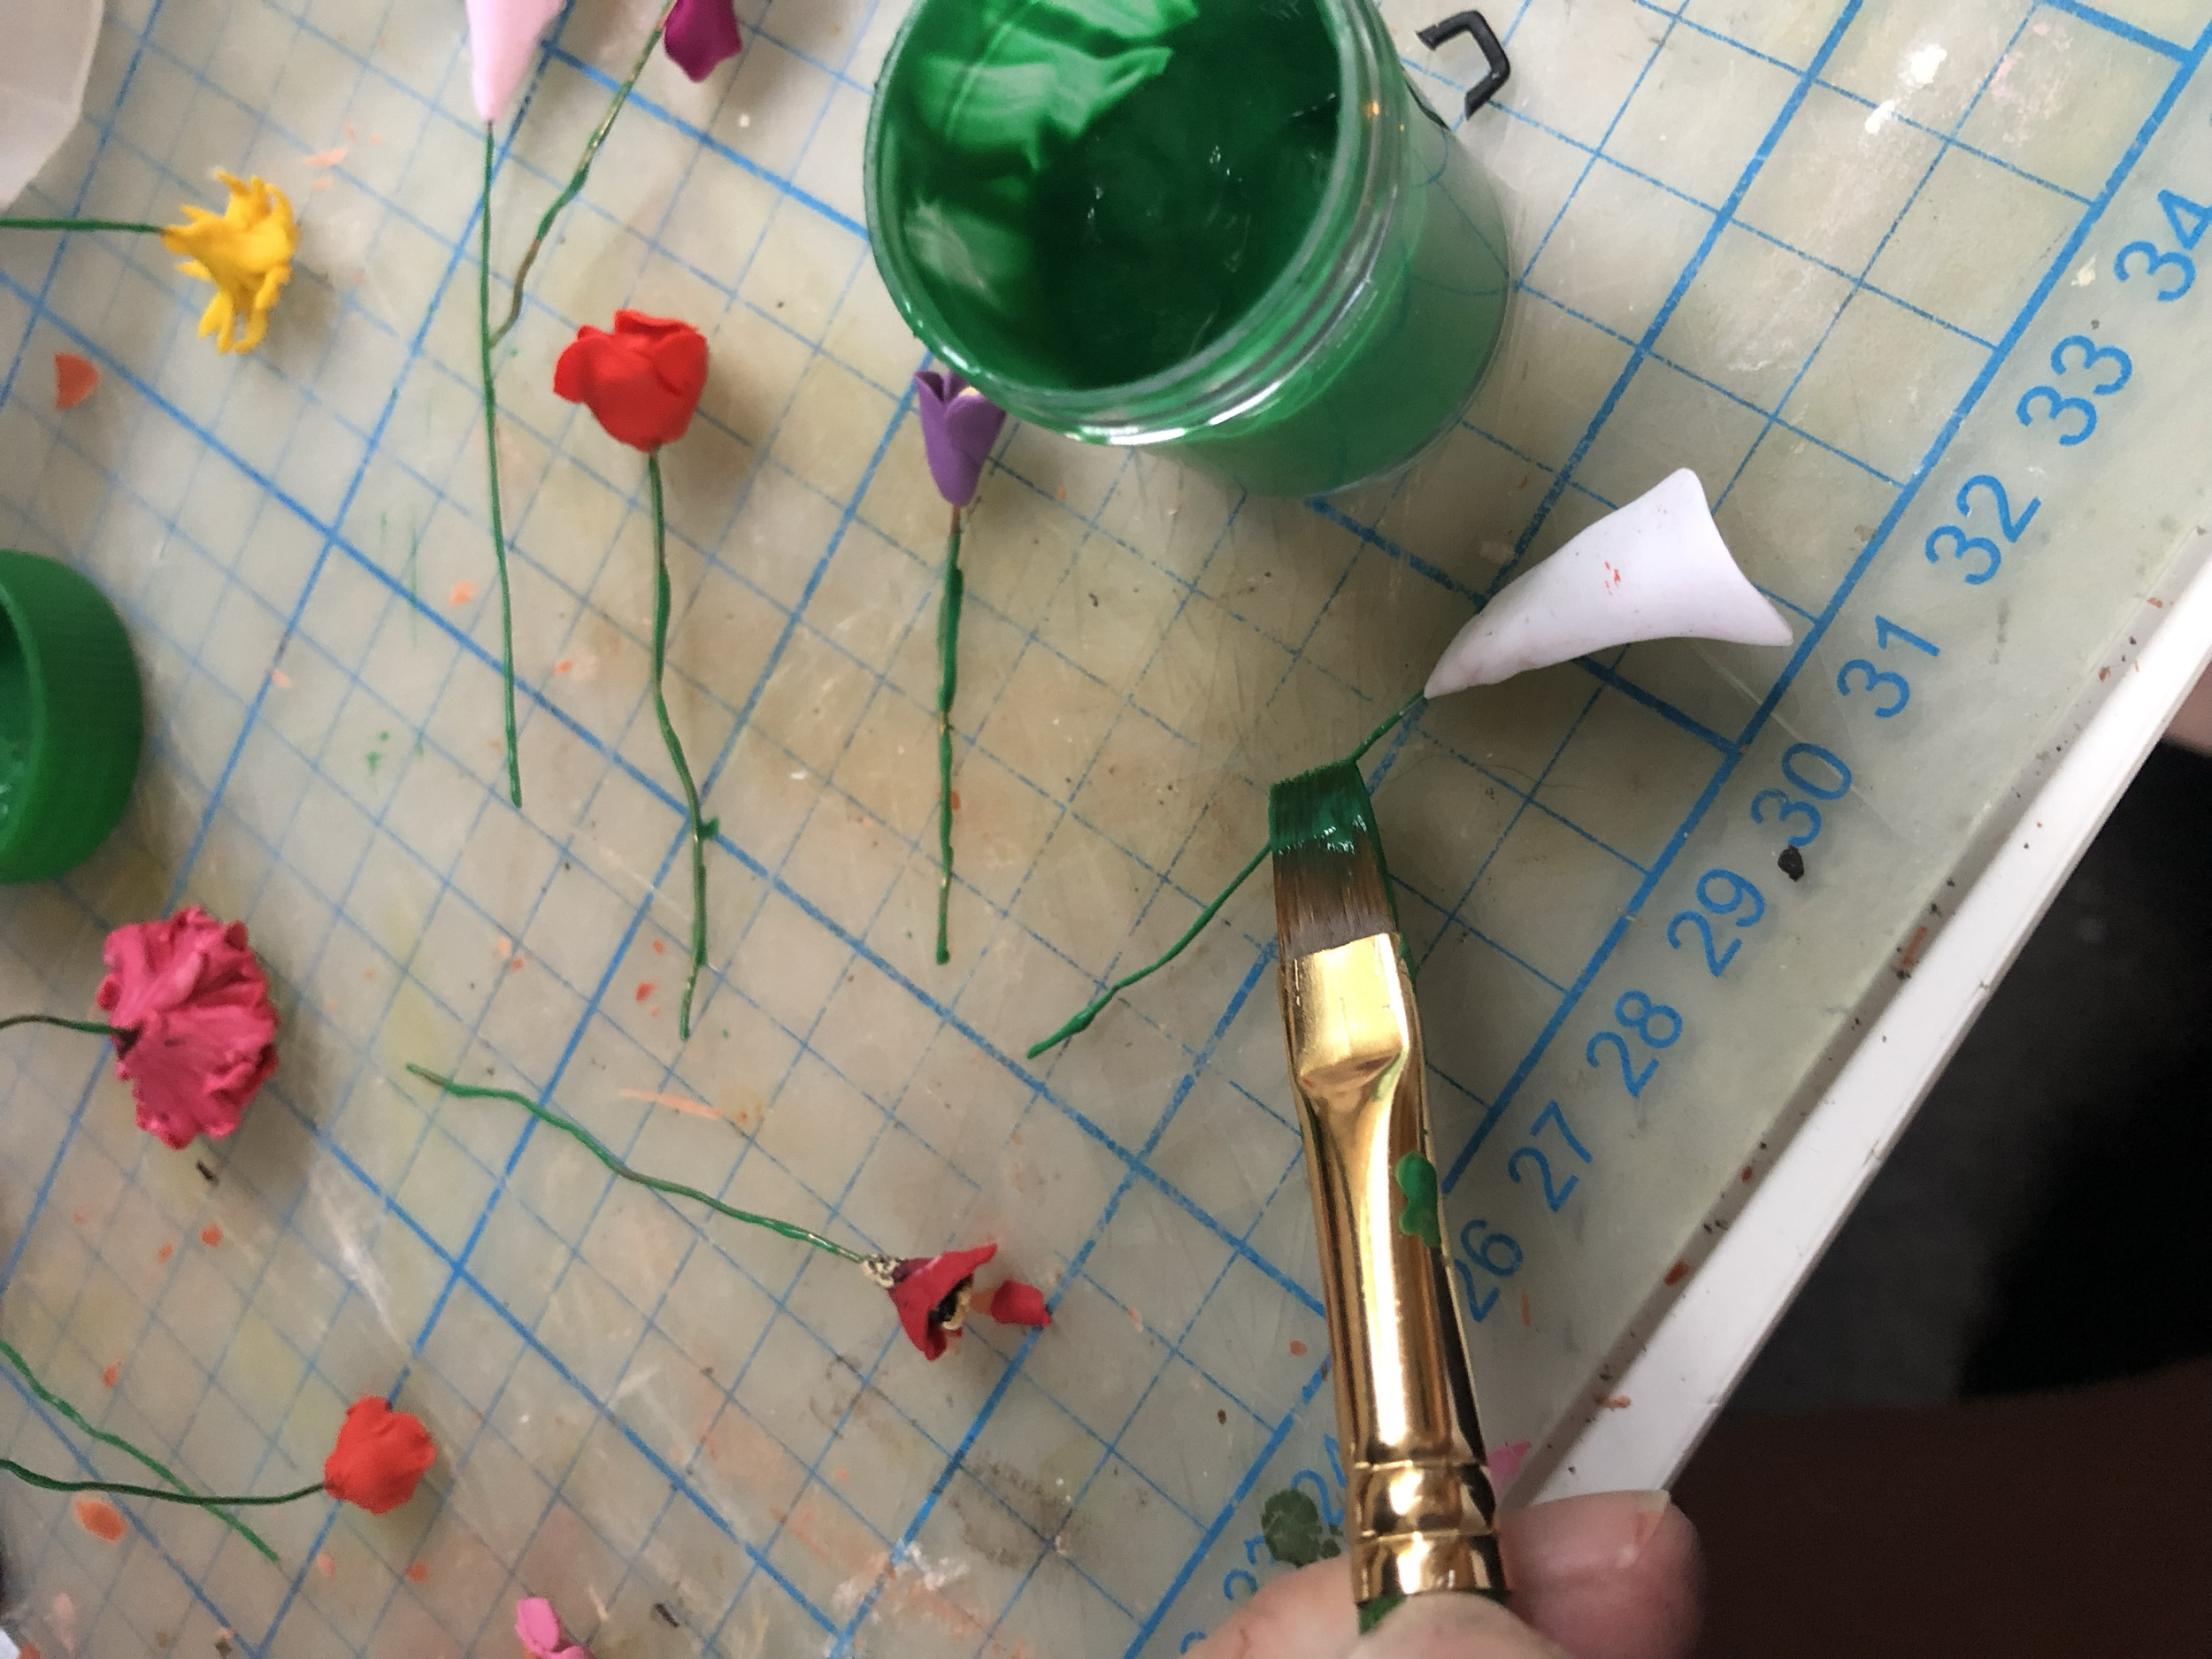
Sculpting the flowers

Starting to plan out the dressing. Sculpted some plant pots.
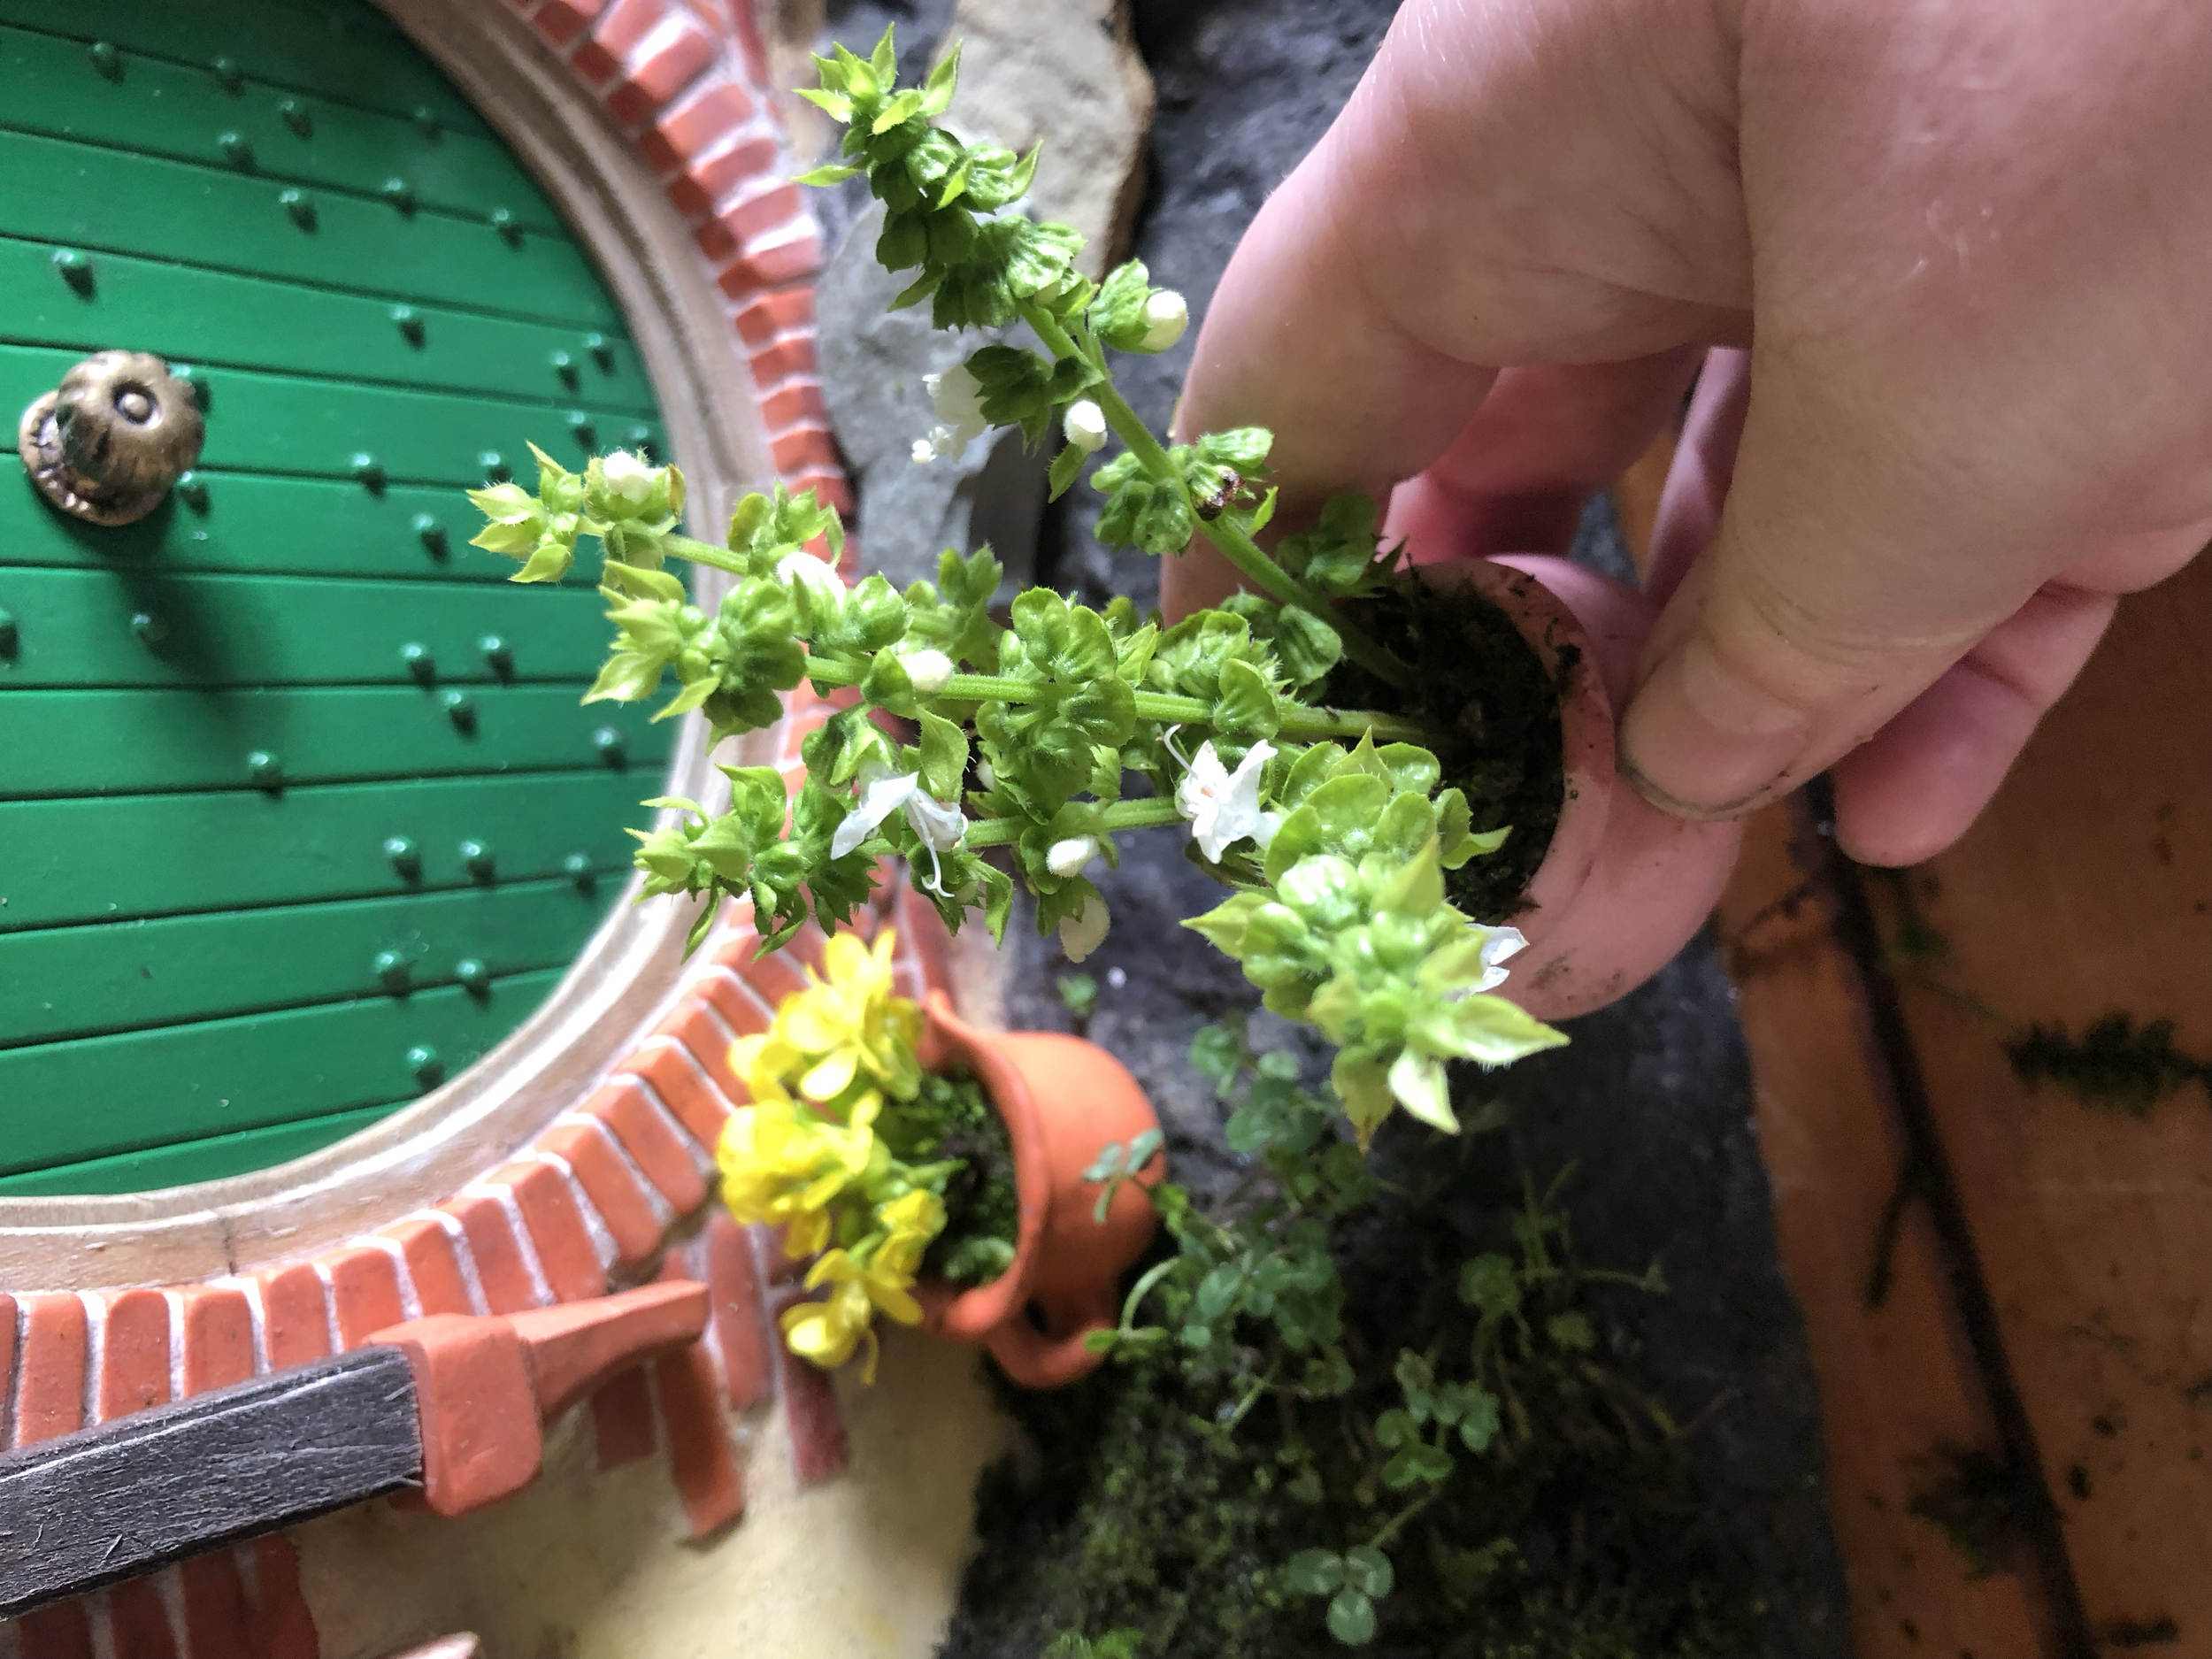

Dressing the mini set in foraged plant life
Wiring bigger/heavier plants and pinning them in place in the floristry foam beneath