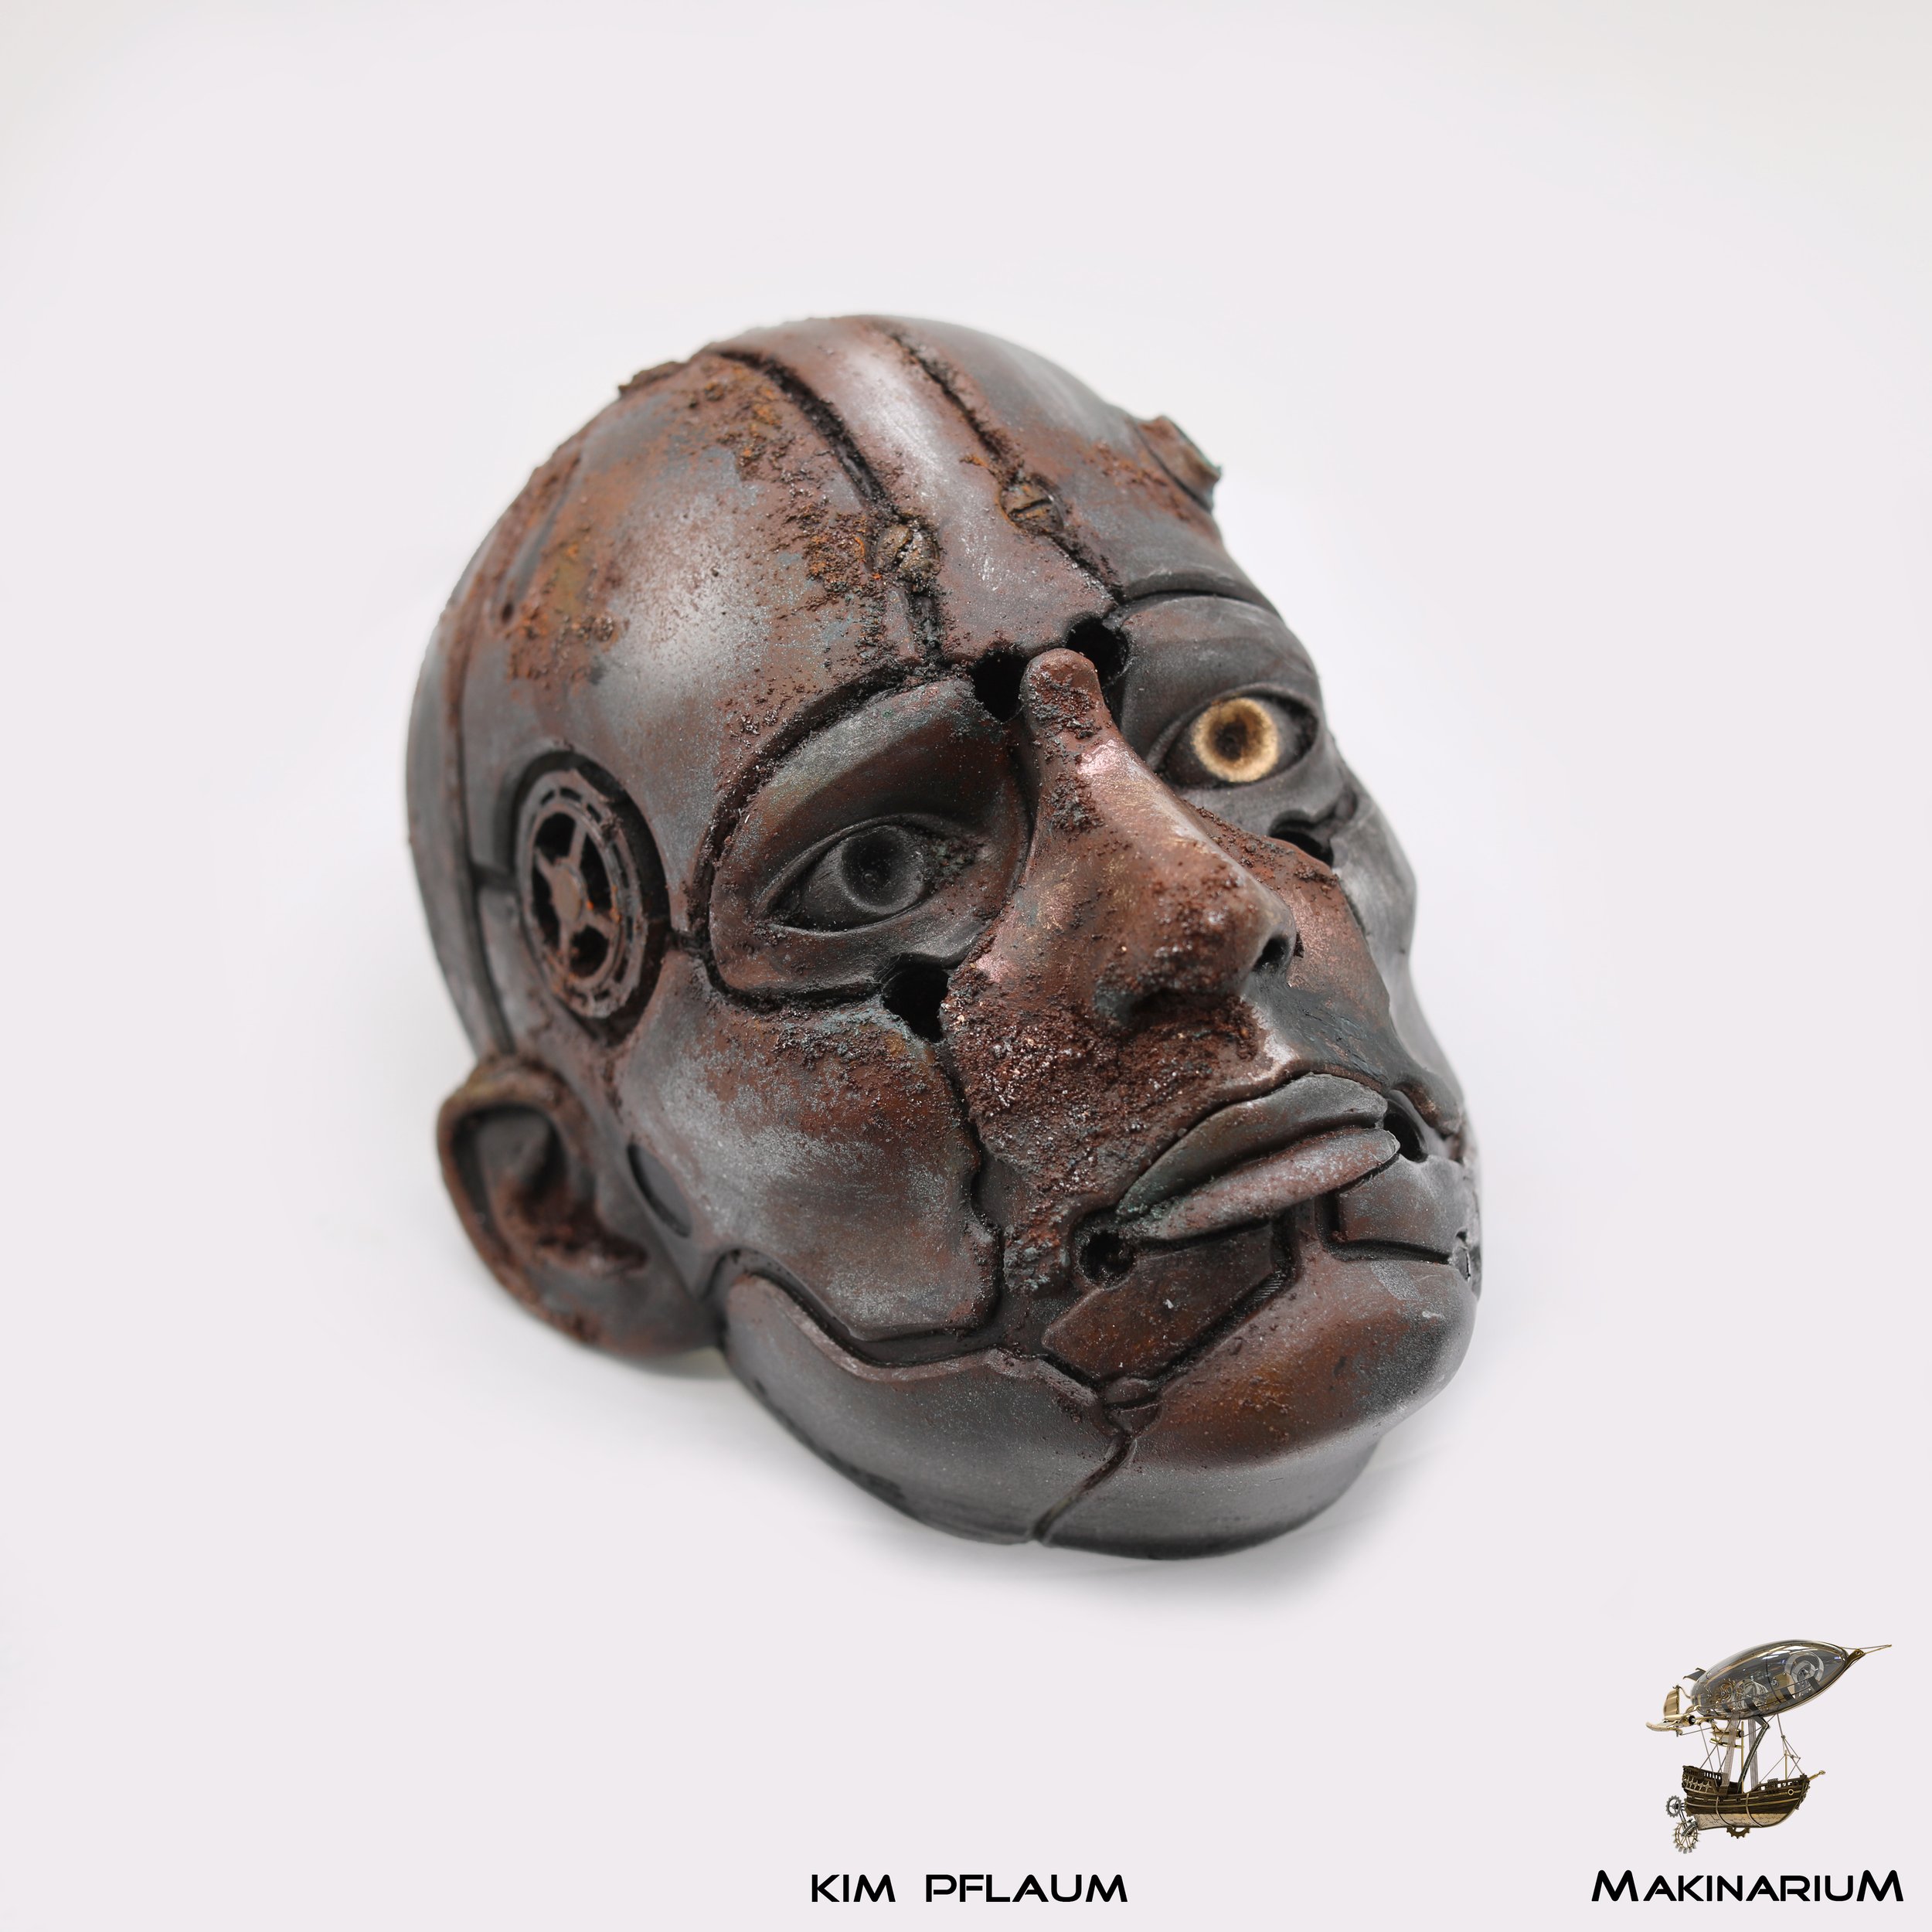
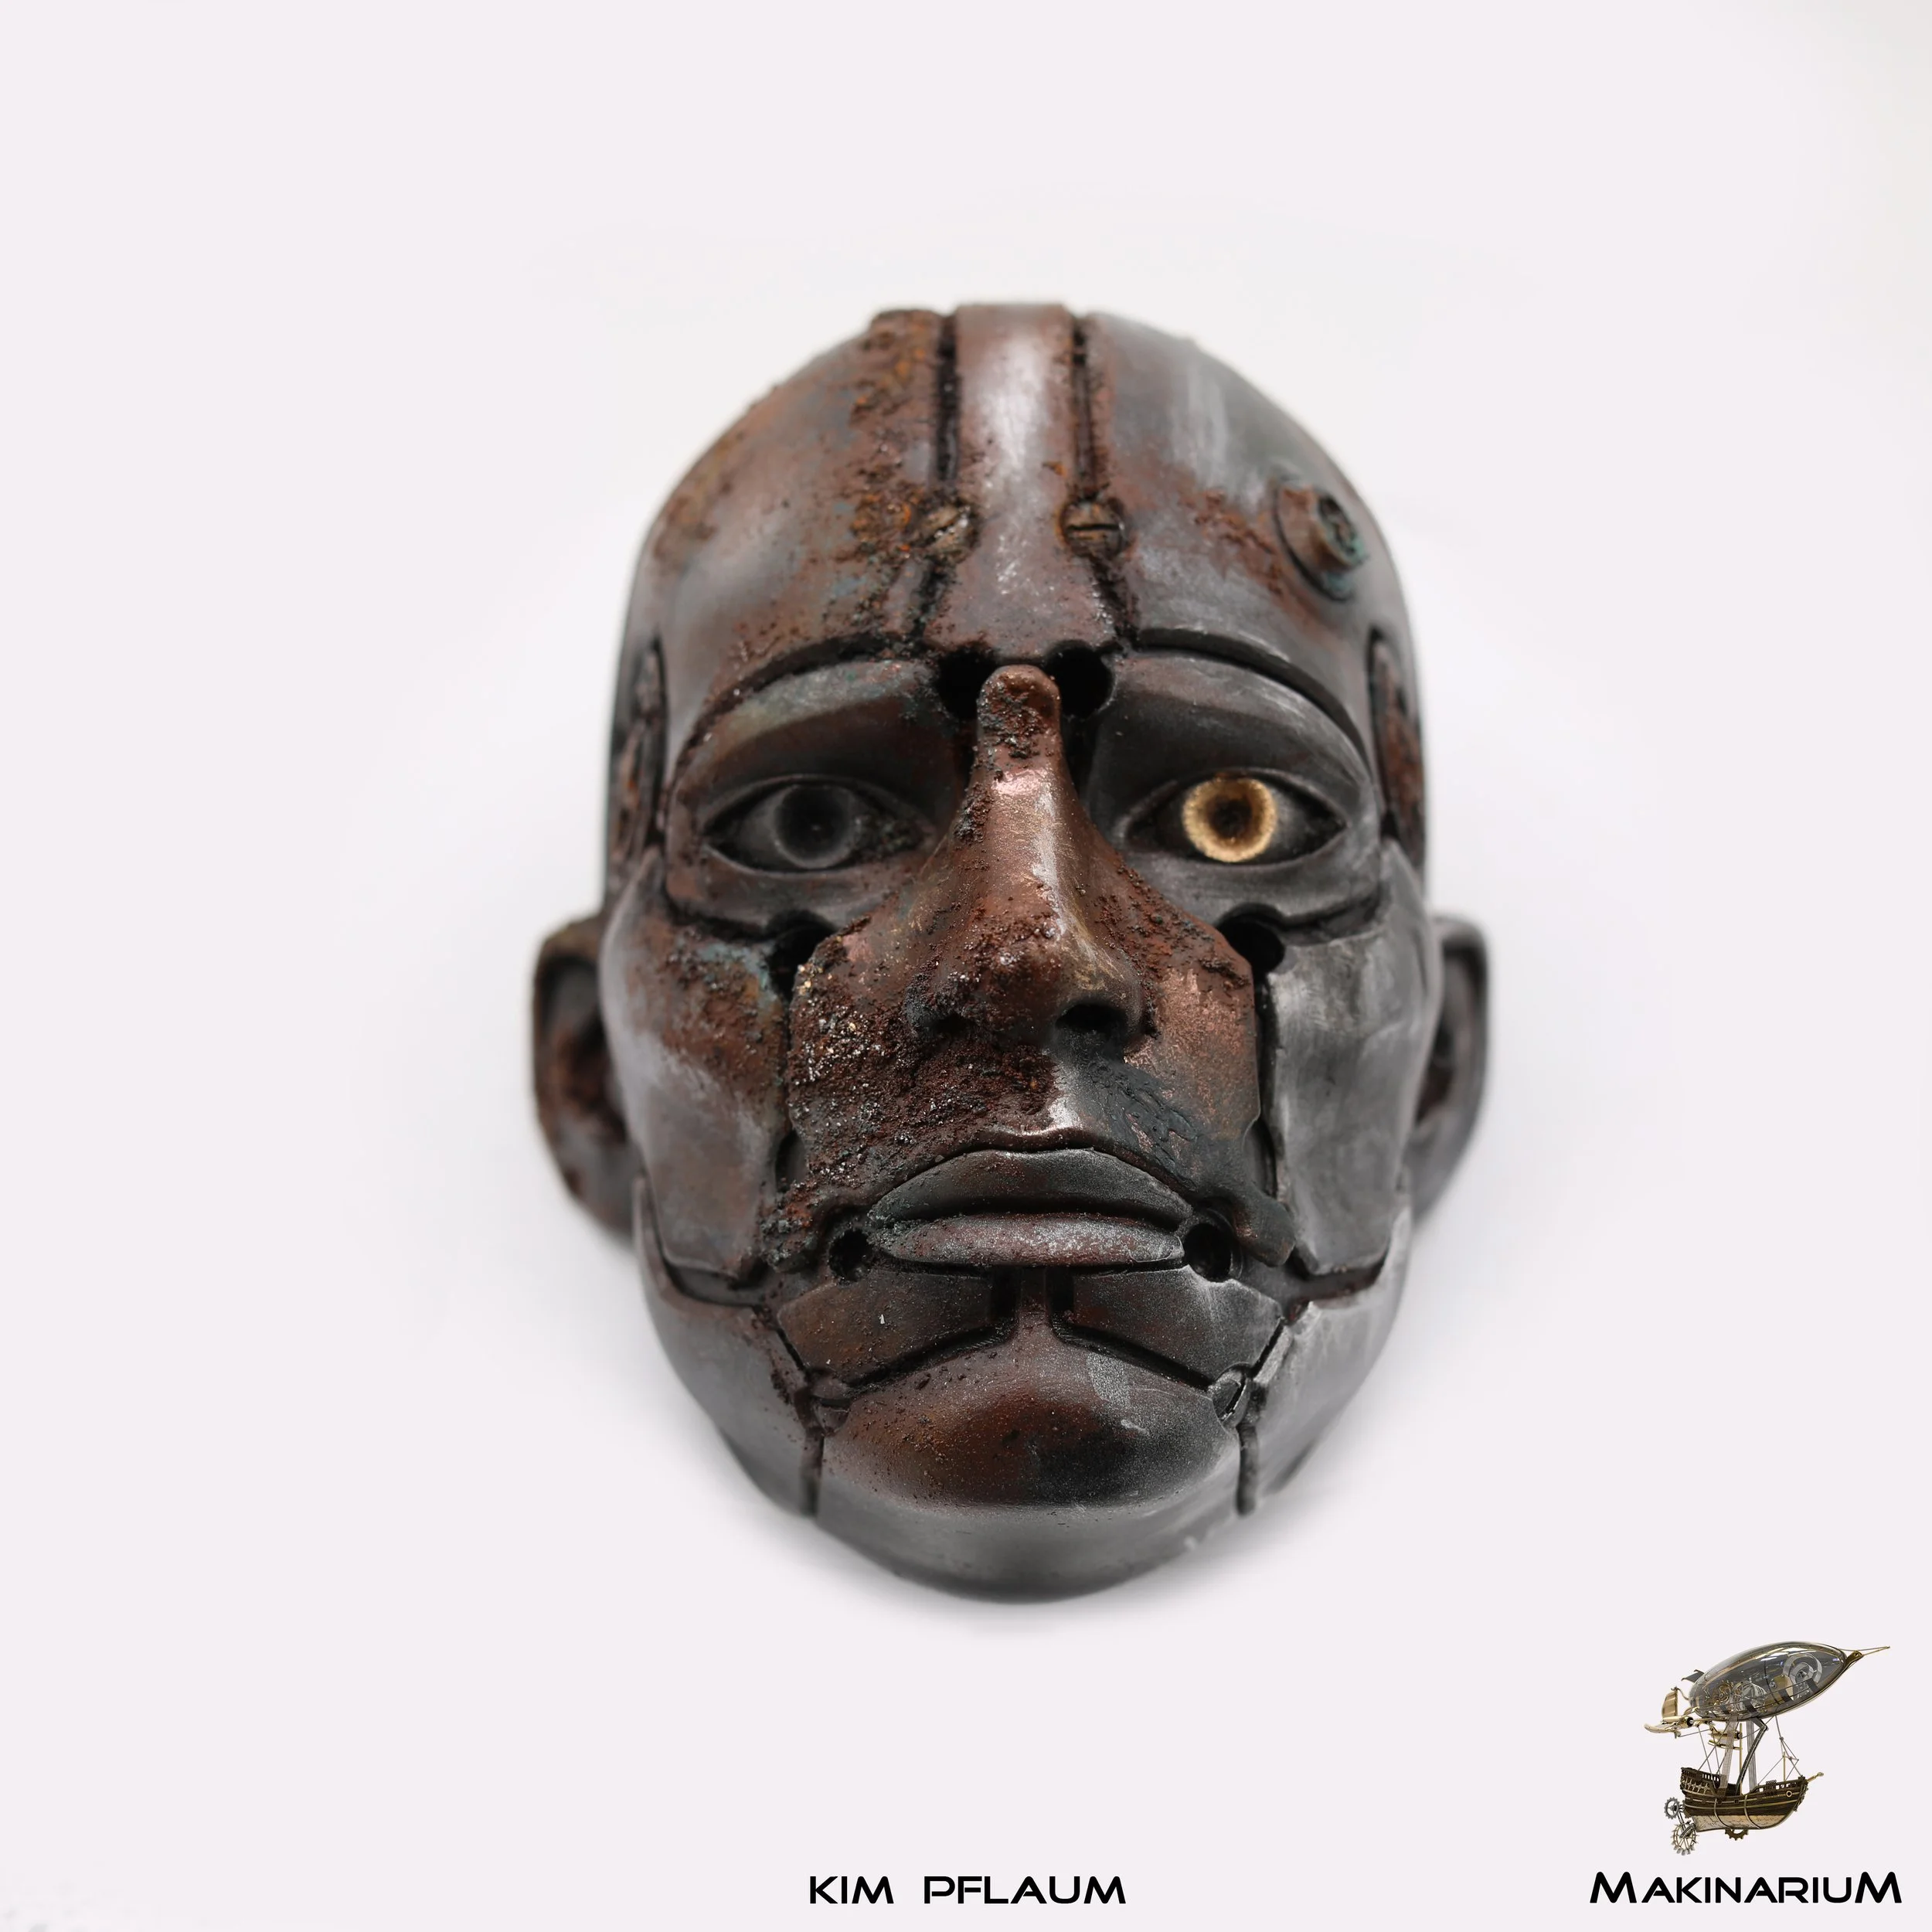
Salvage Robot Head
Made as part of week long props bootcamp at Makinaruim, Pinewood.
We had the 3D printed face design to paint, plus separate nose piece to mould, cast, and paint.
We practiced various painting techniques such as: airgun with compressor, spray painting in spray booth, priming, undercoating, surface finishing such as dry and wet brushing, rust, verdigris, and other aging and weathering, chrome and other metallic effects and high gloss, as well as painting health and safety.
We learned moulding and casting and finishing techniques using fast cast (SG2000), liquid polyurethane rubber (PT Flex 70), silicone (3481) including using degassing machine, car body filler (U-POL Easy Sand), aluminium powders and PU pigments. We also learned health and safety around using all these products.


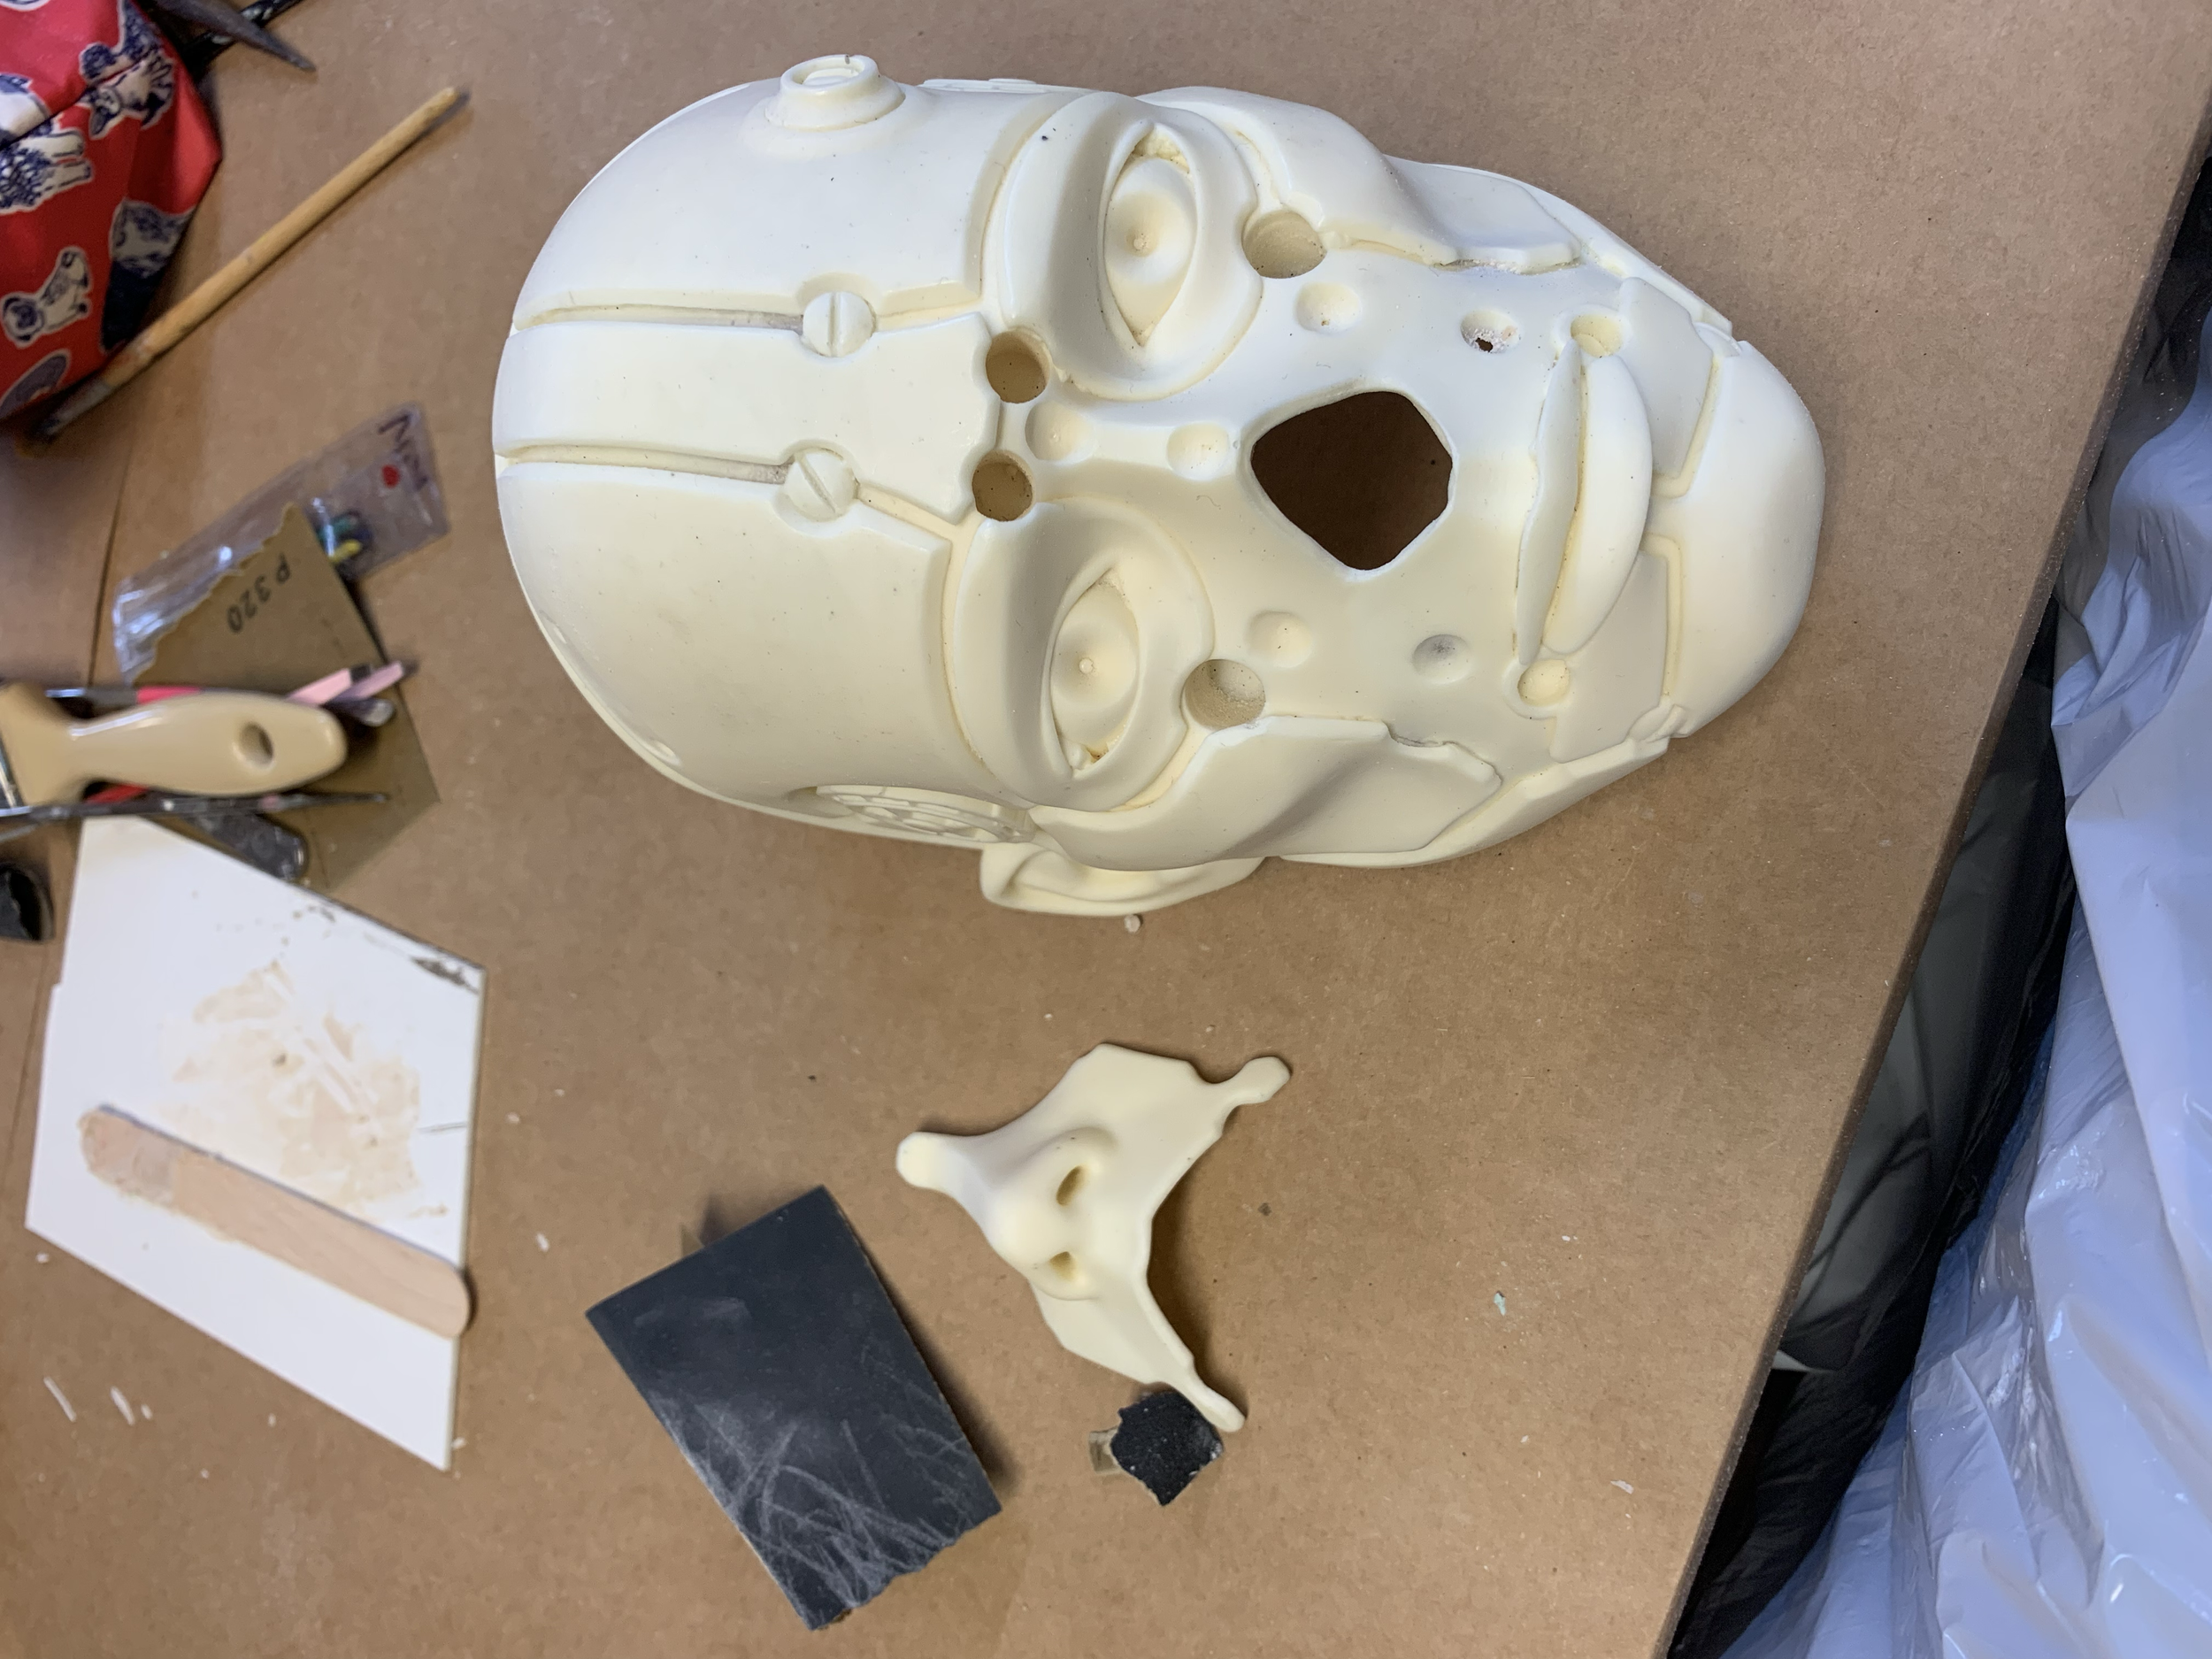
The 3D printed pieces, designed by Jet Cooper.
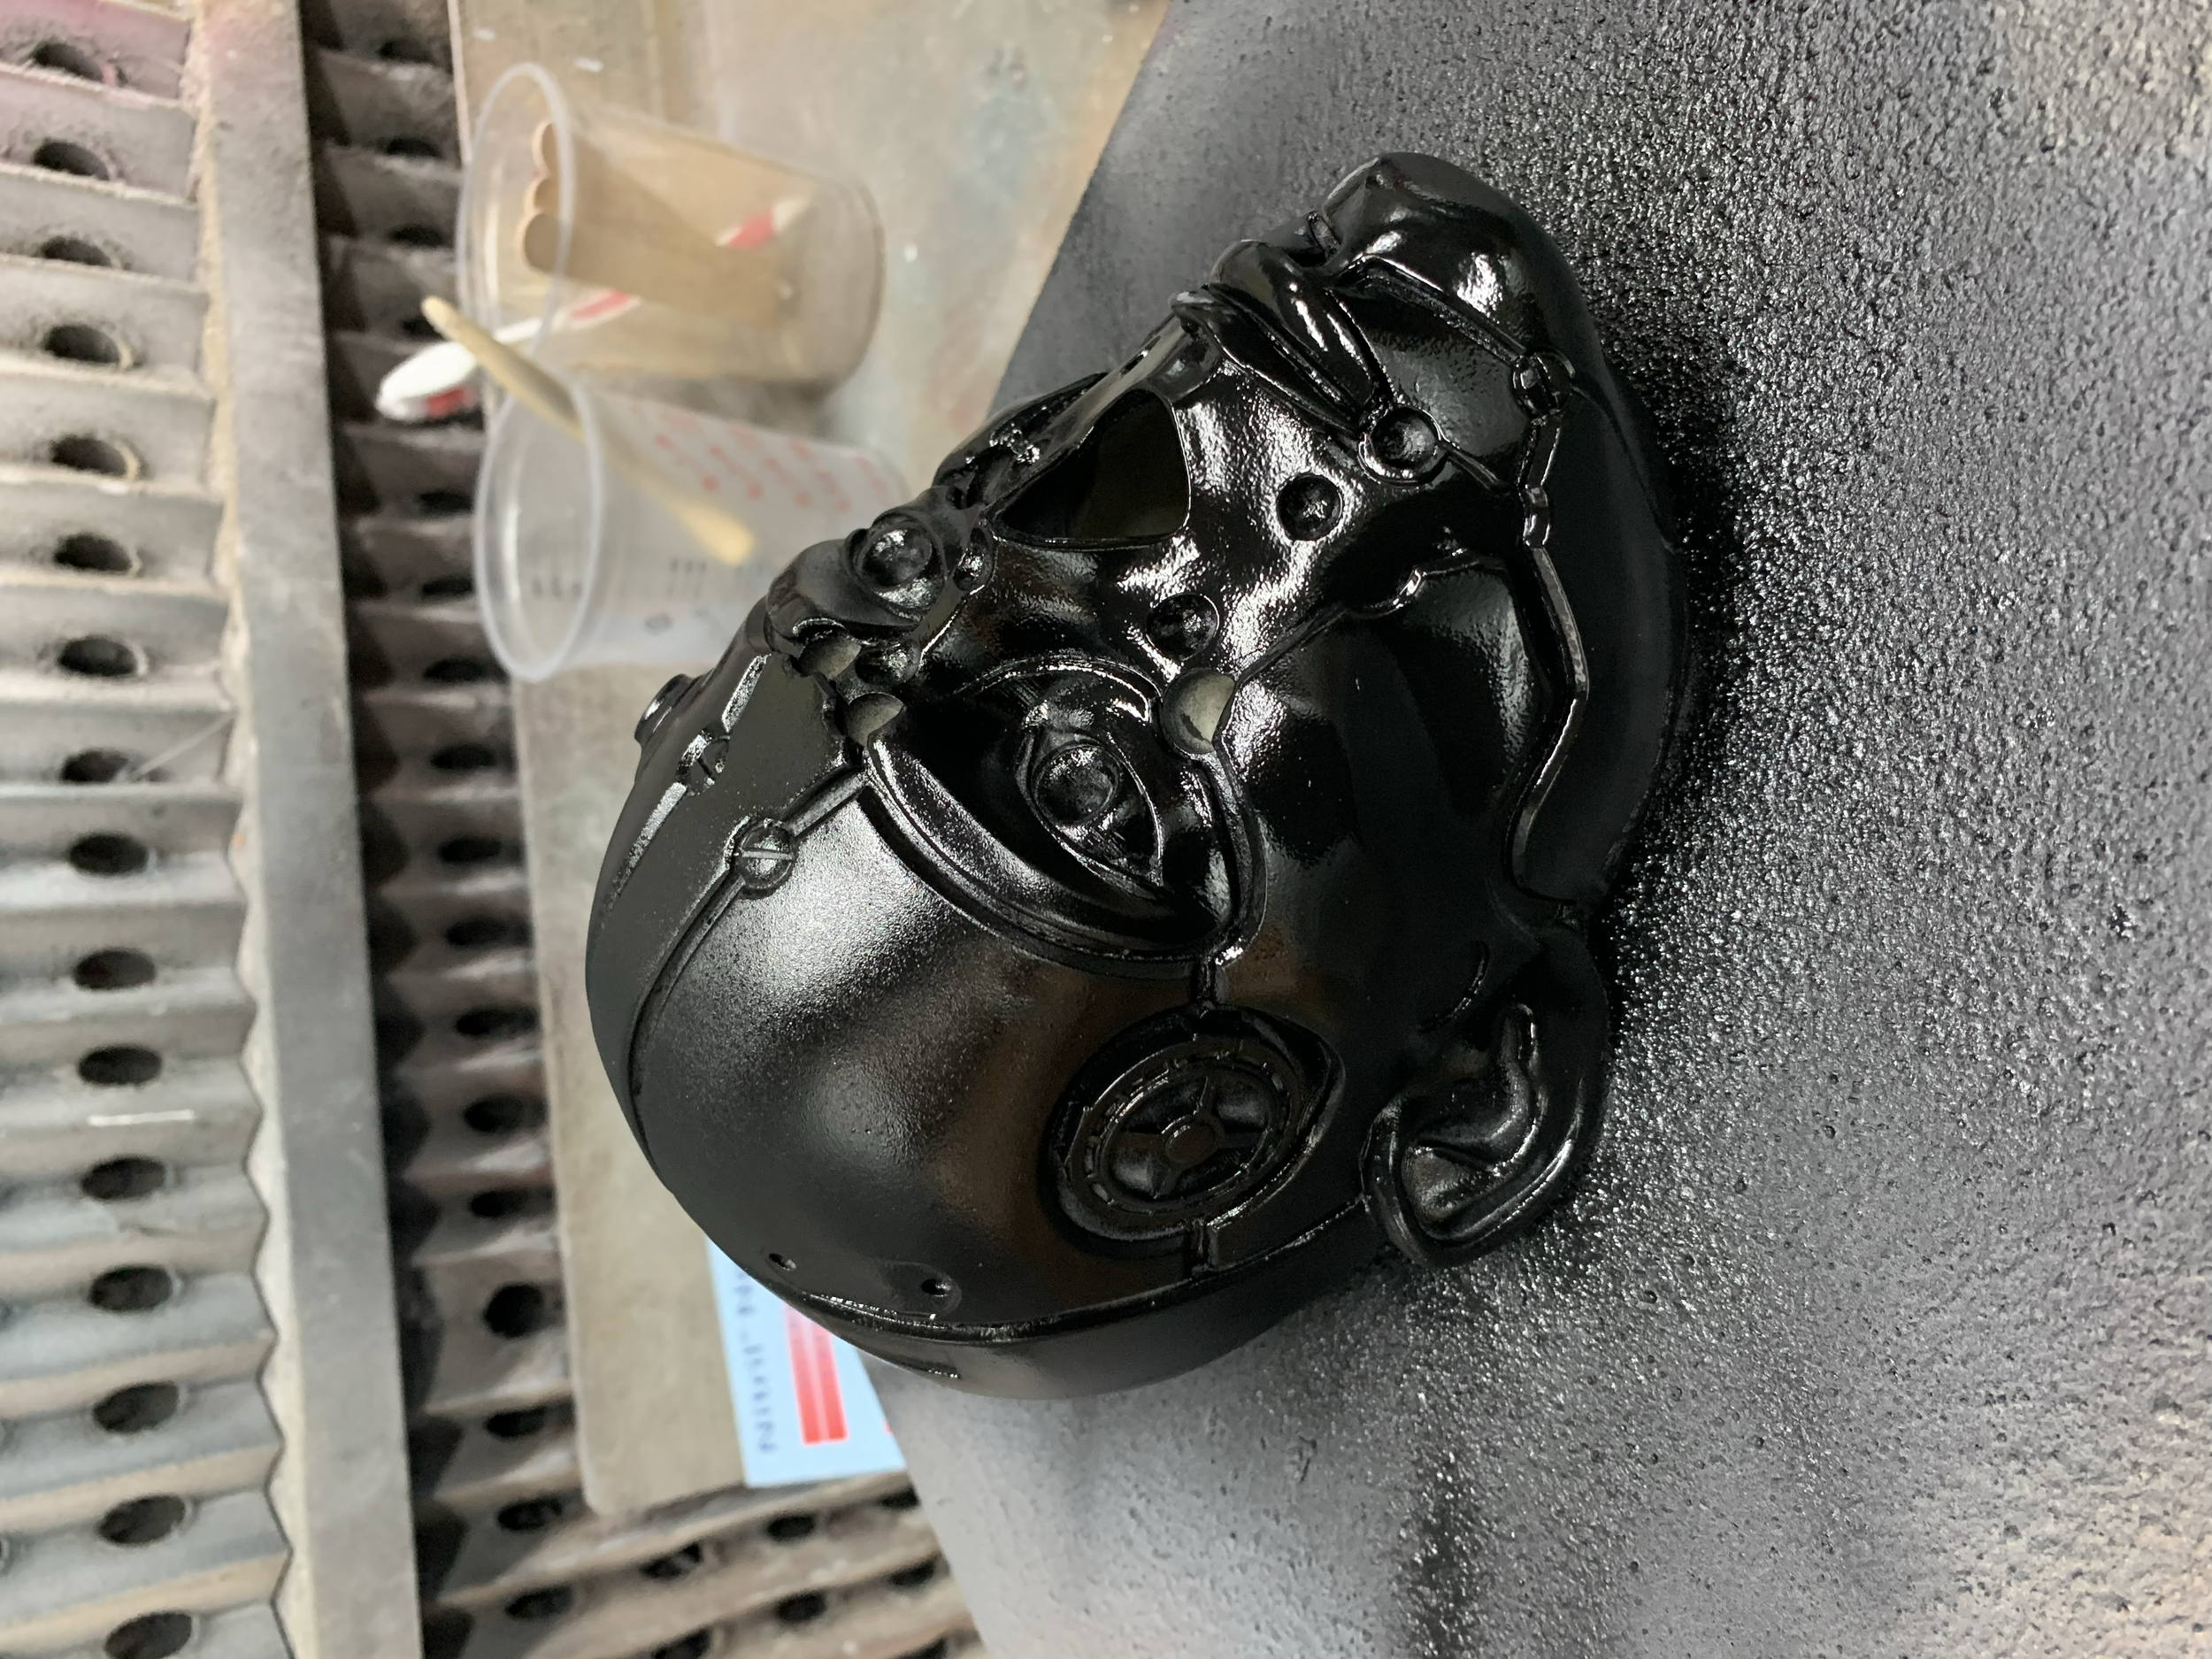
Laying down the high gloss black spray layer

Then adding layers of various metallics in the spray booth.
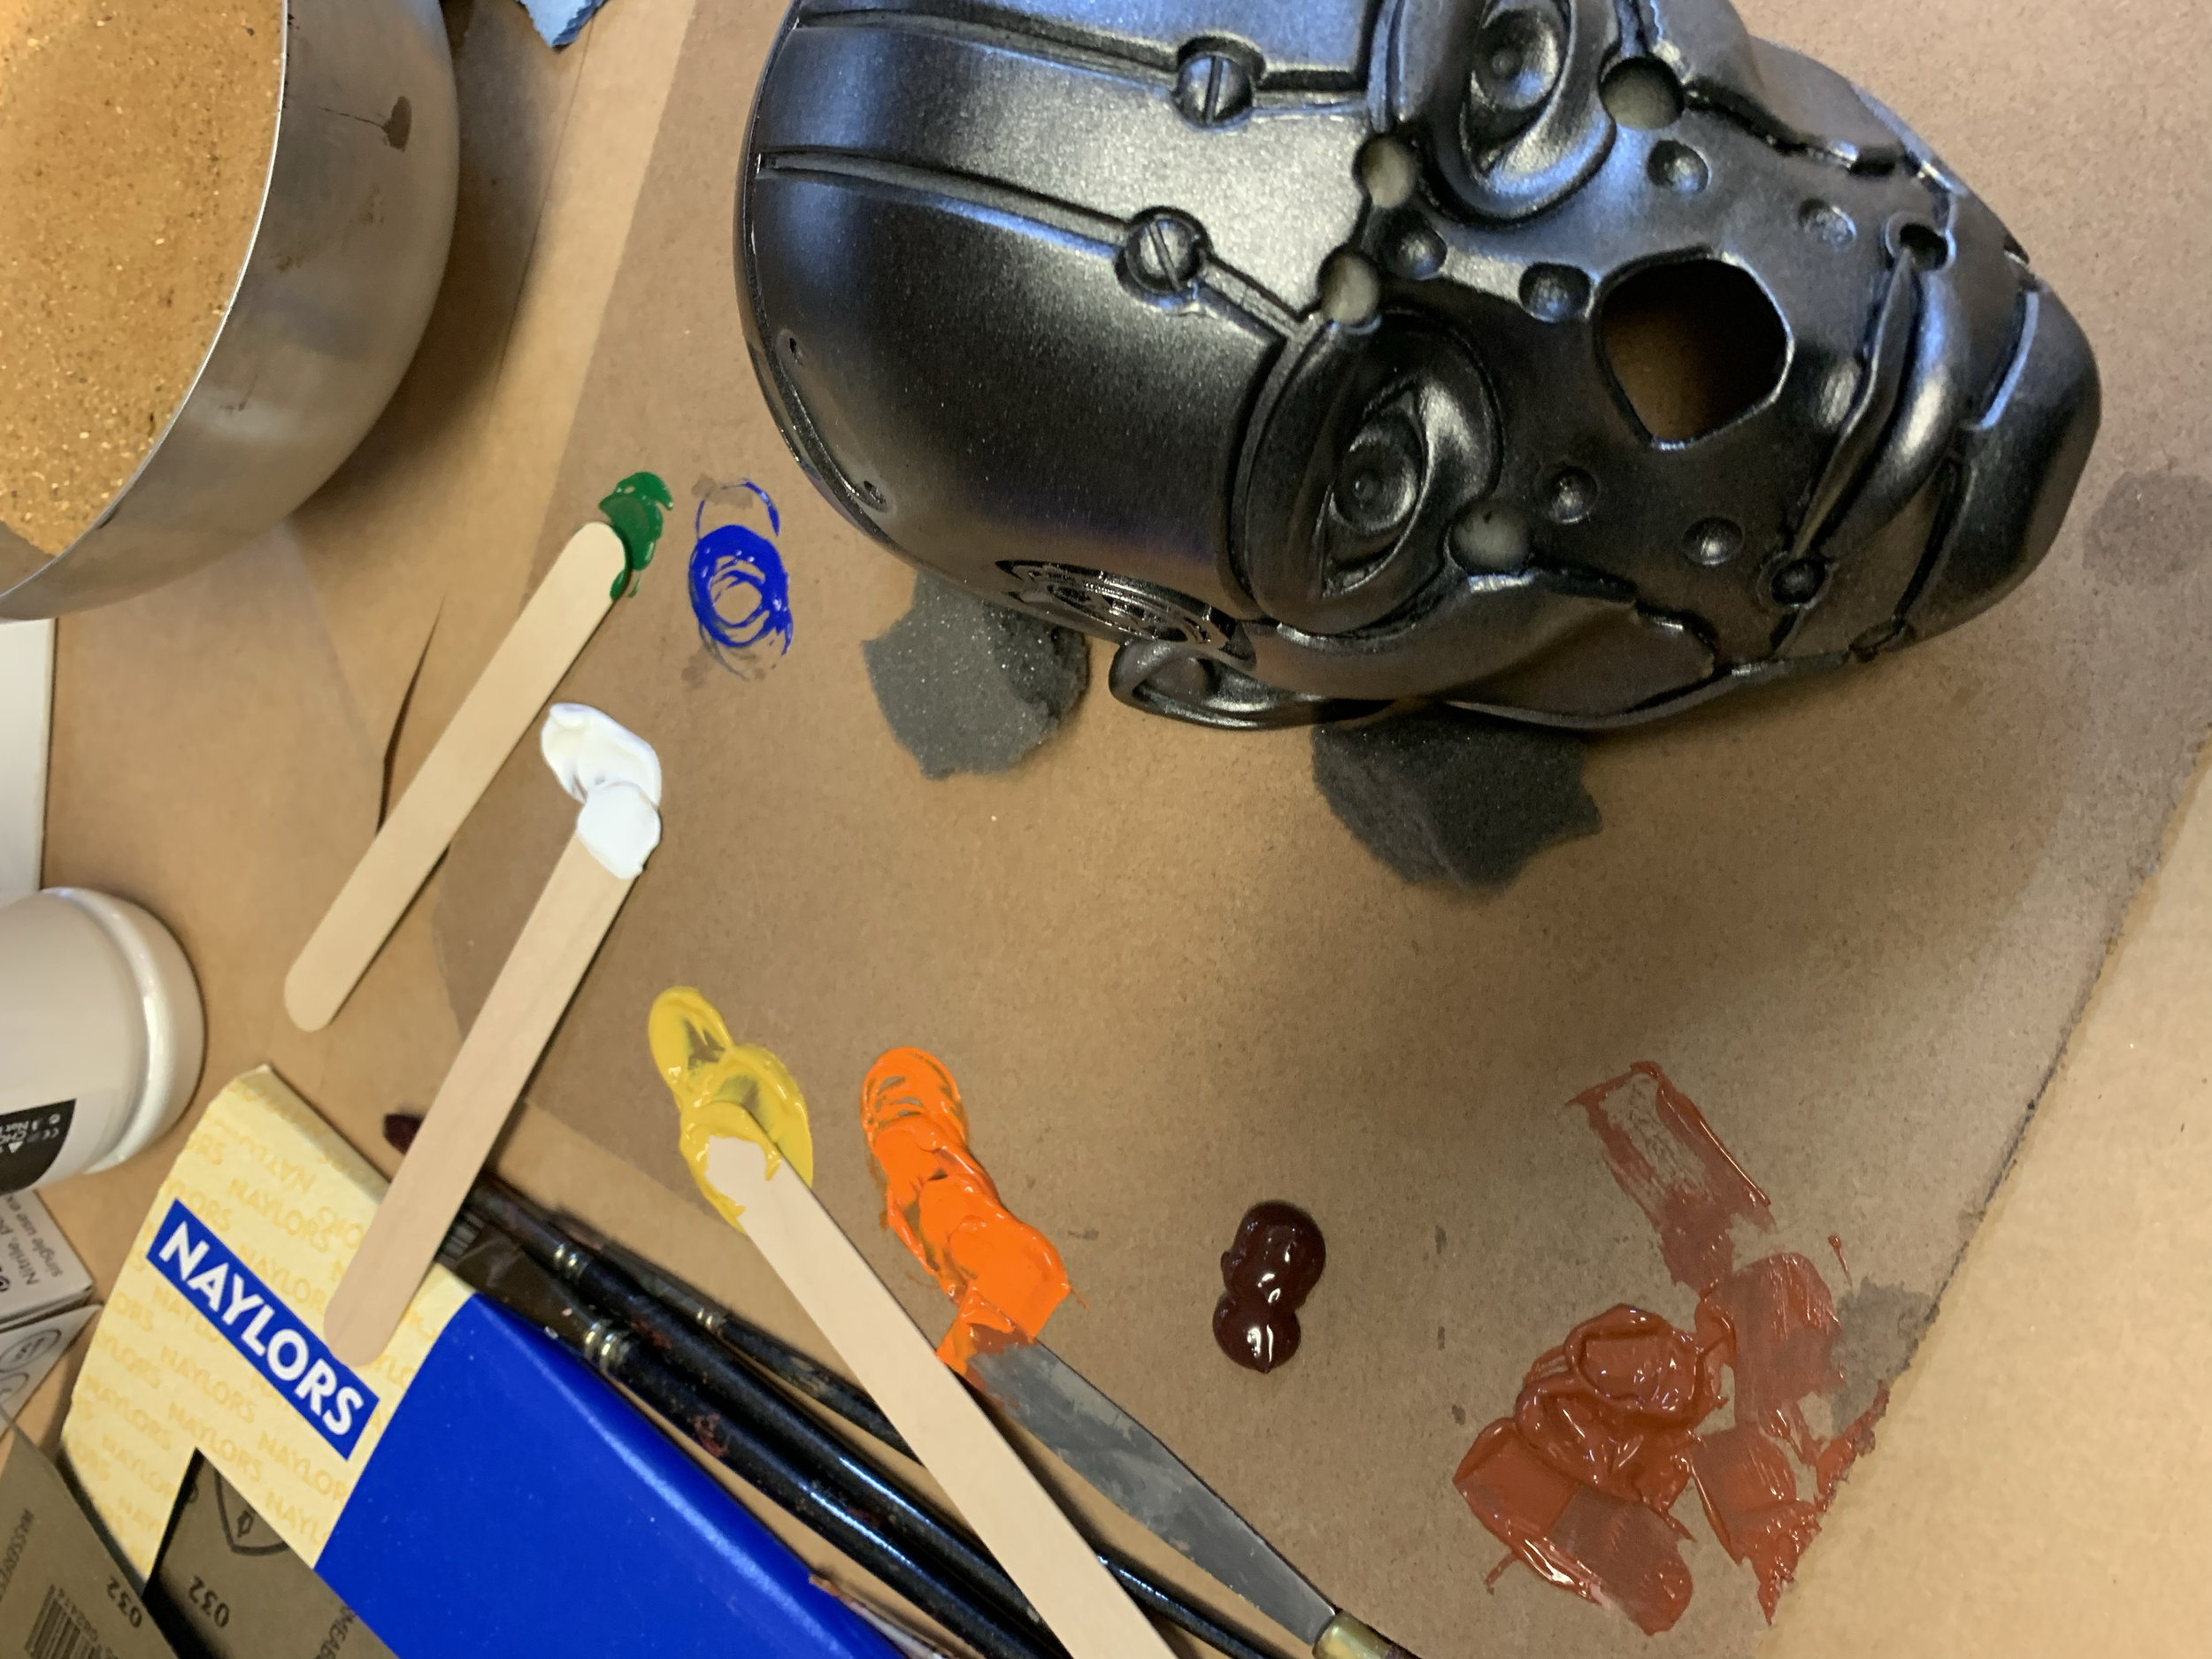
Mixing colours for the distressing techniques
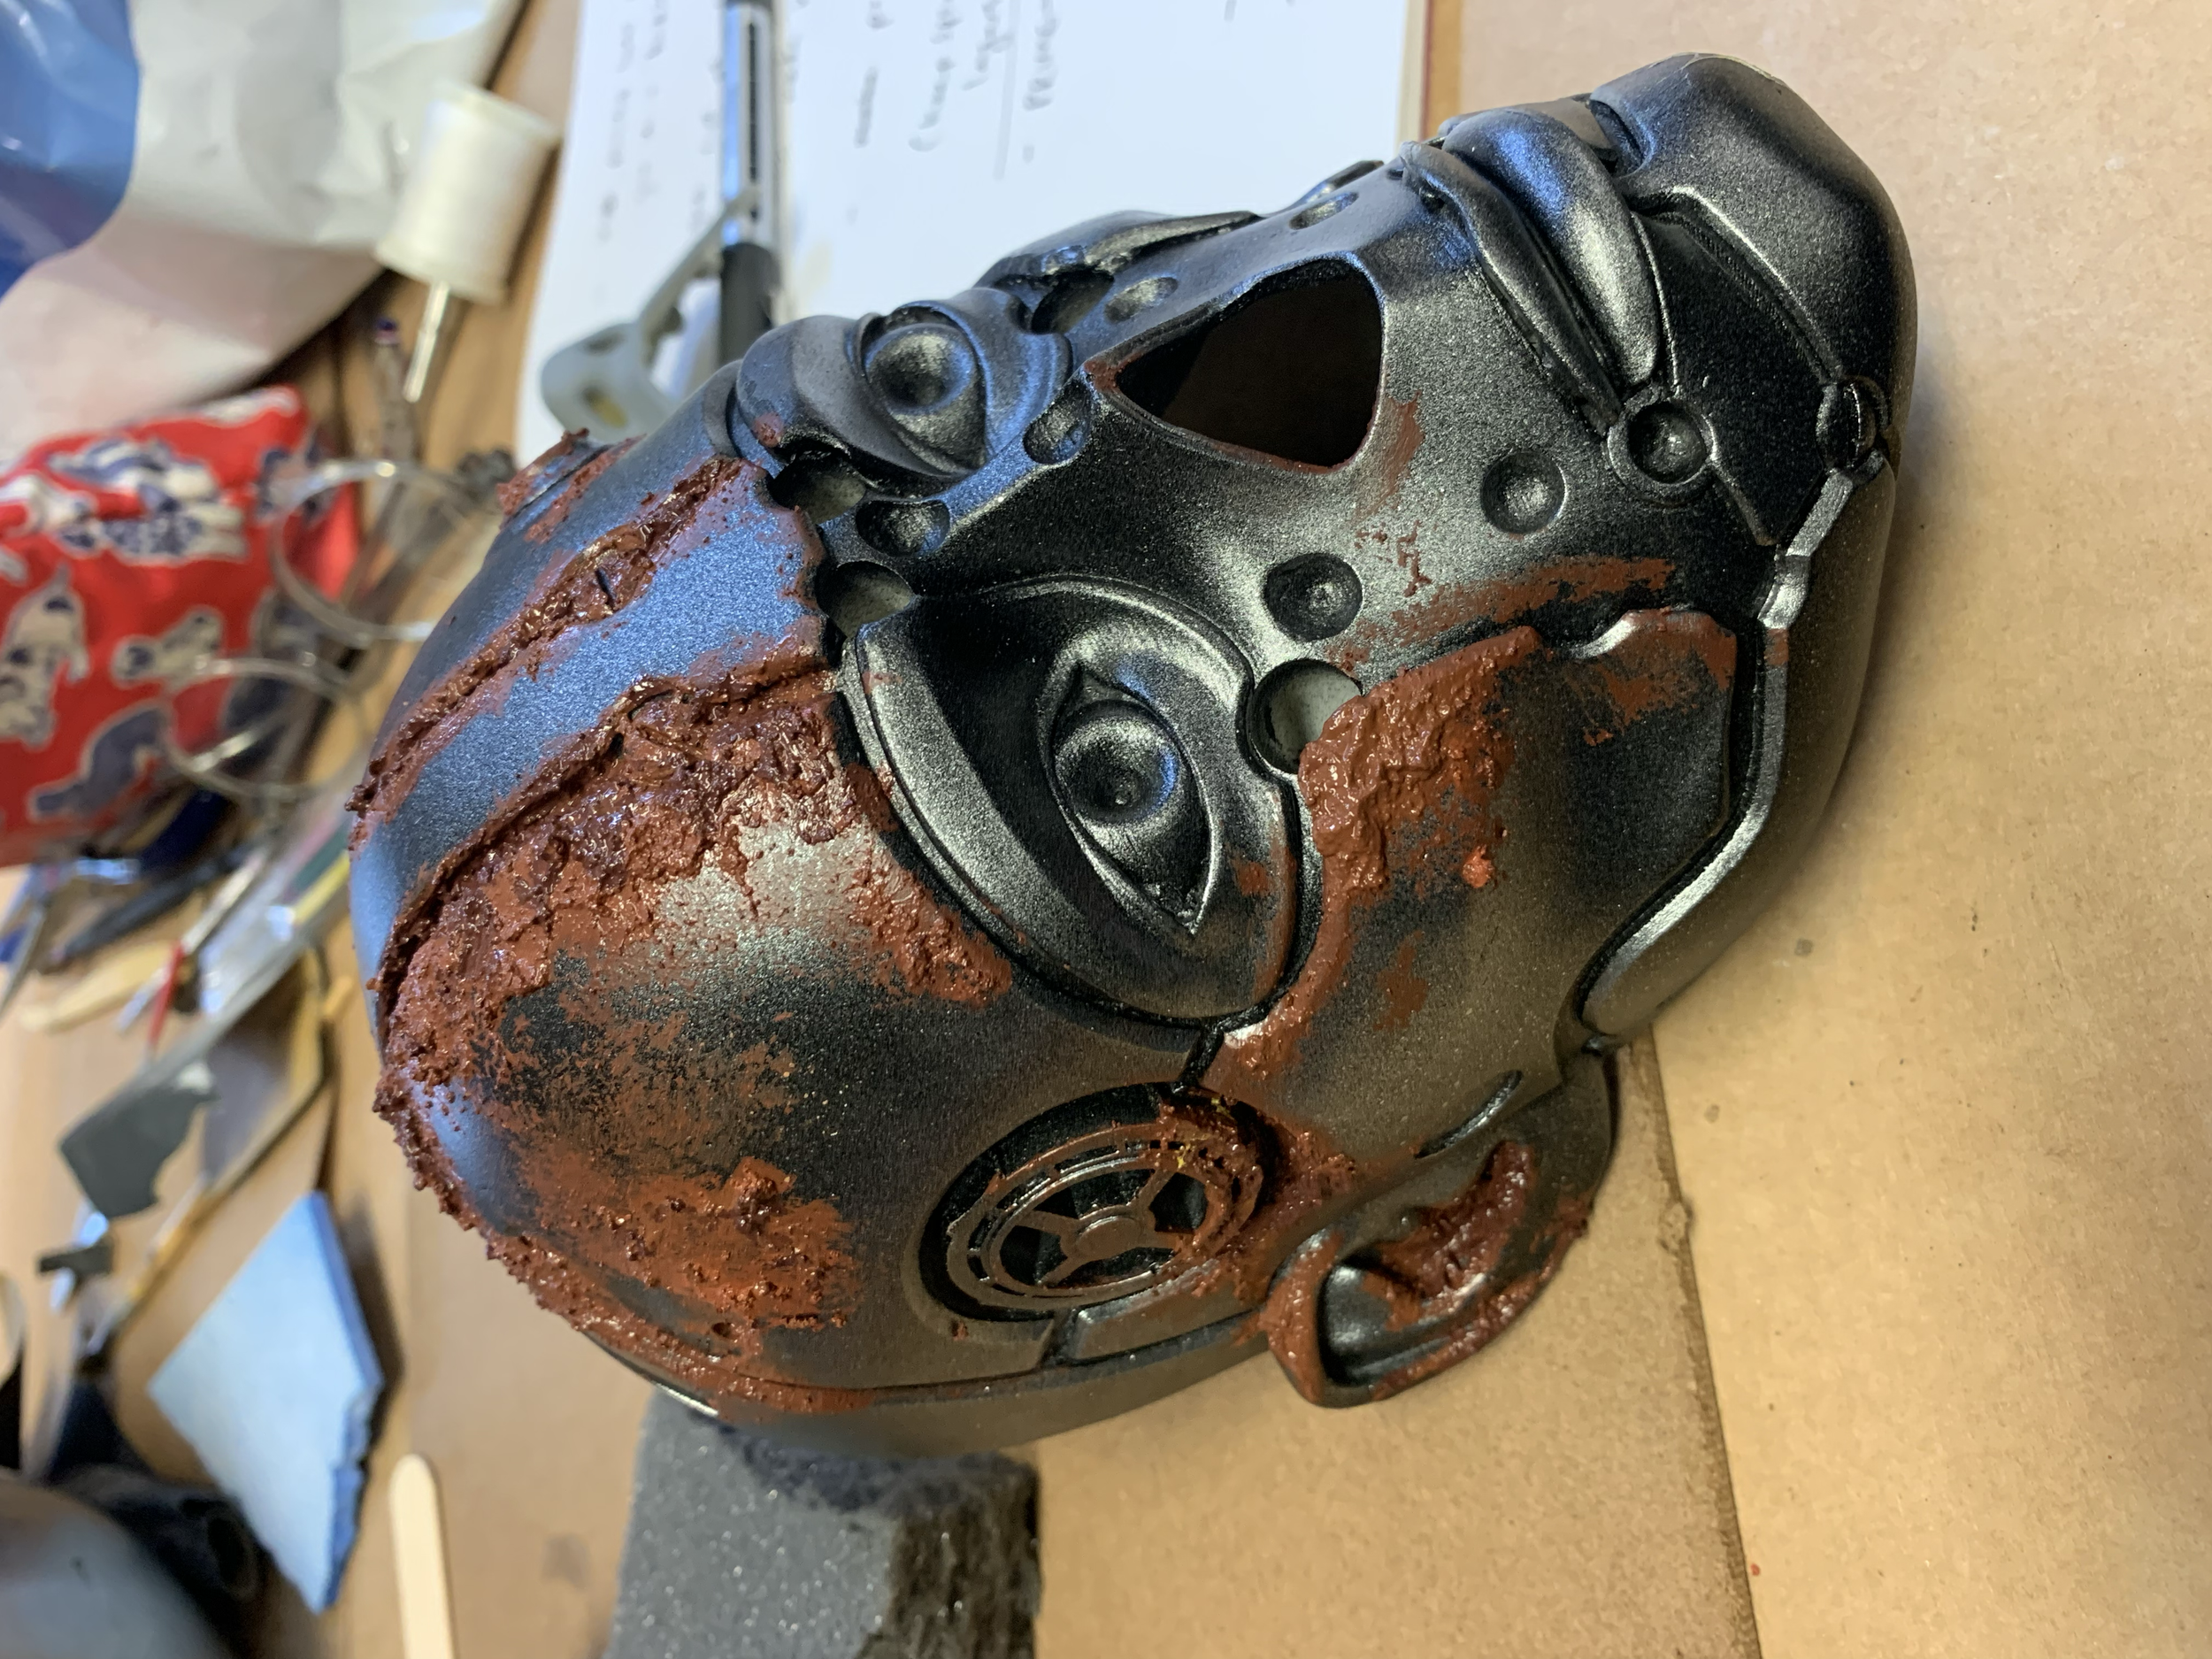
Firstly rust, adding texture with sand too
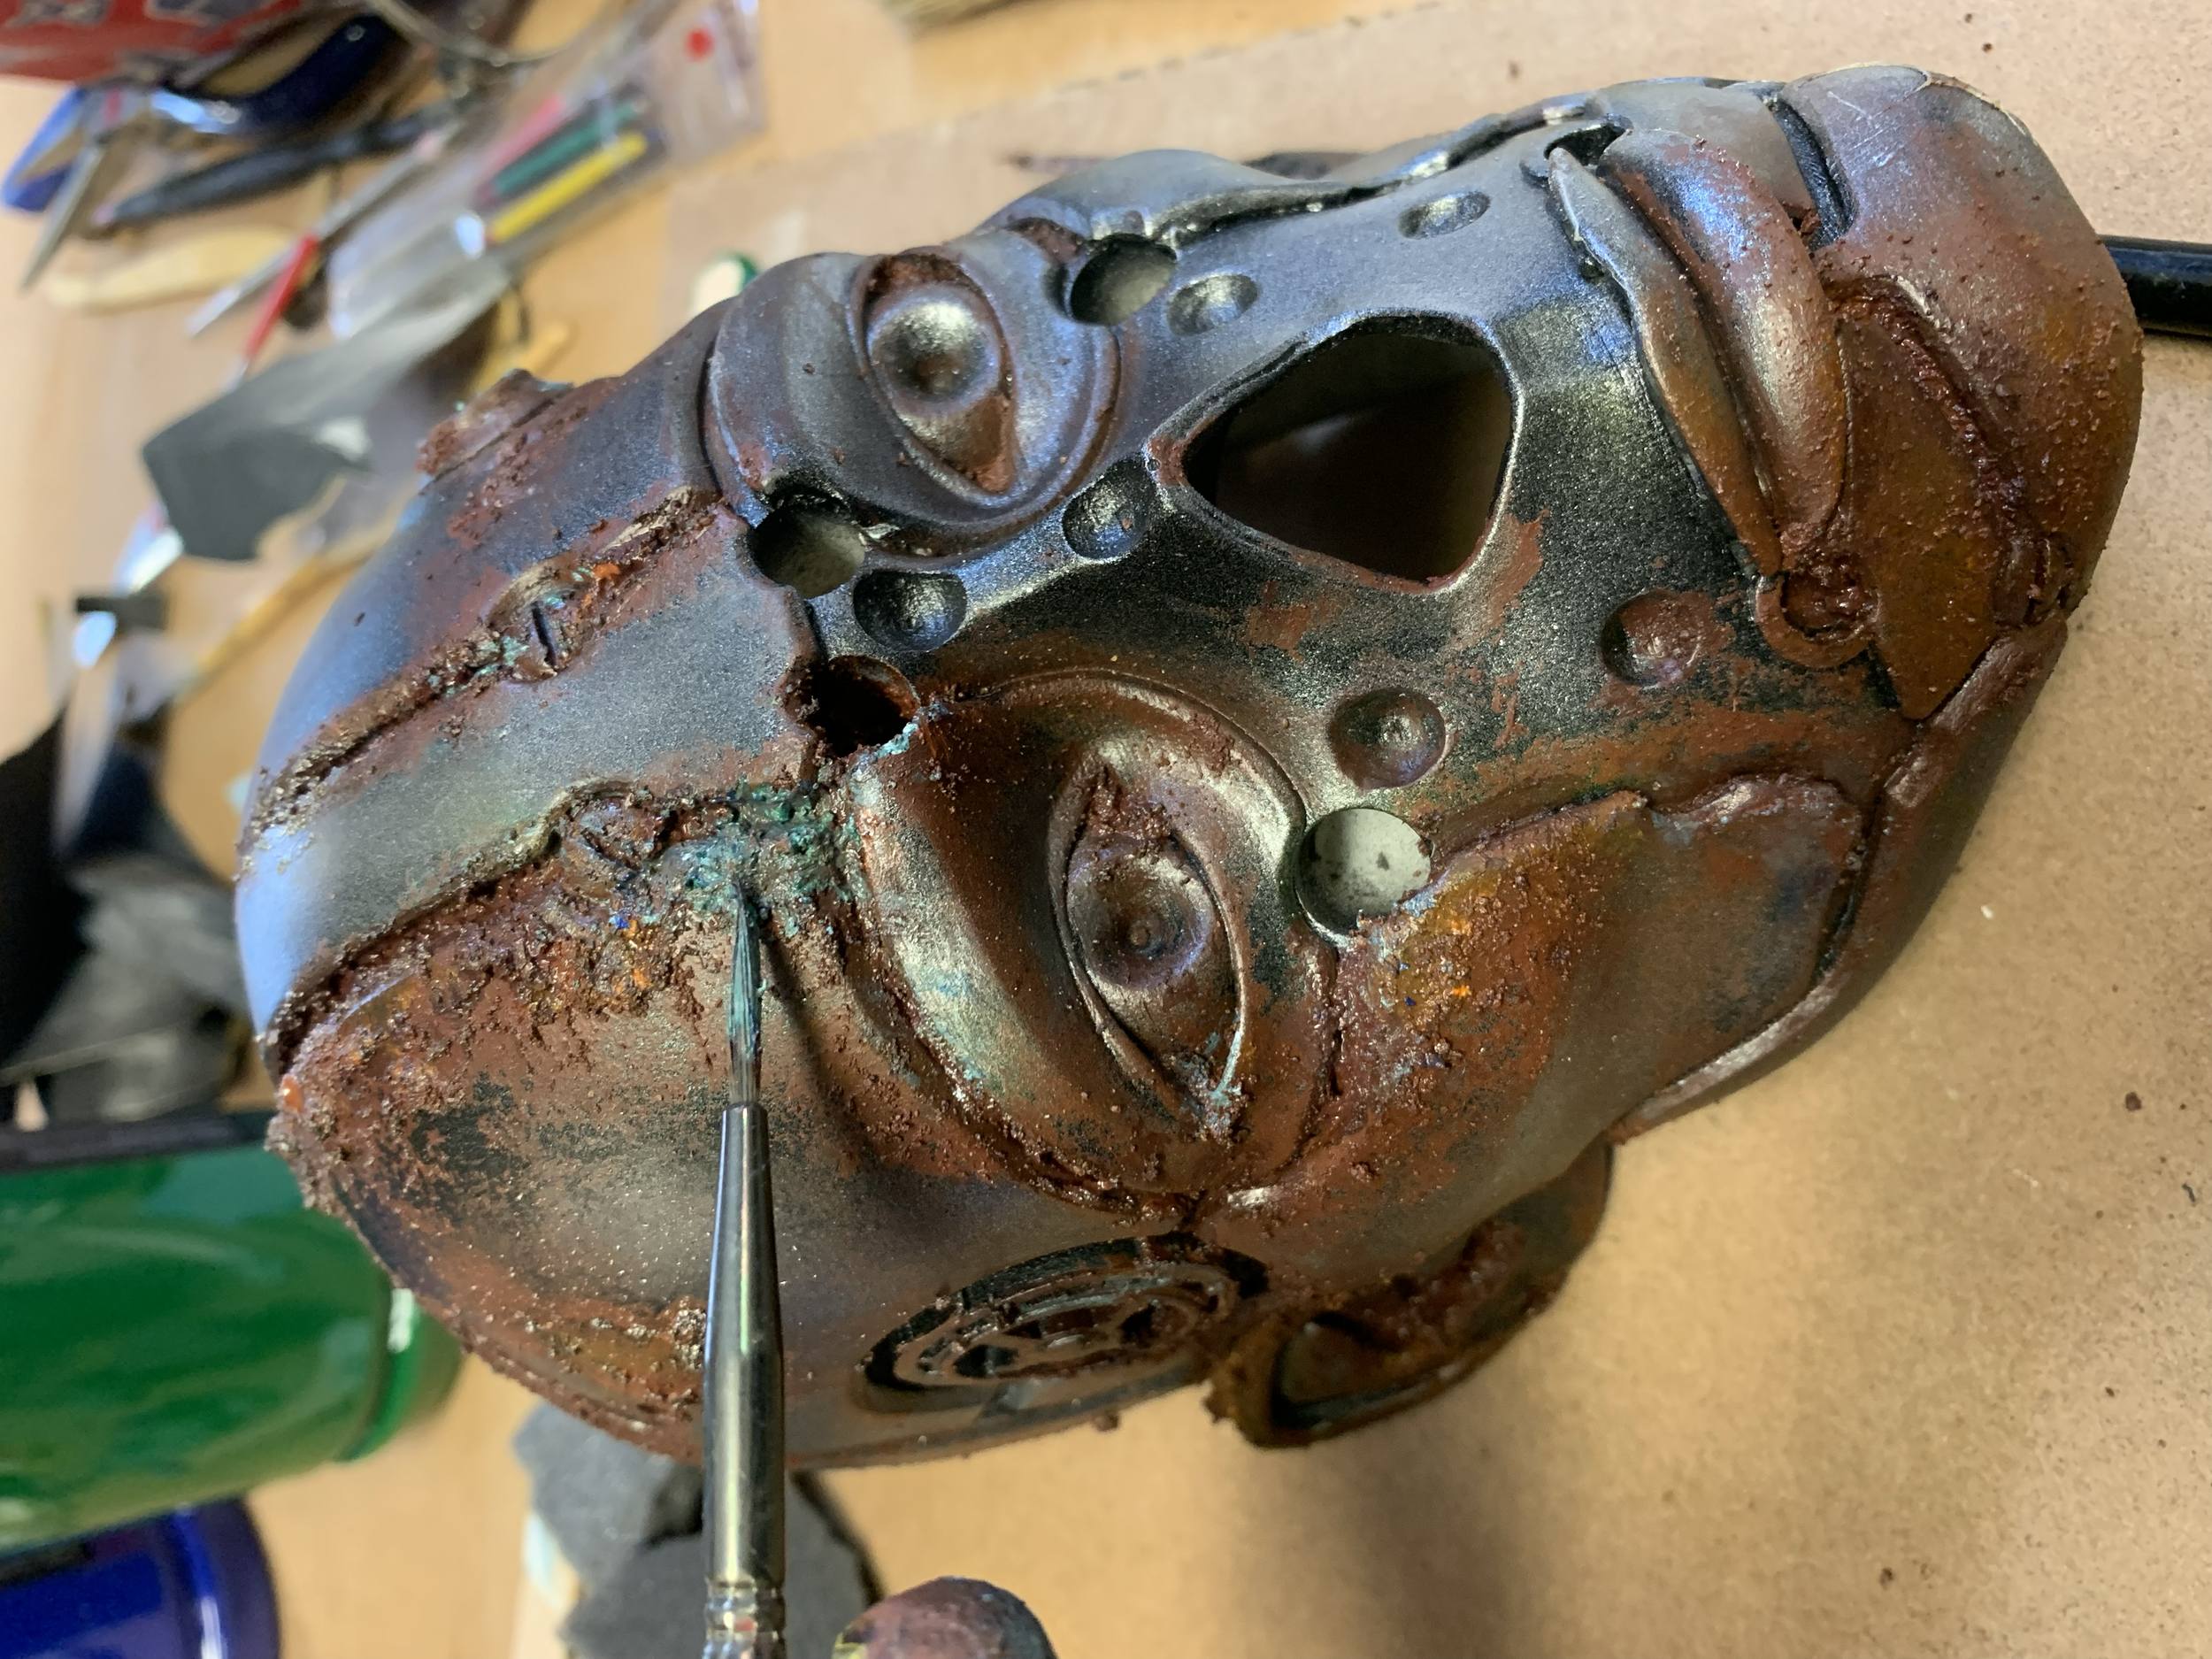
Verdigris effect with greens
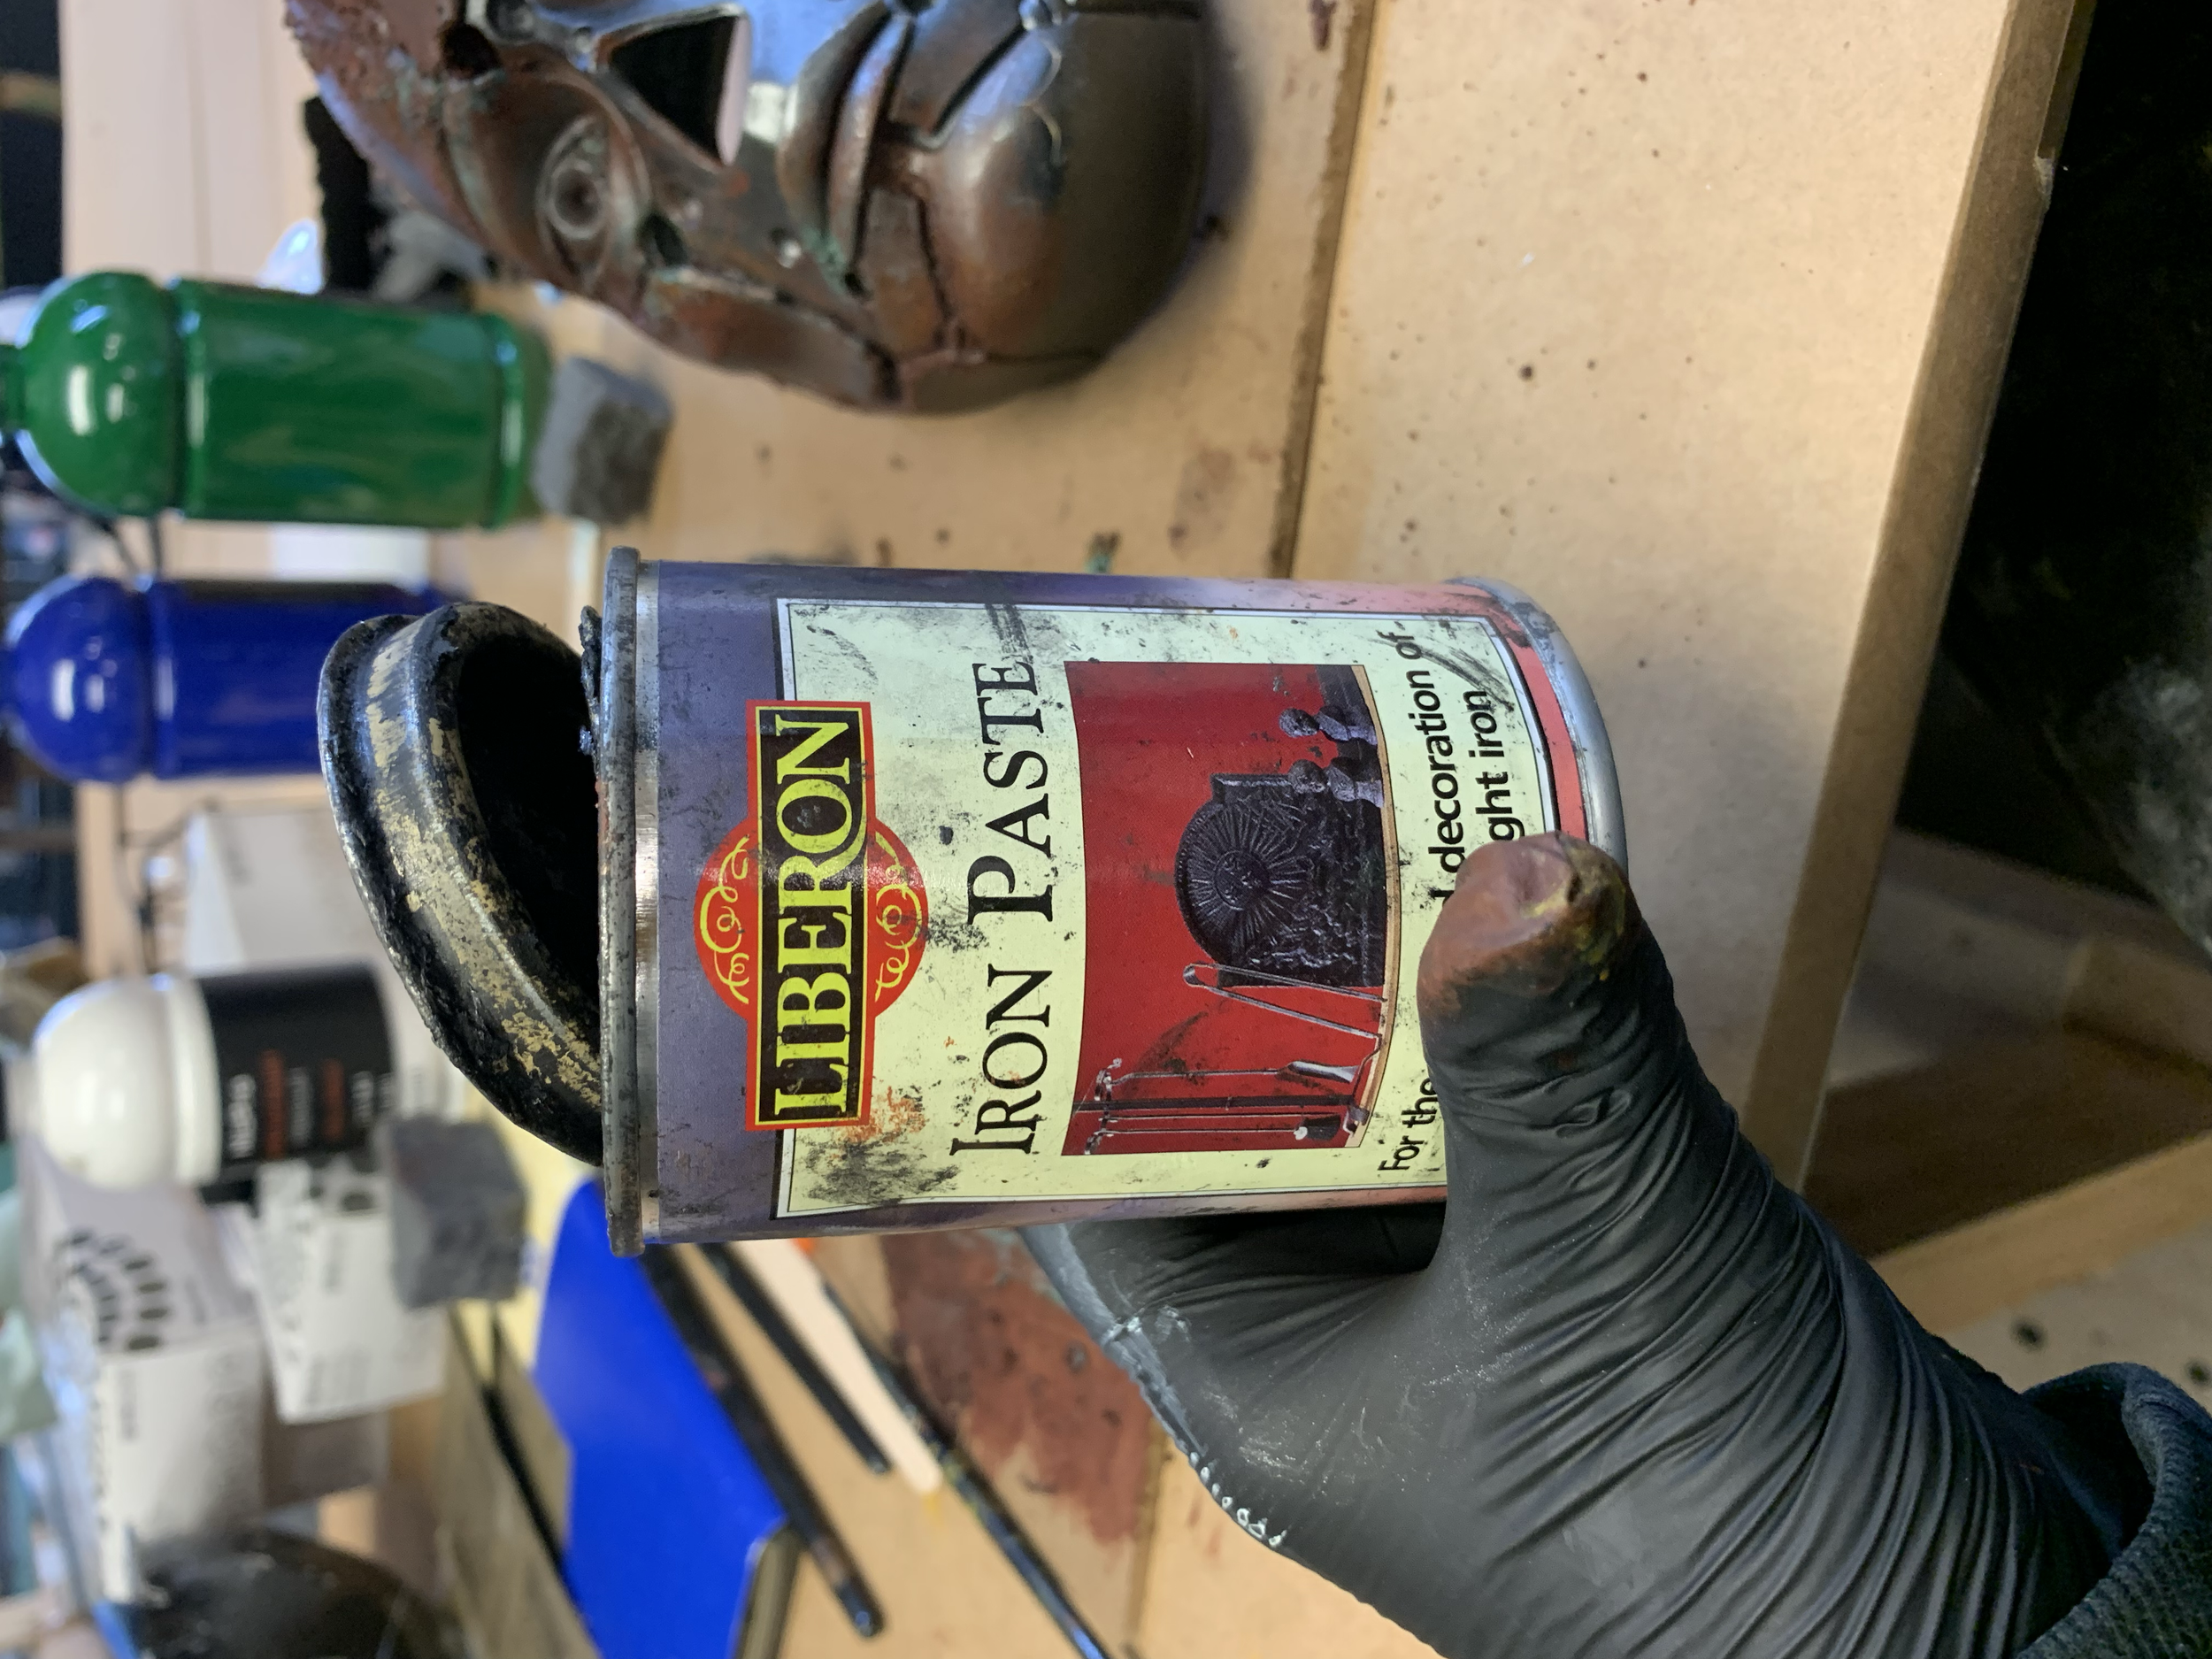
Dirtying the piece with iron paste
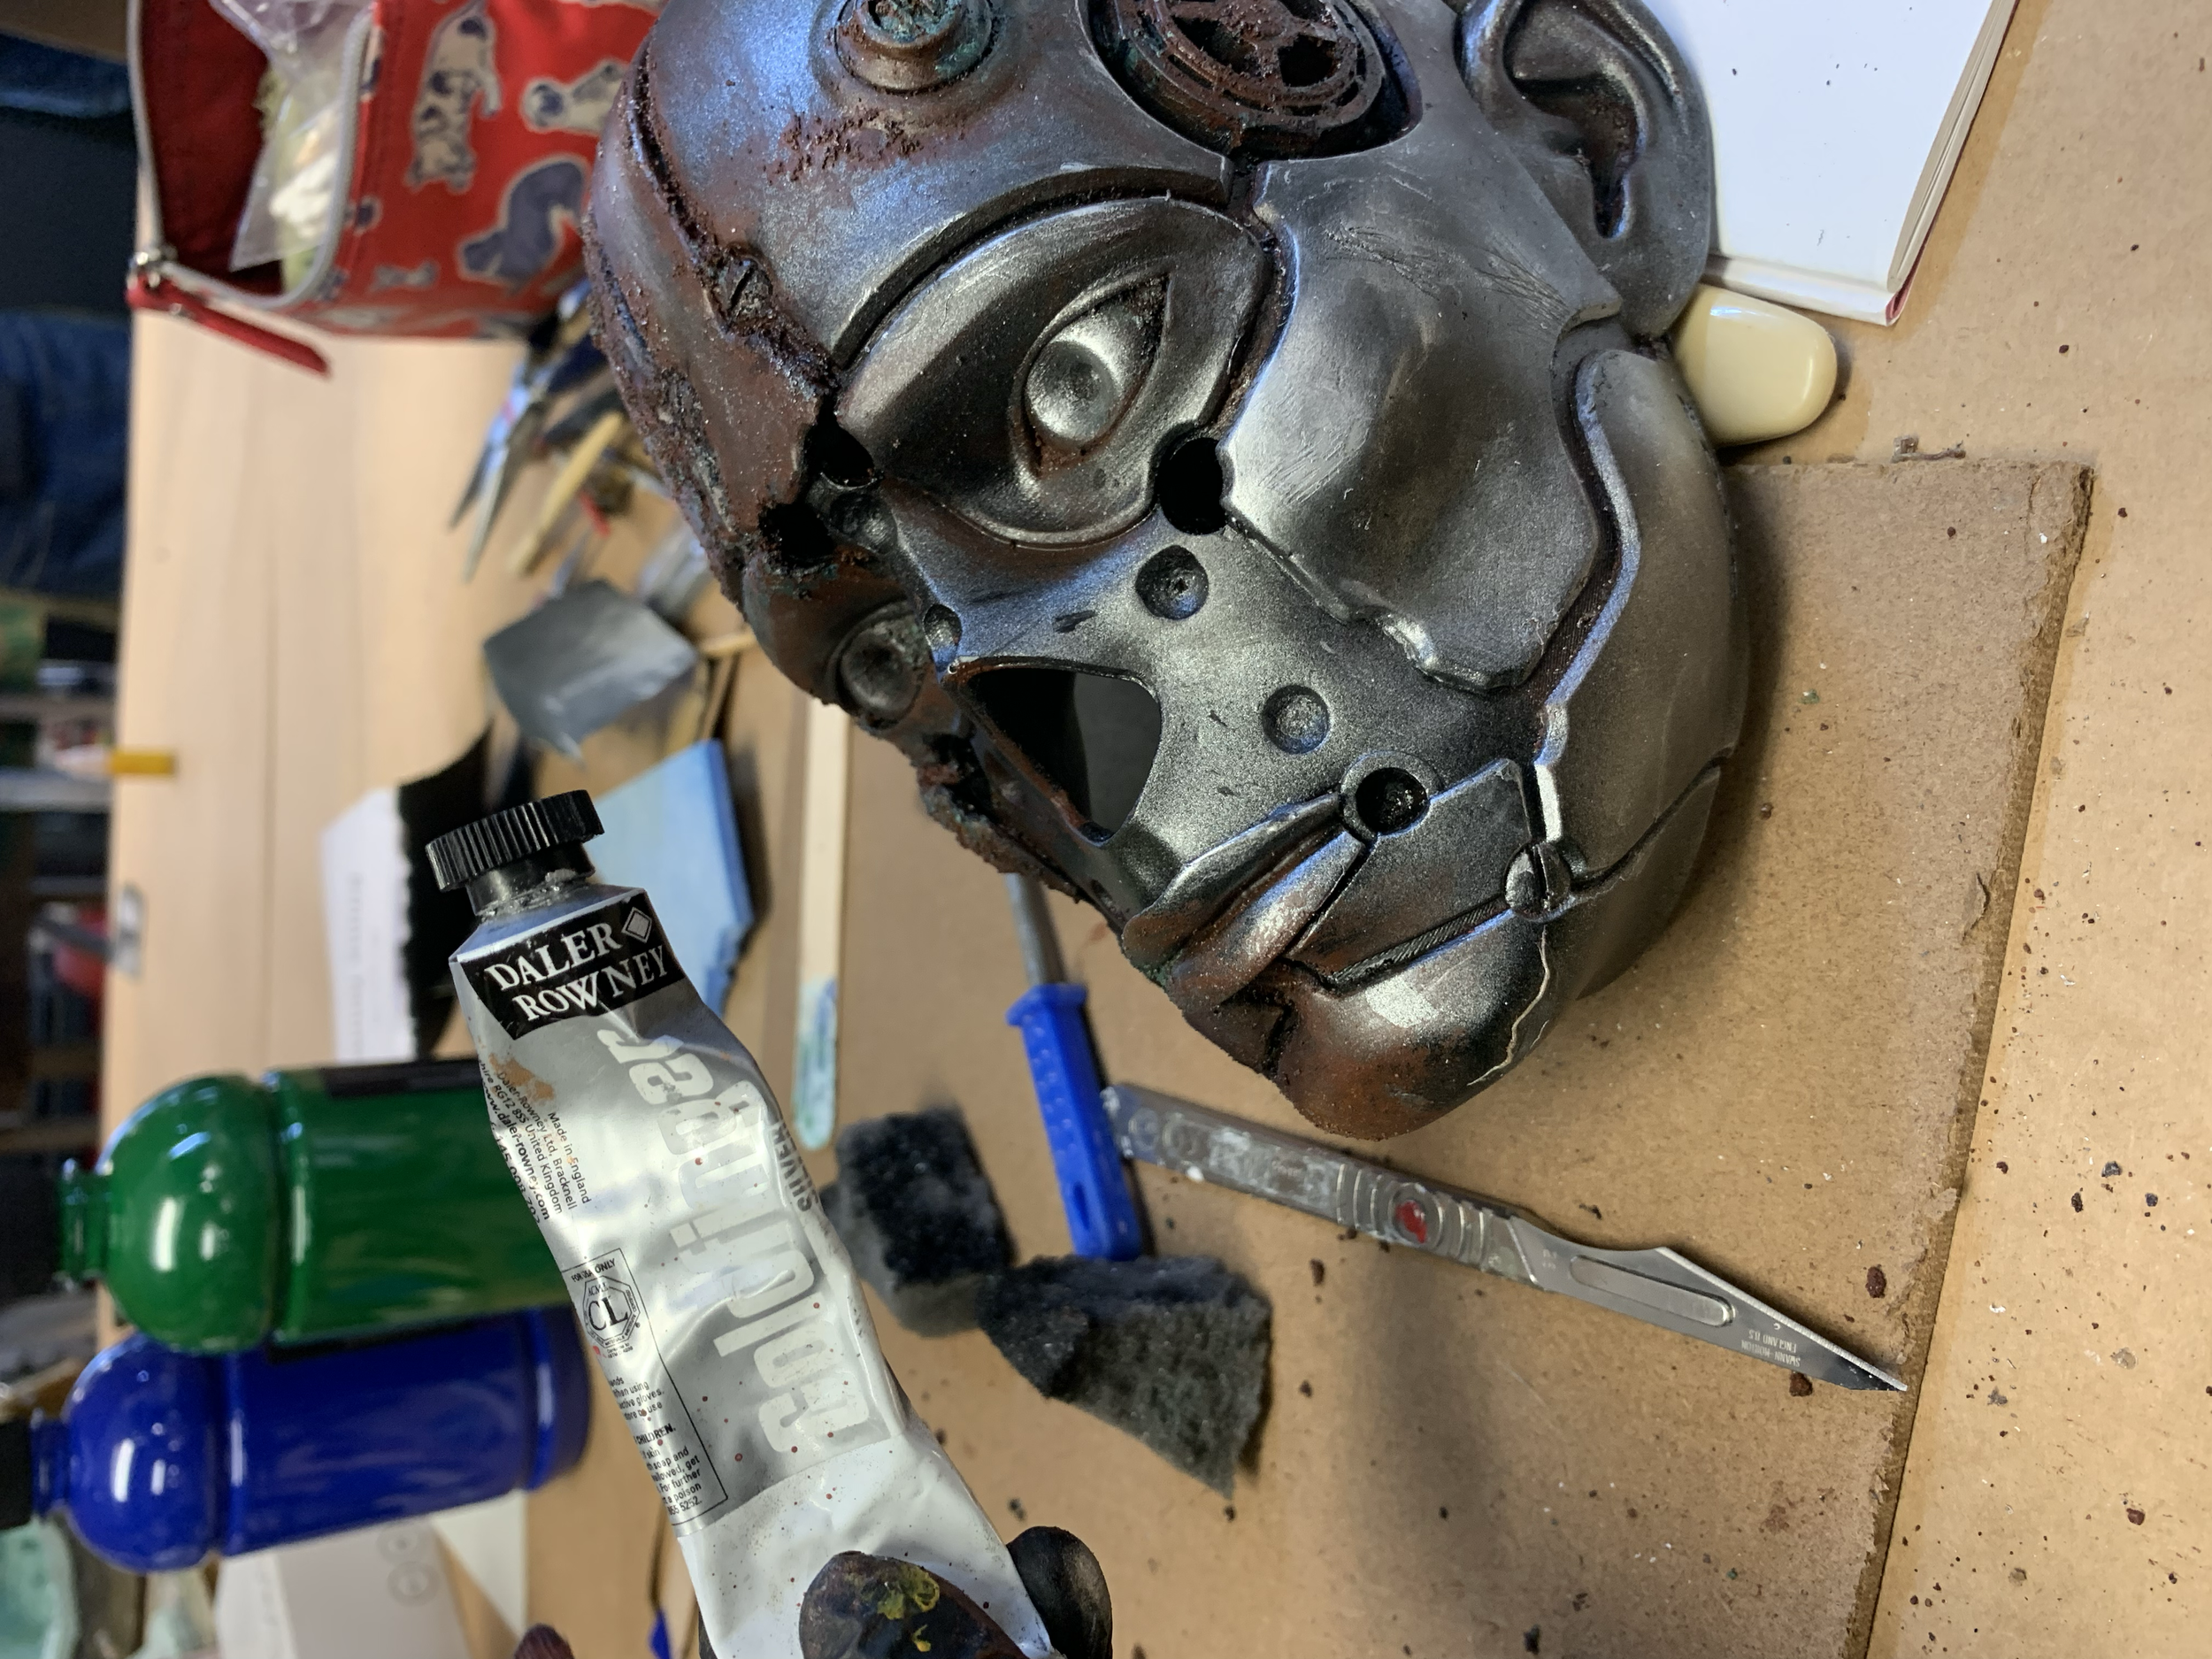
And adding silver scratch/damage marks
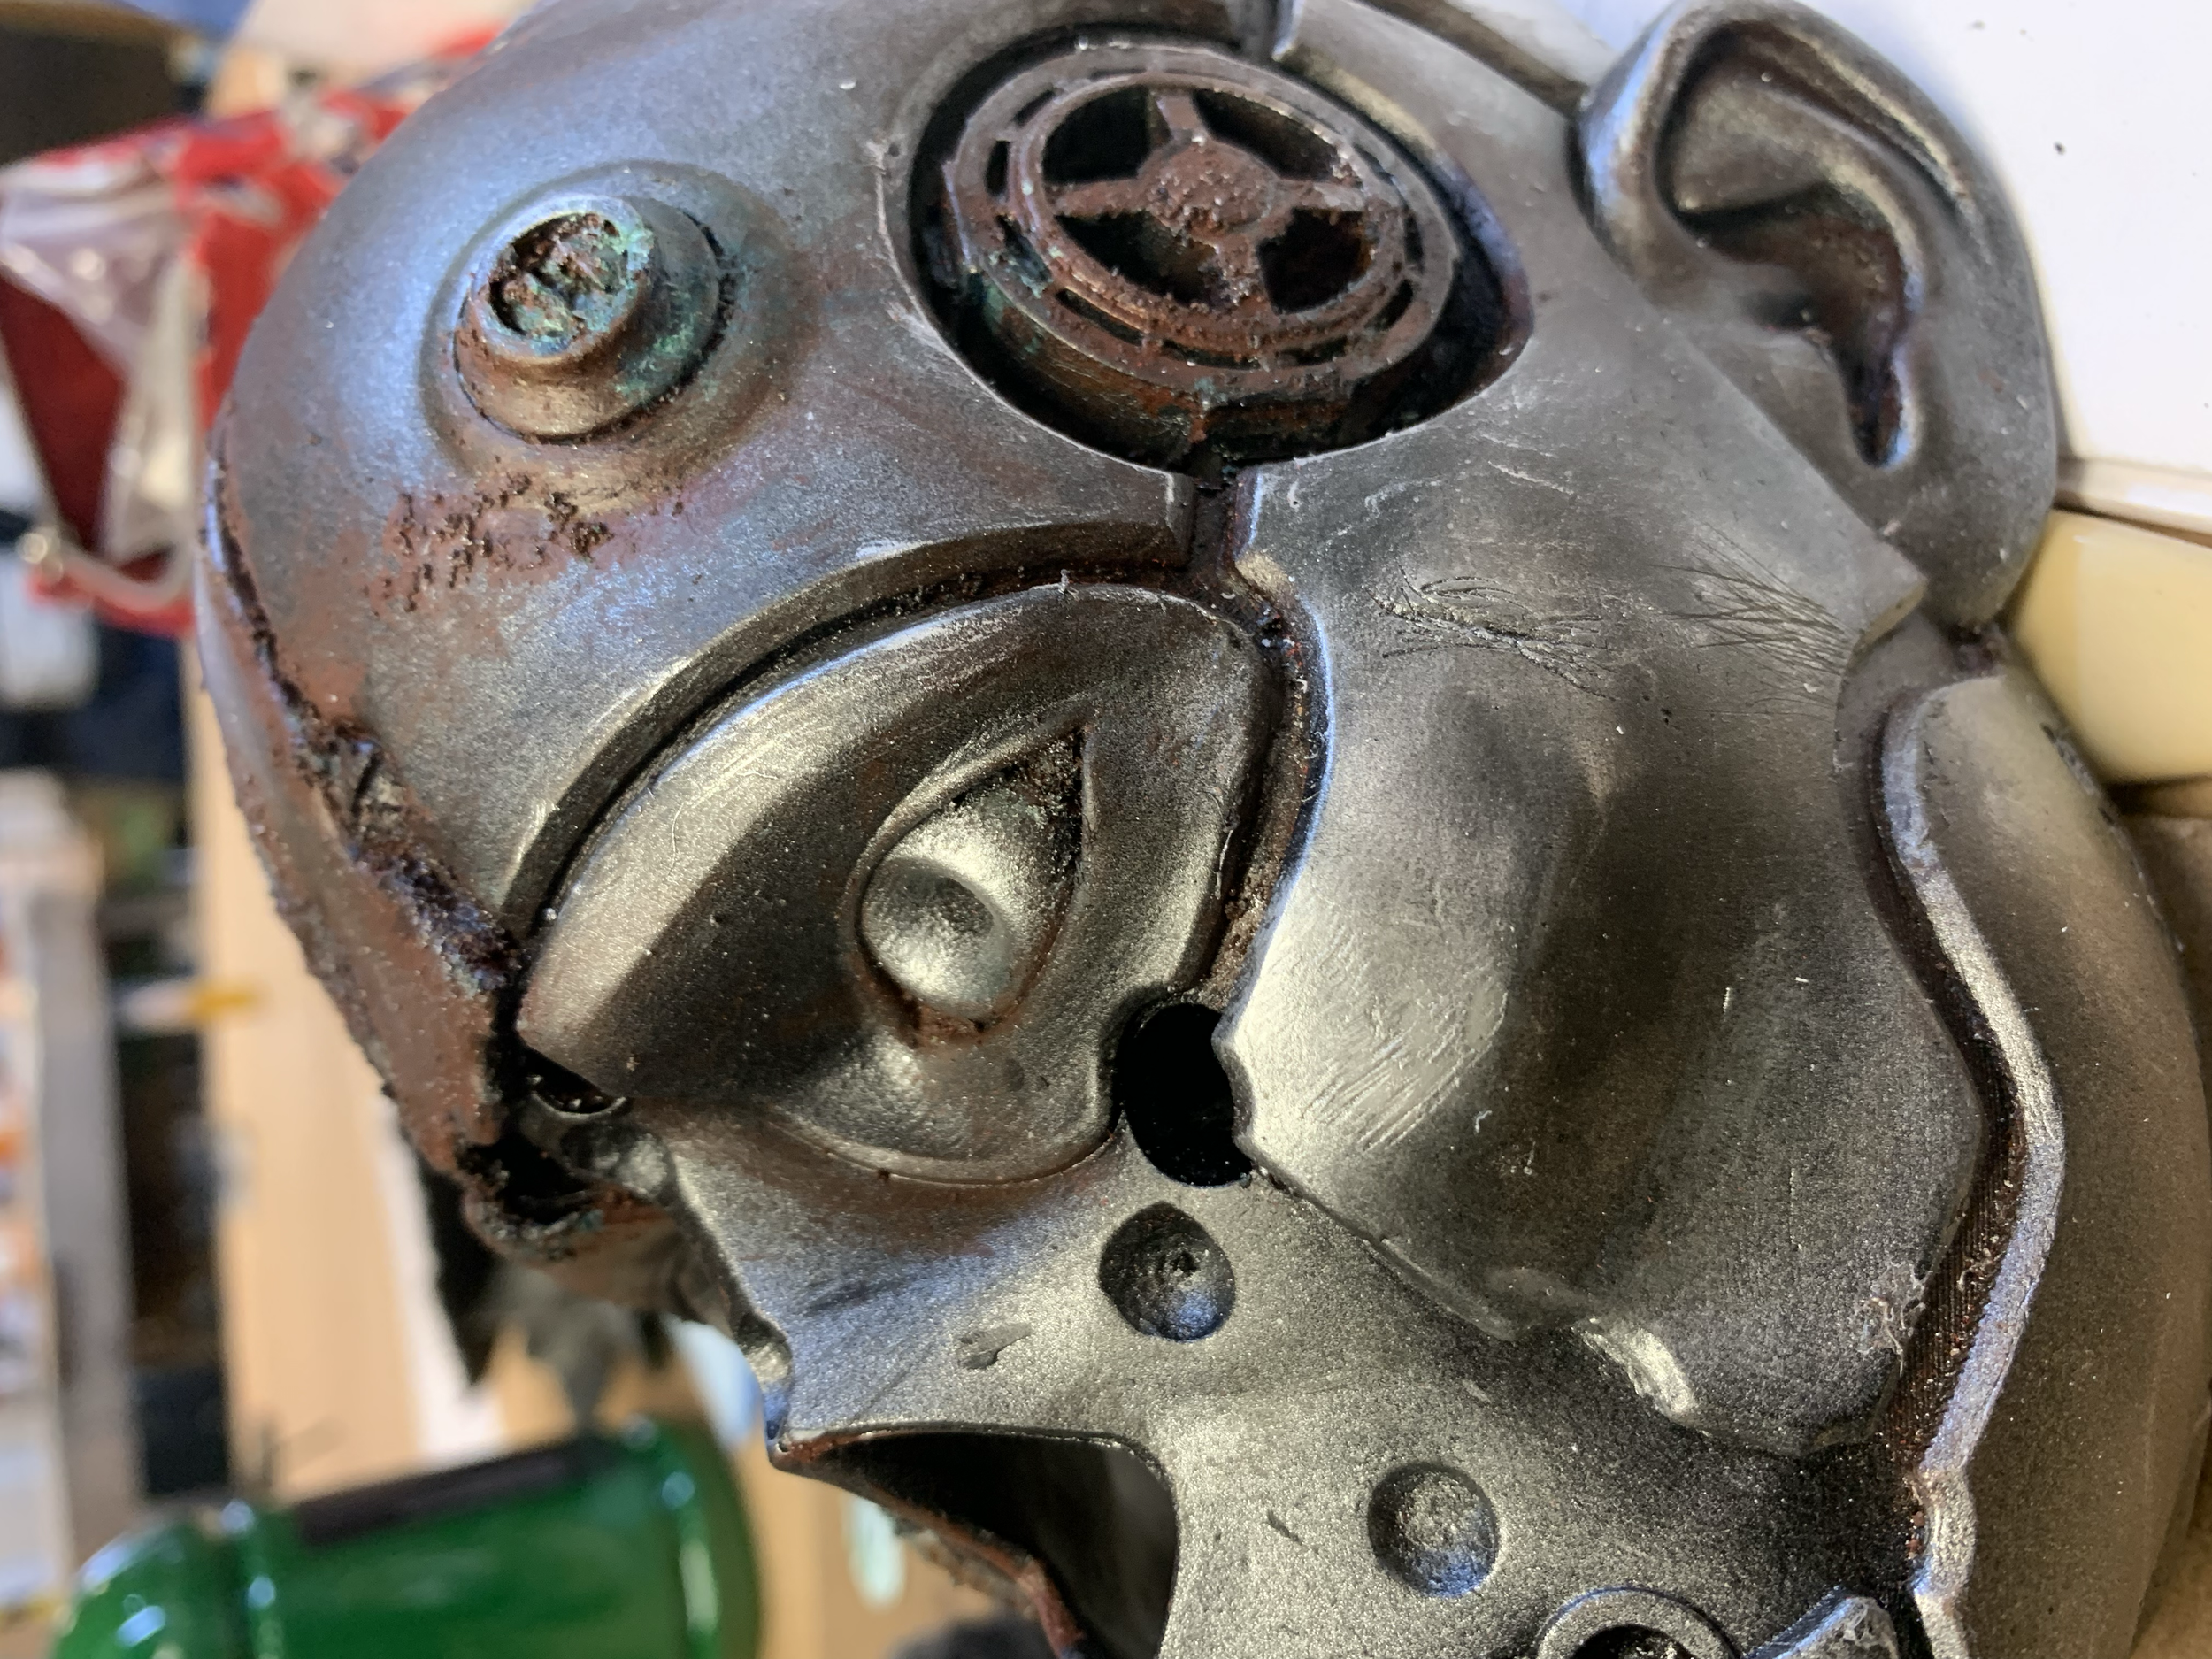
The idea I had with my concept was that the robot head had fallen into the ocean during a battle, which had rusted and tarnished it.
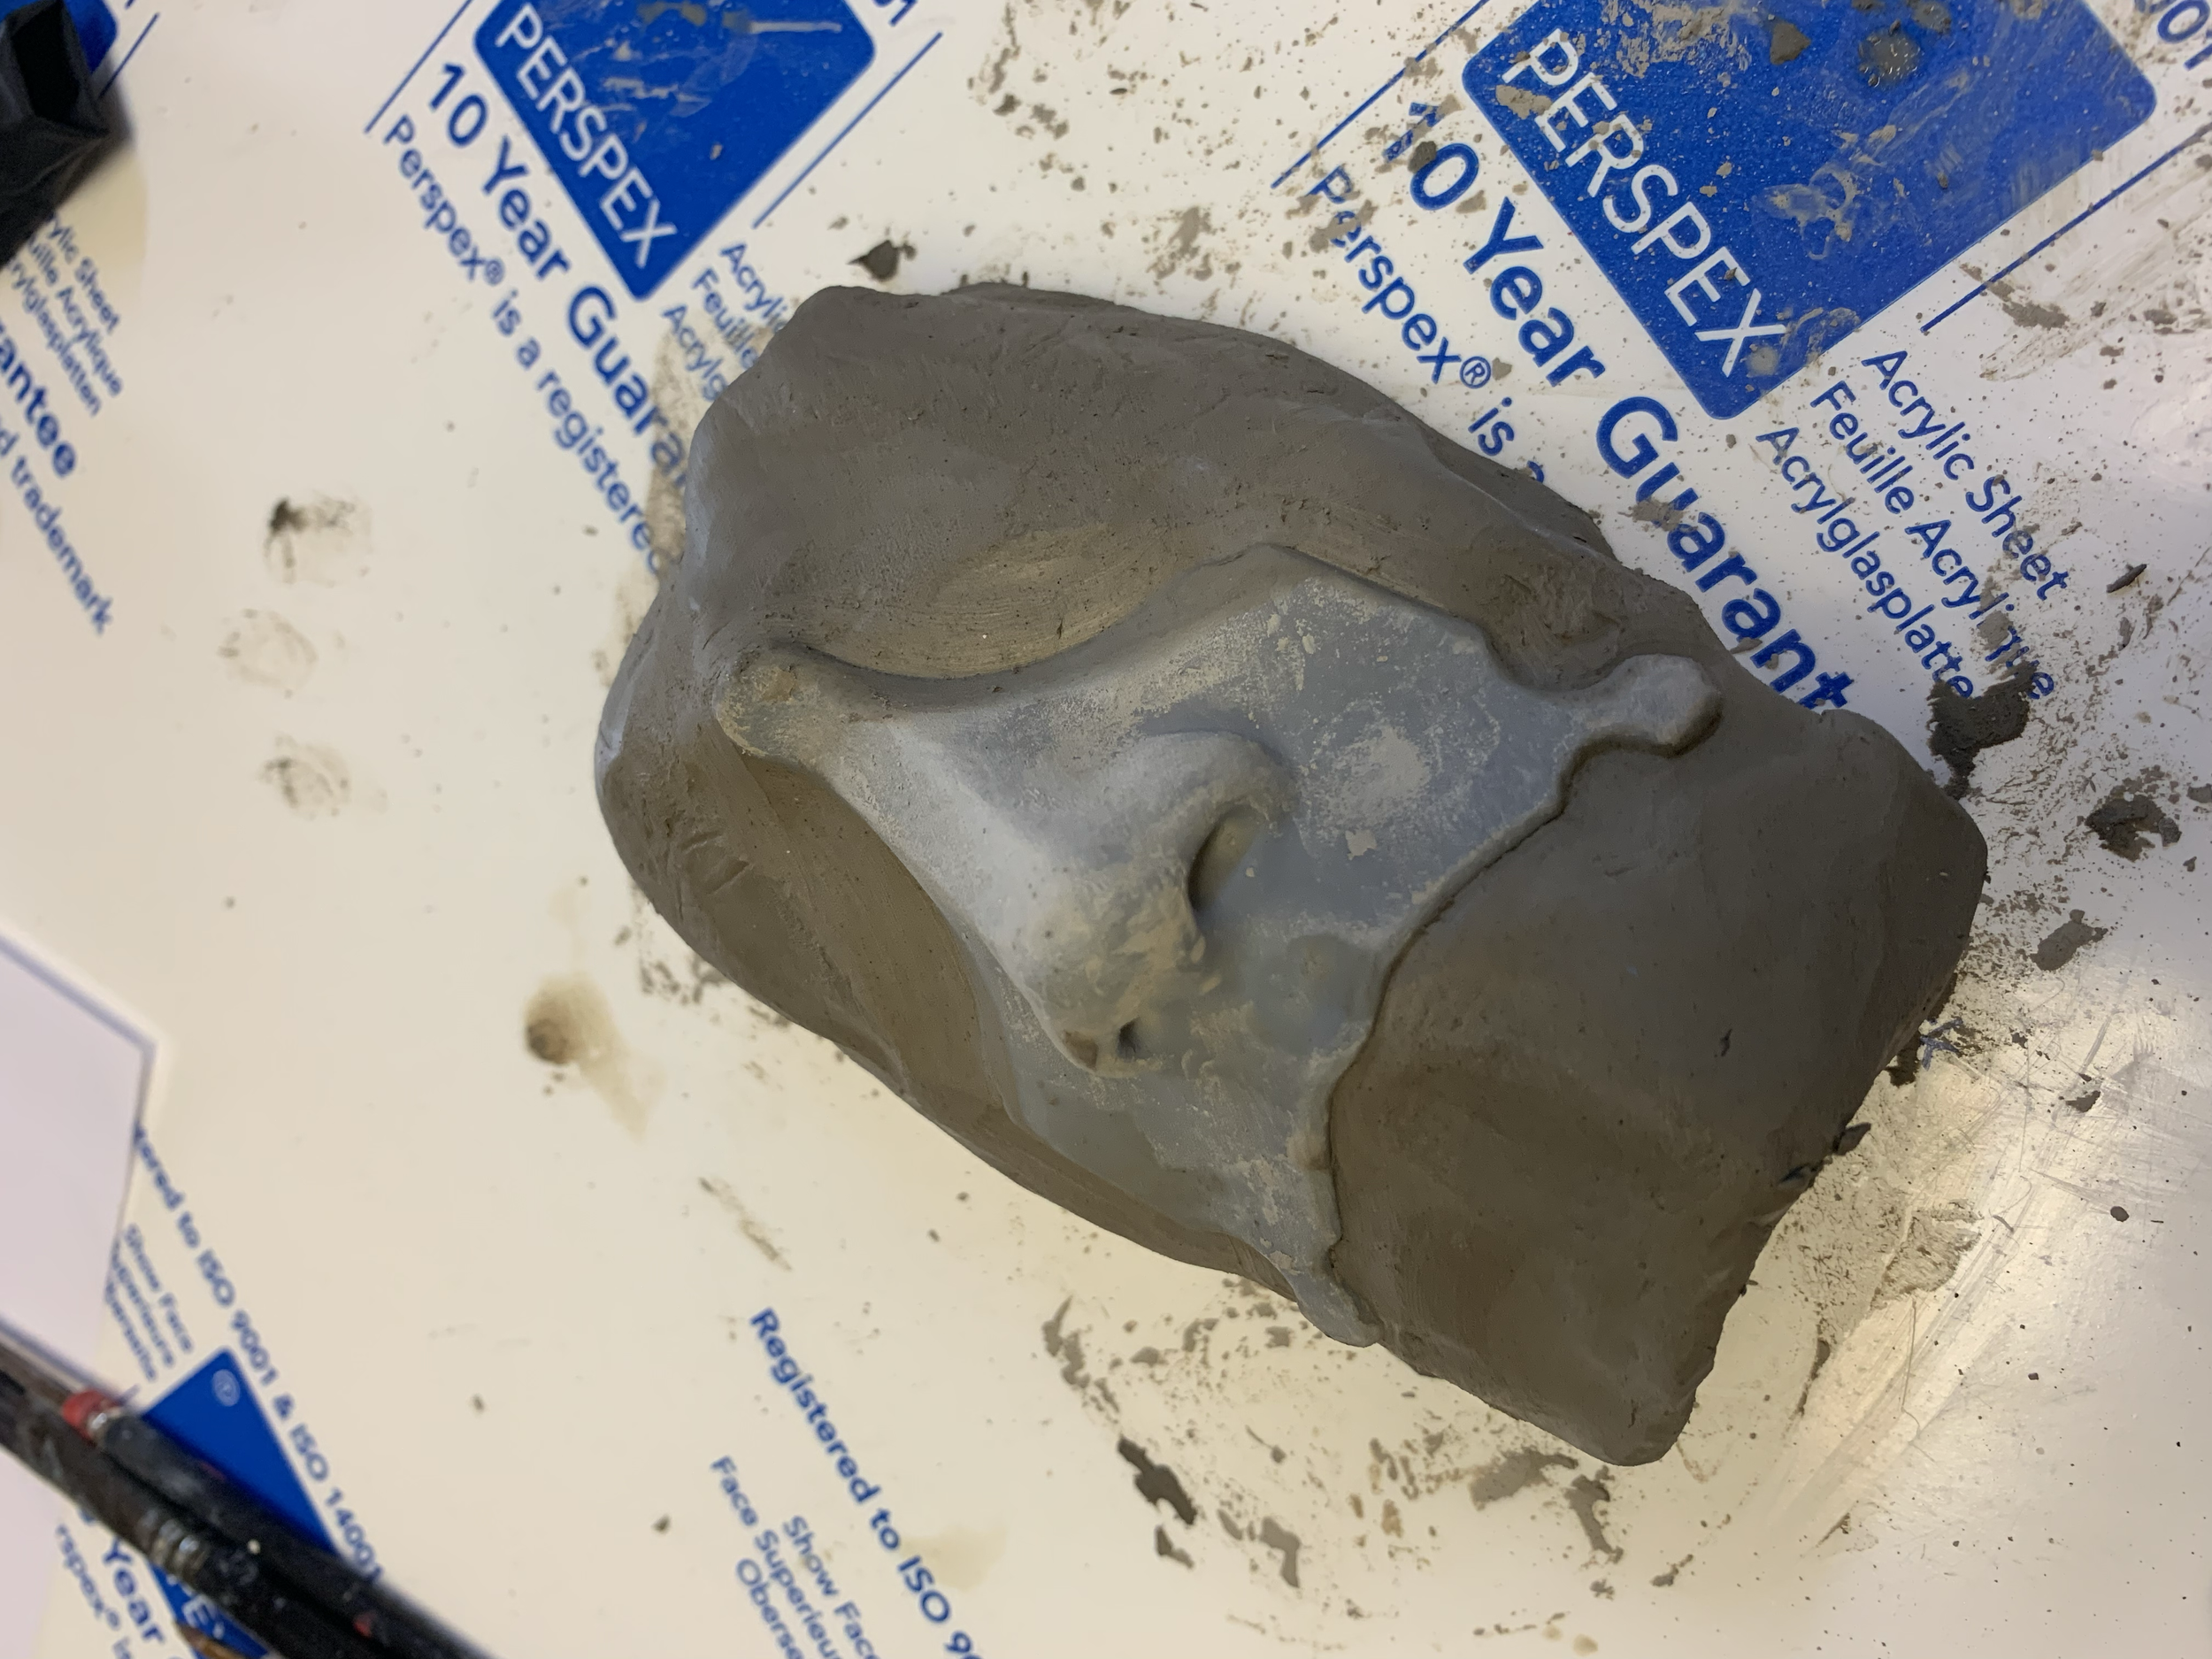
Starting the molding process by building up a clay base
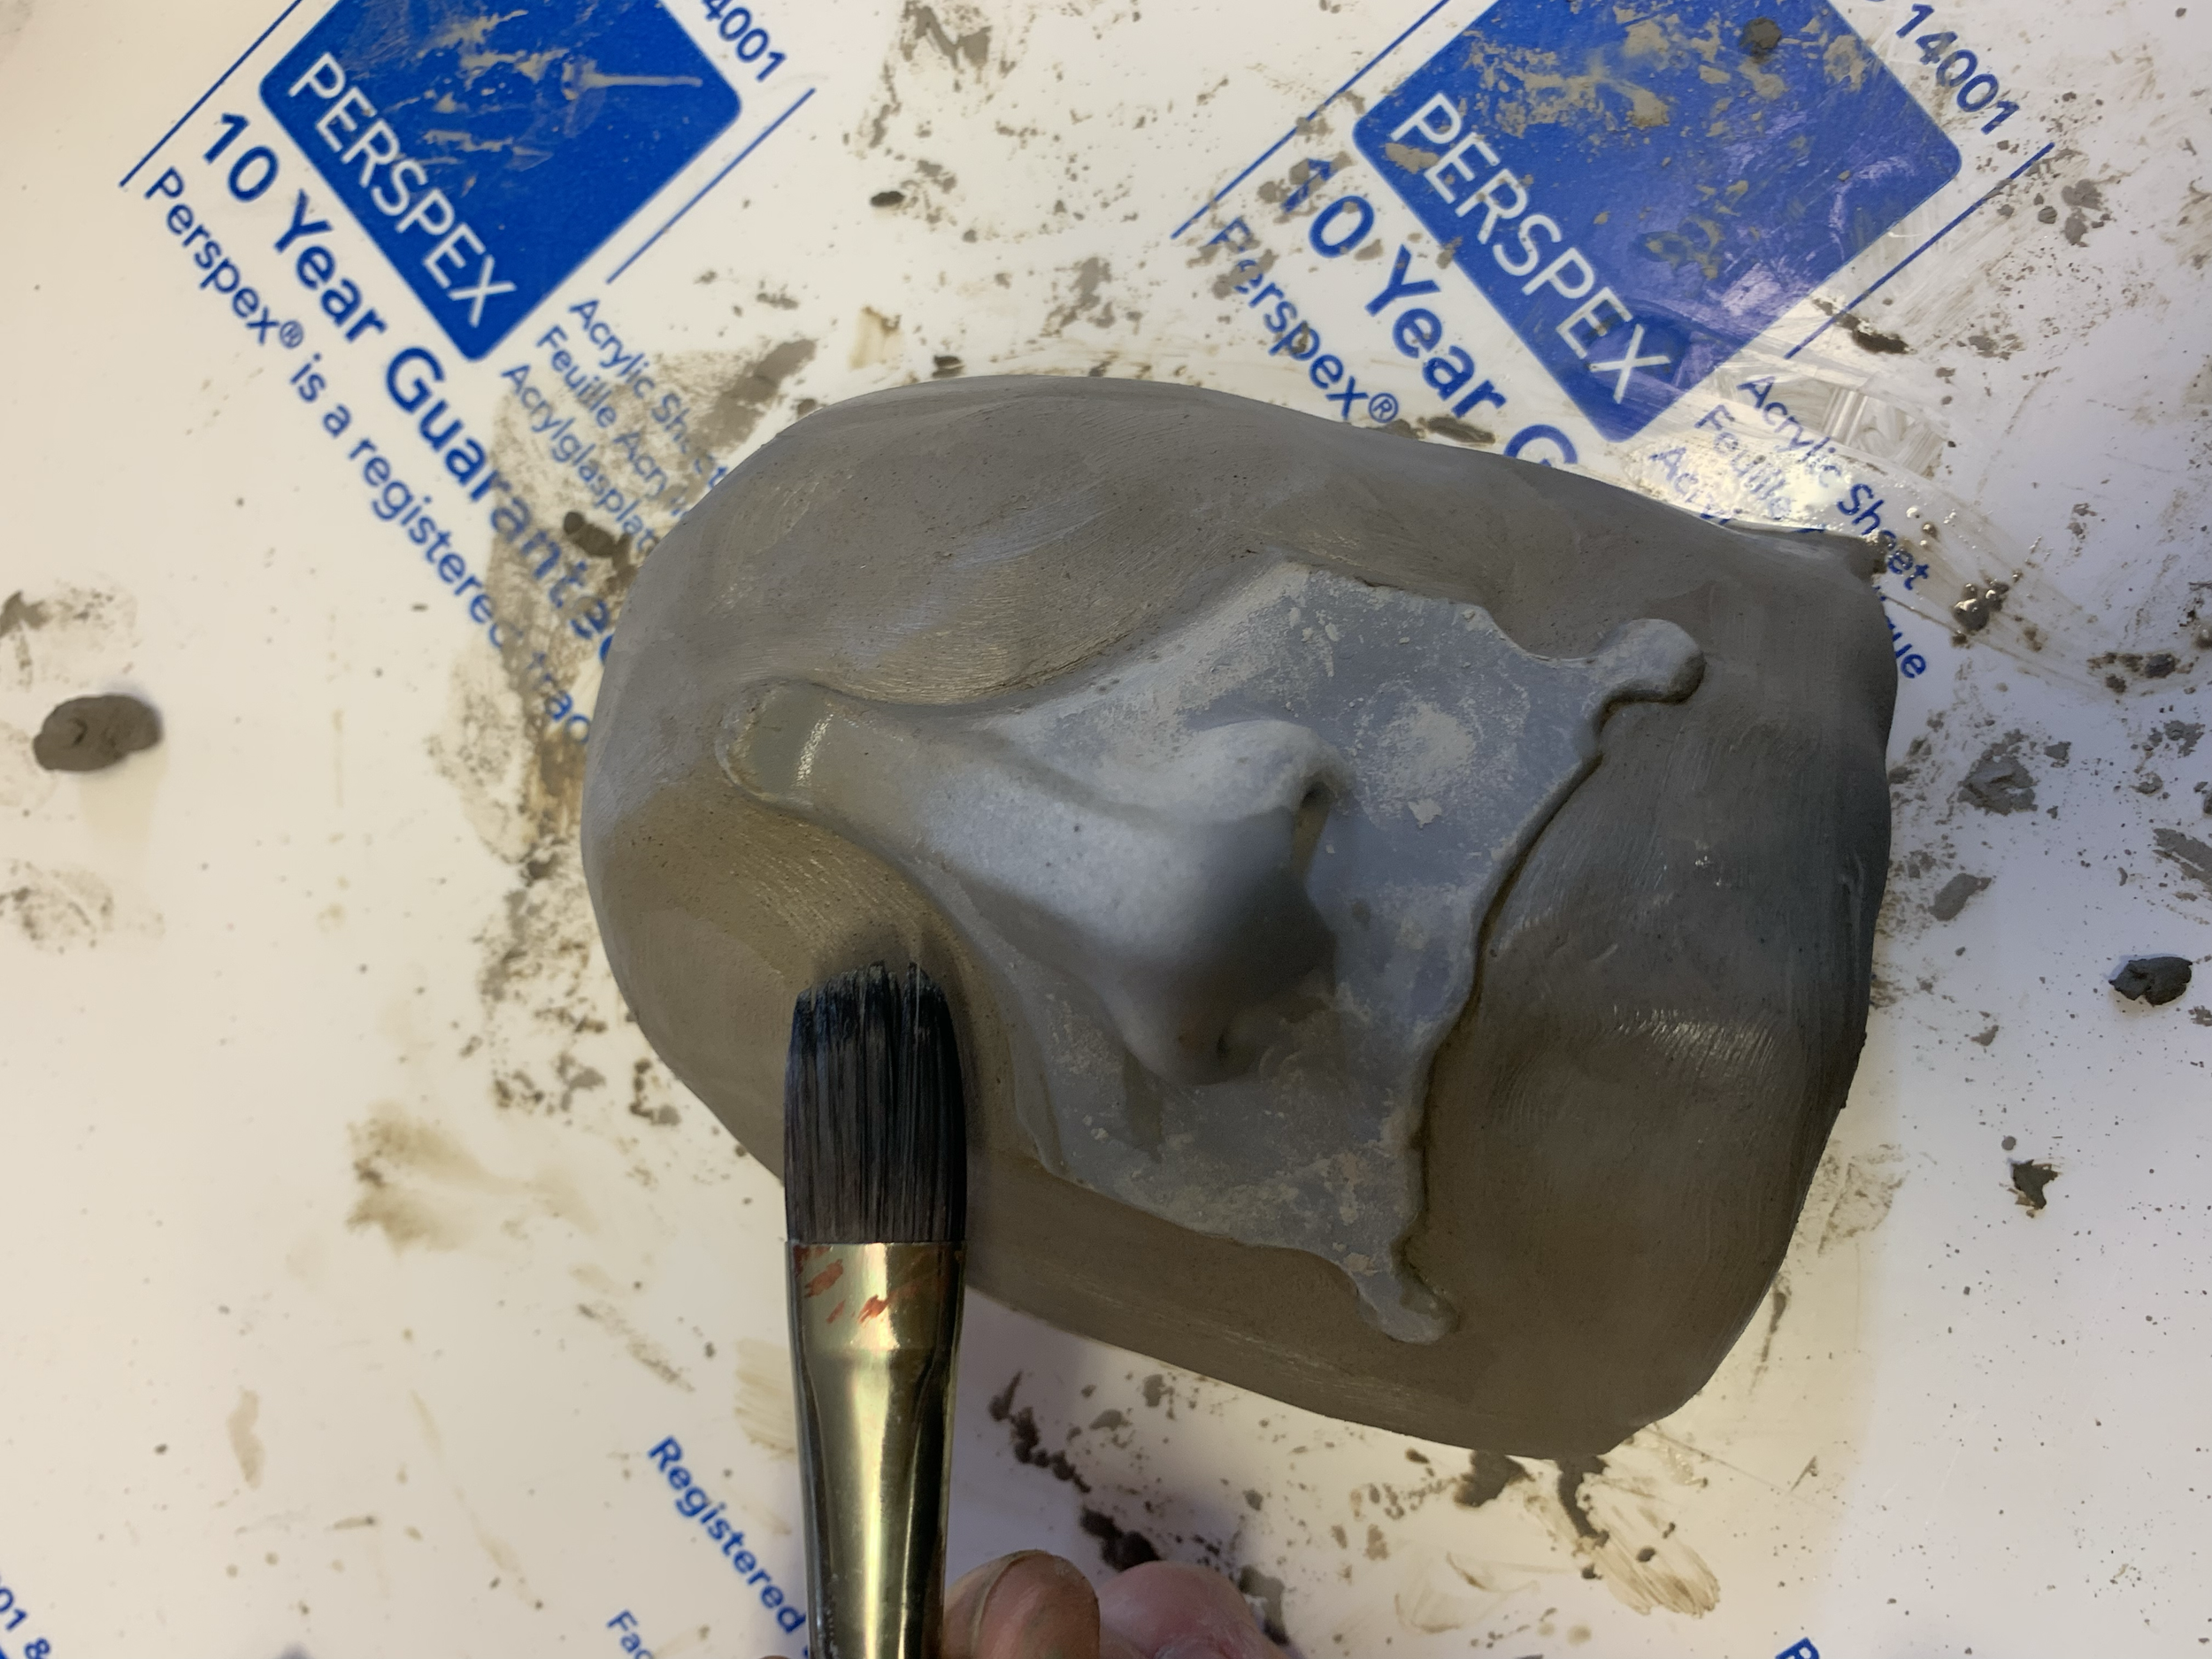
And smoothing it

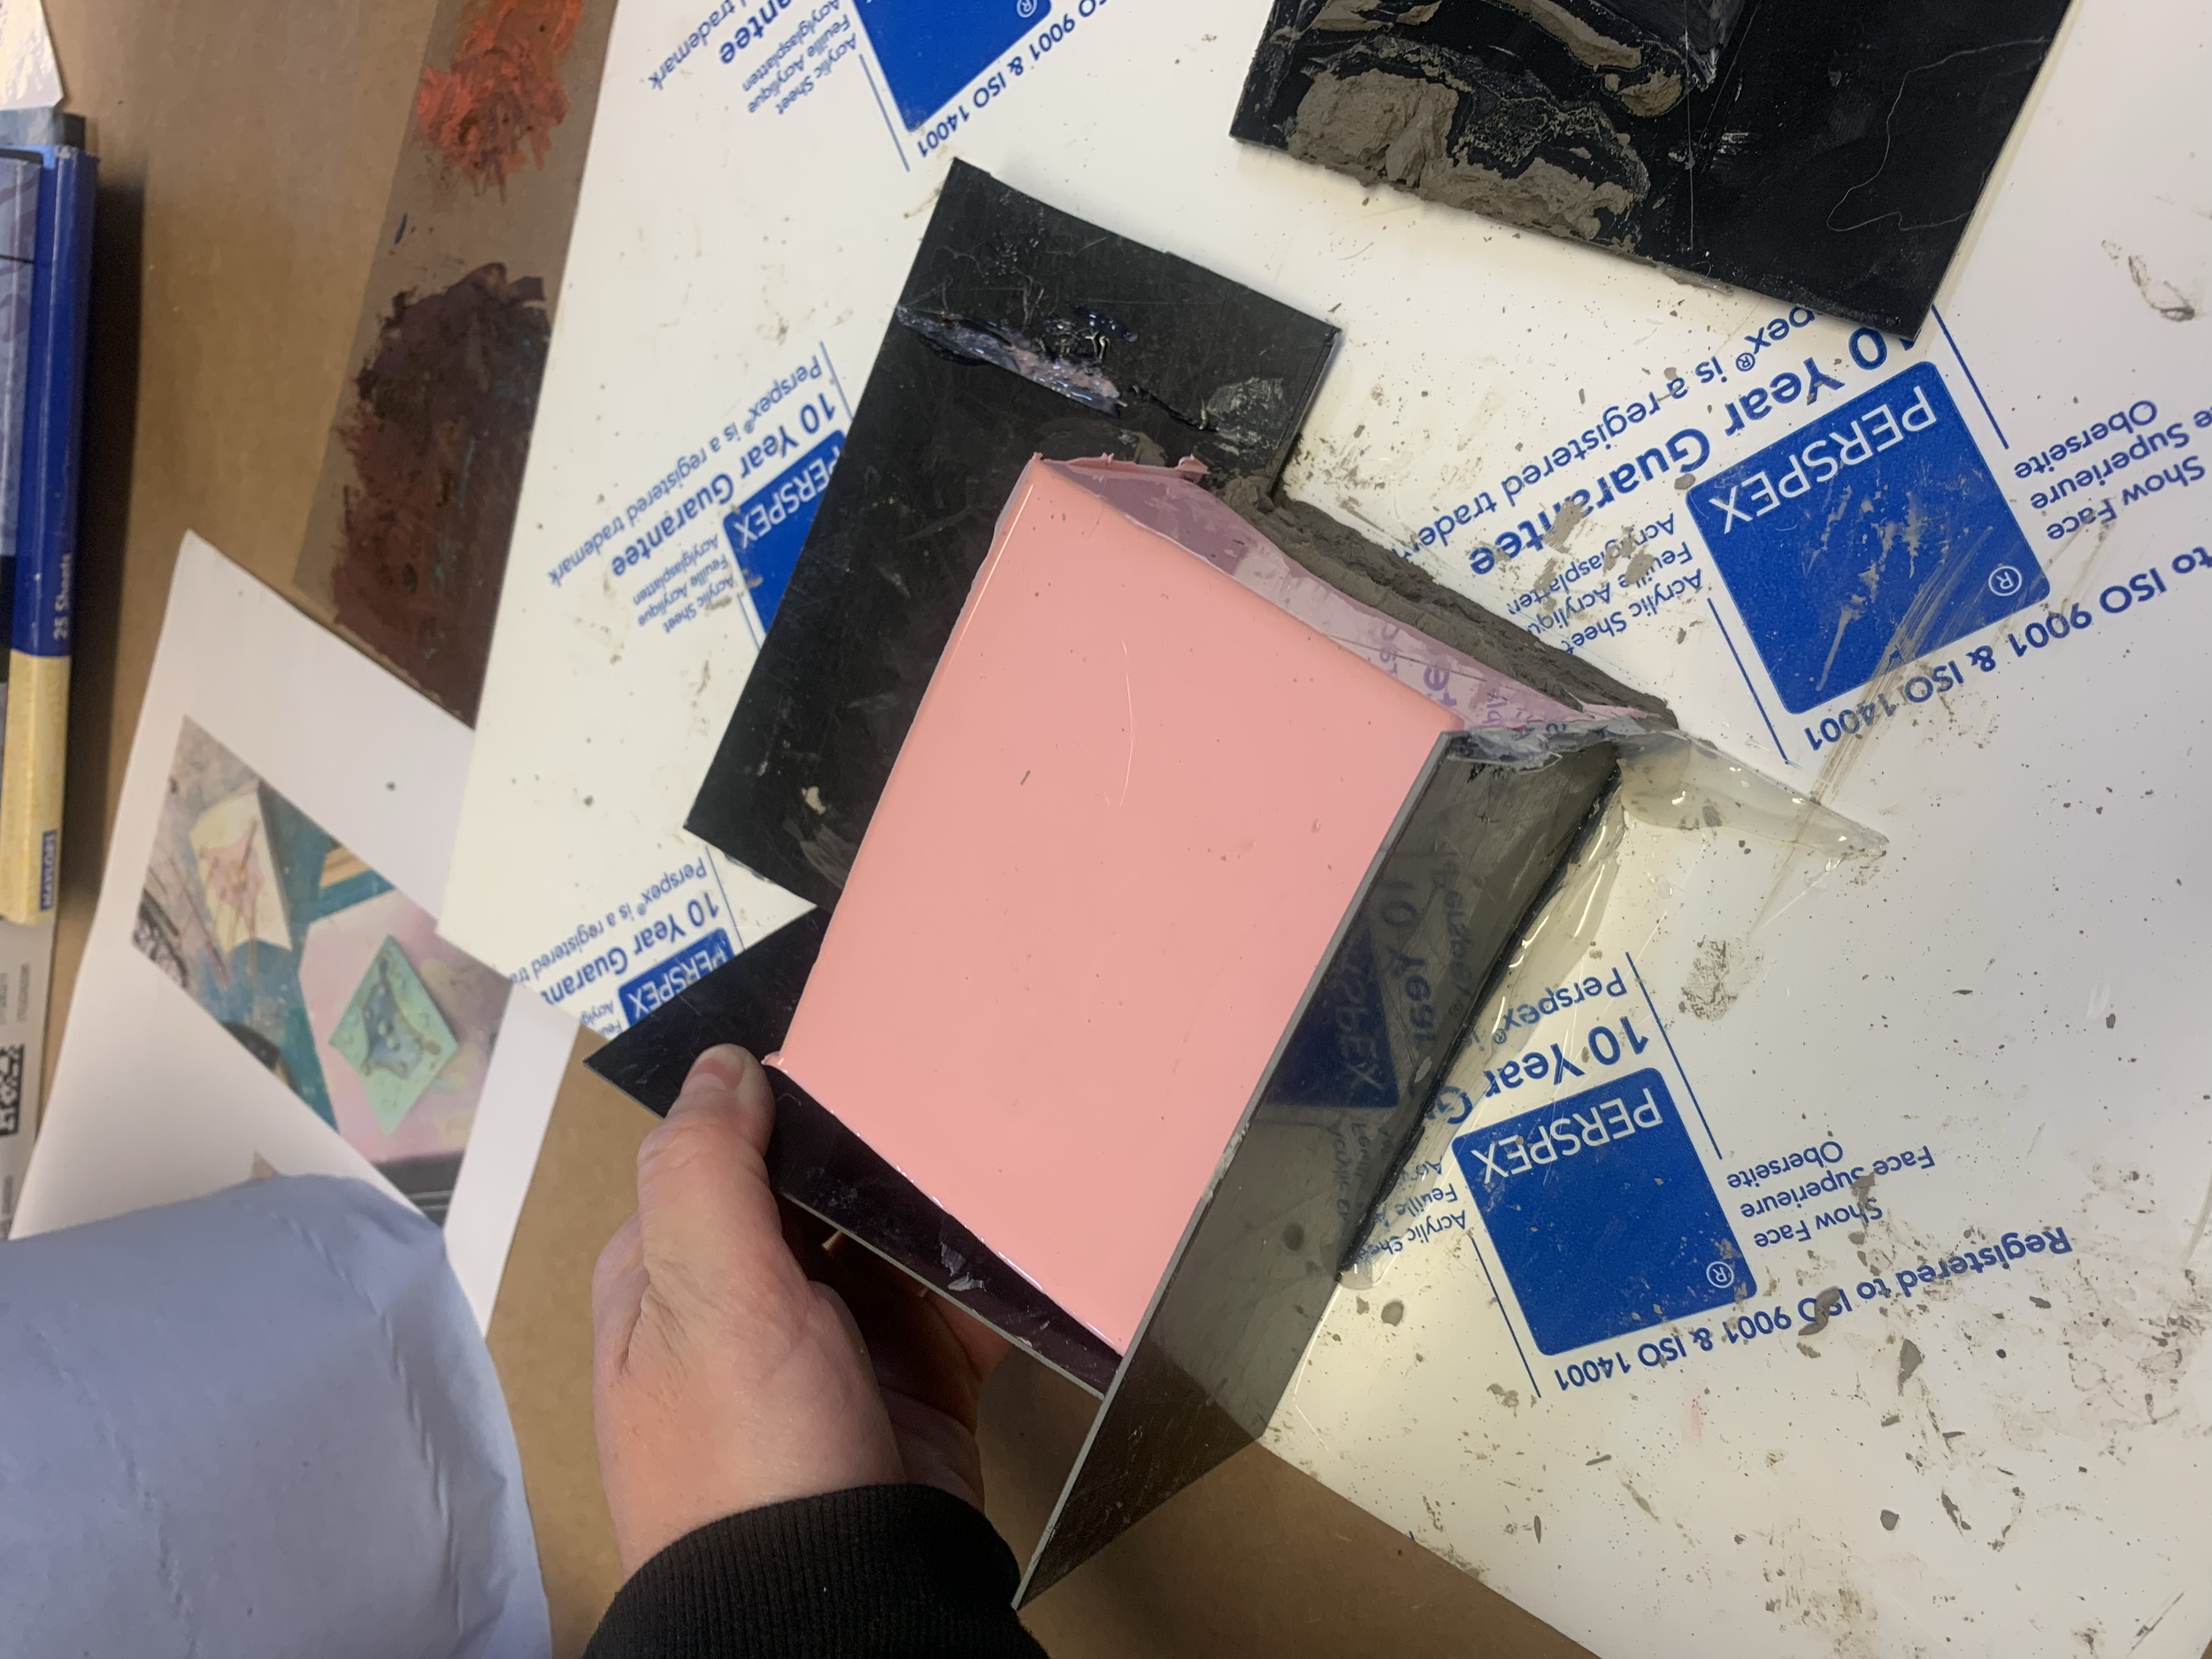
Building a mold box around it

Preparing and degassing the silicone

Pouring silicone in and waiting for it to cure
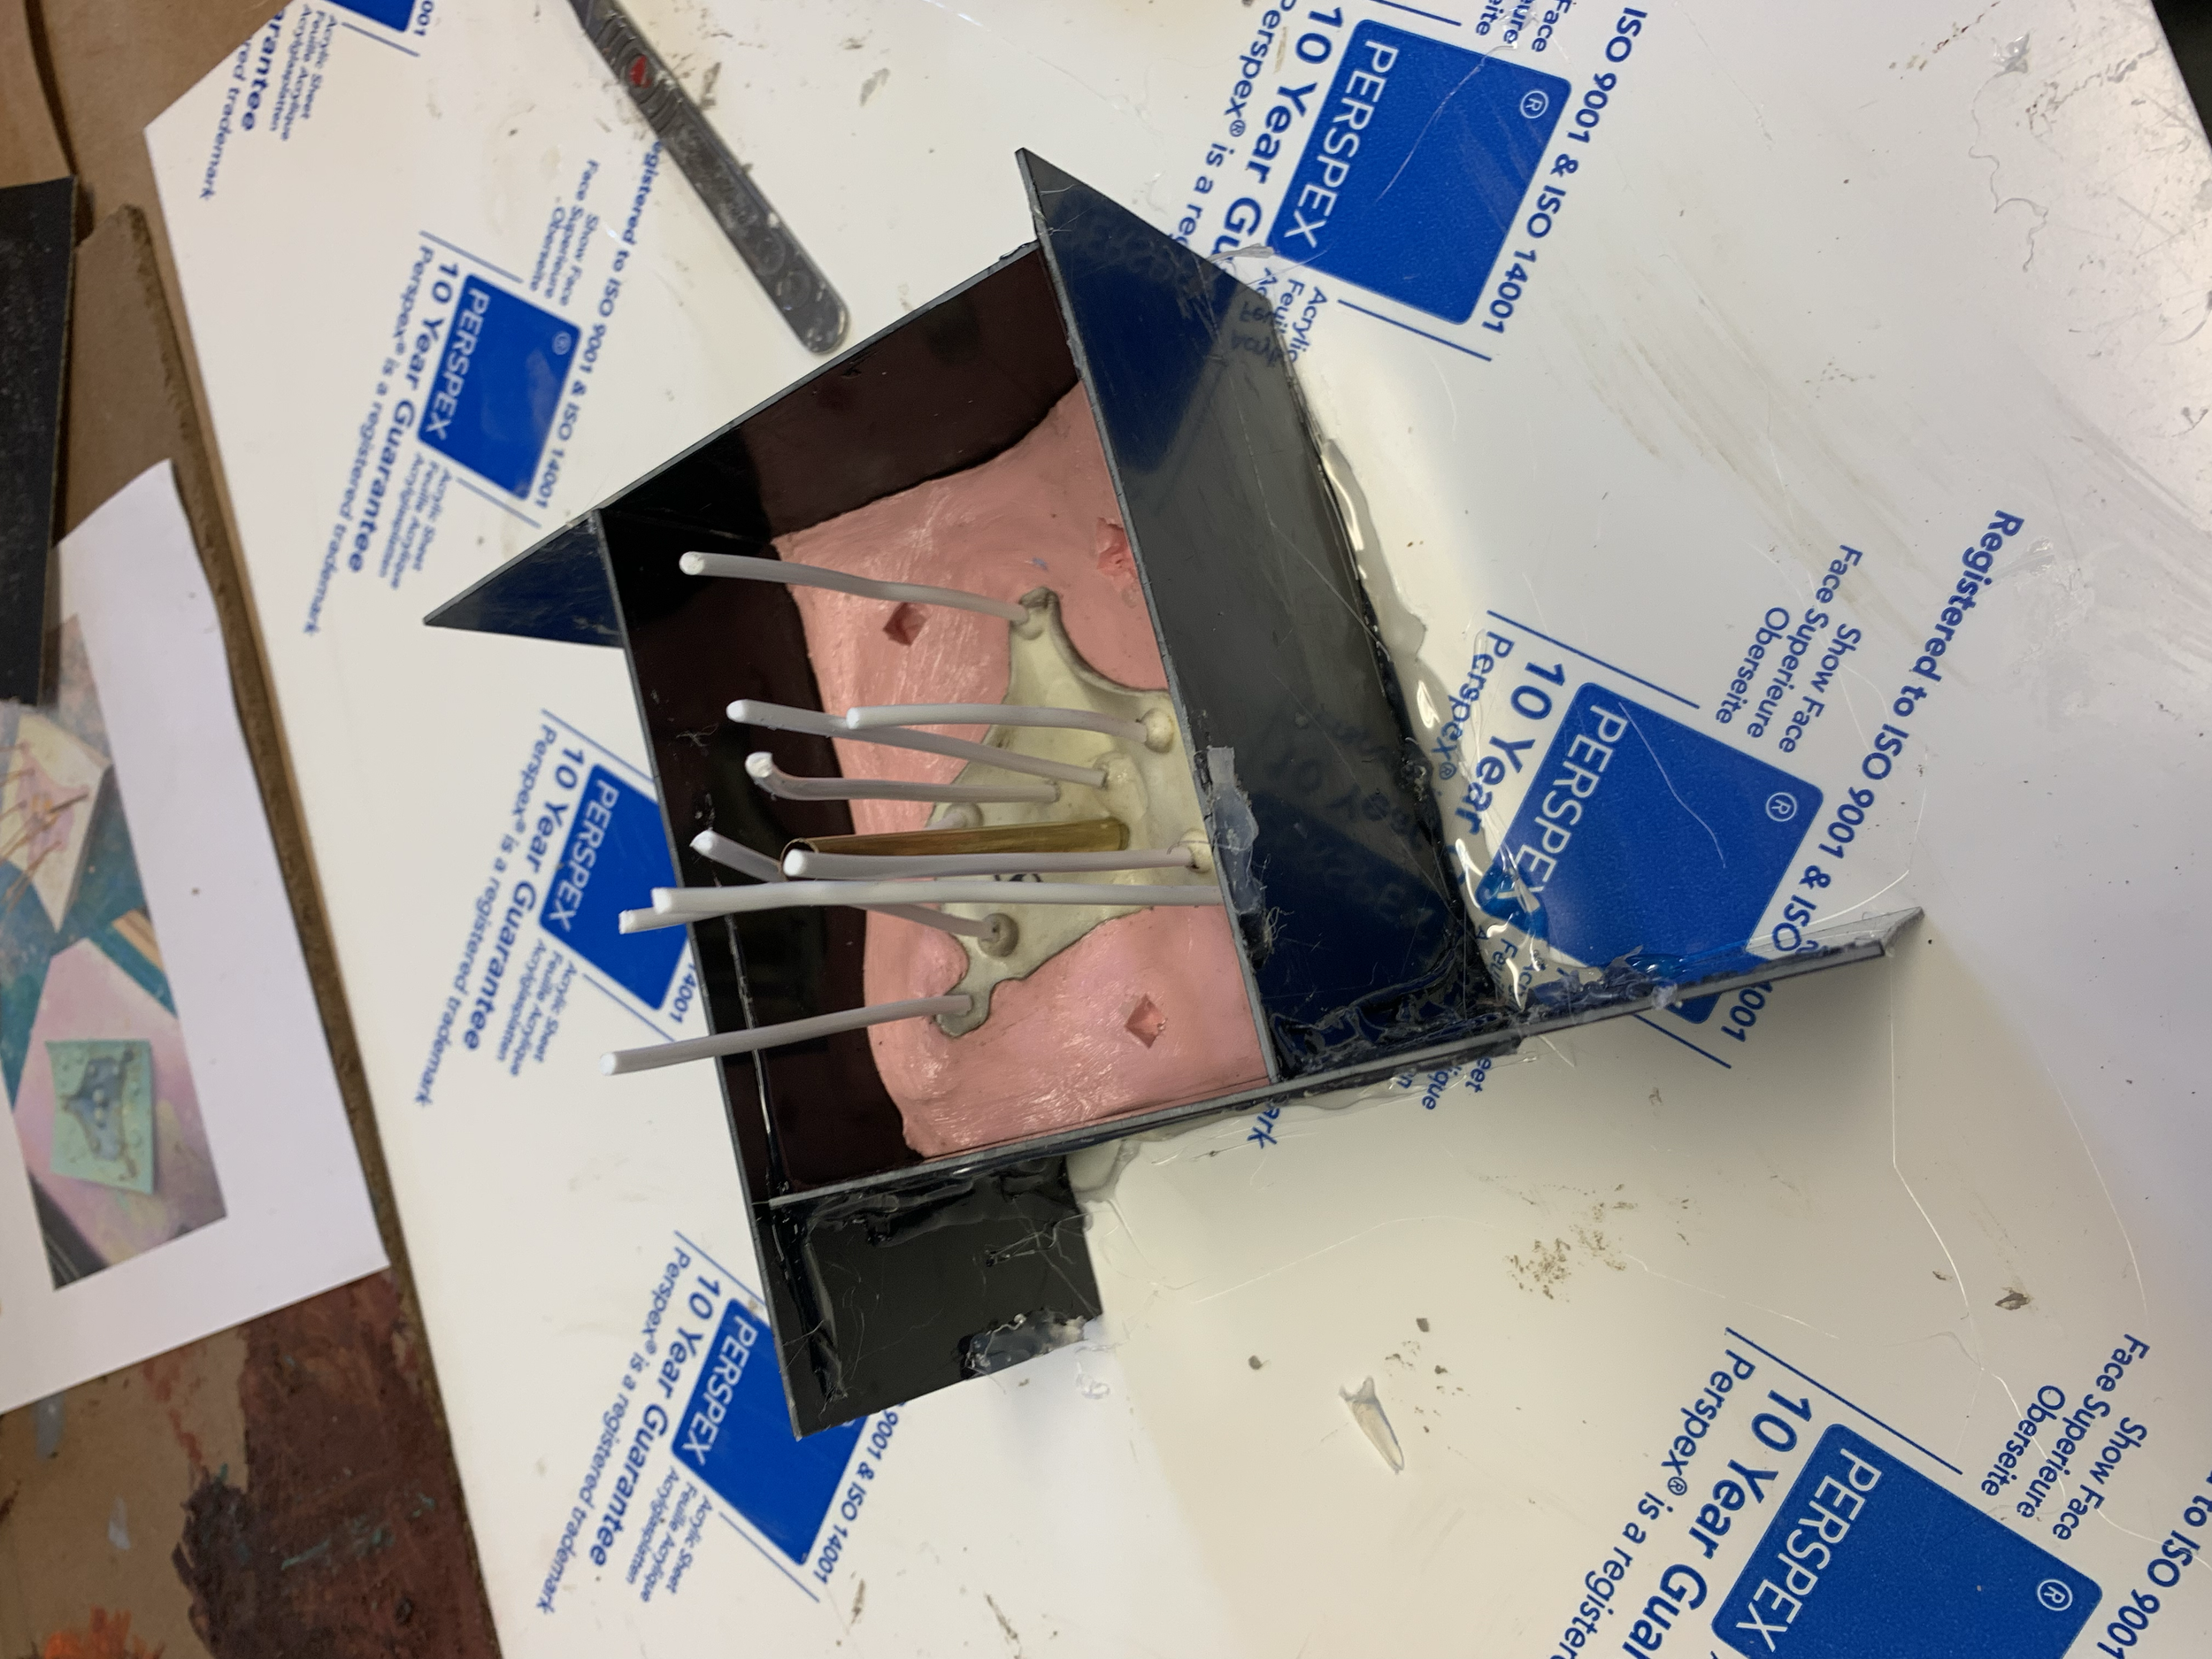
Once cured, releasing the first part of the mold.

Then removing clay, cleaning and adding plastic tubes in areas bubbles may gather
Rebuilding mold box and adding release/vaseline

Preparing and pouring Fast Cast
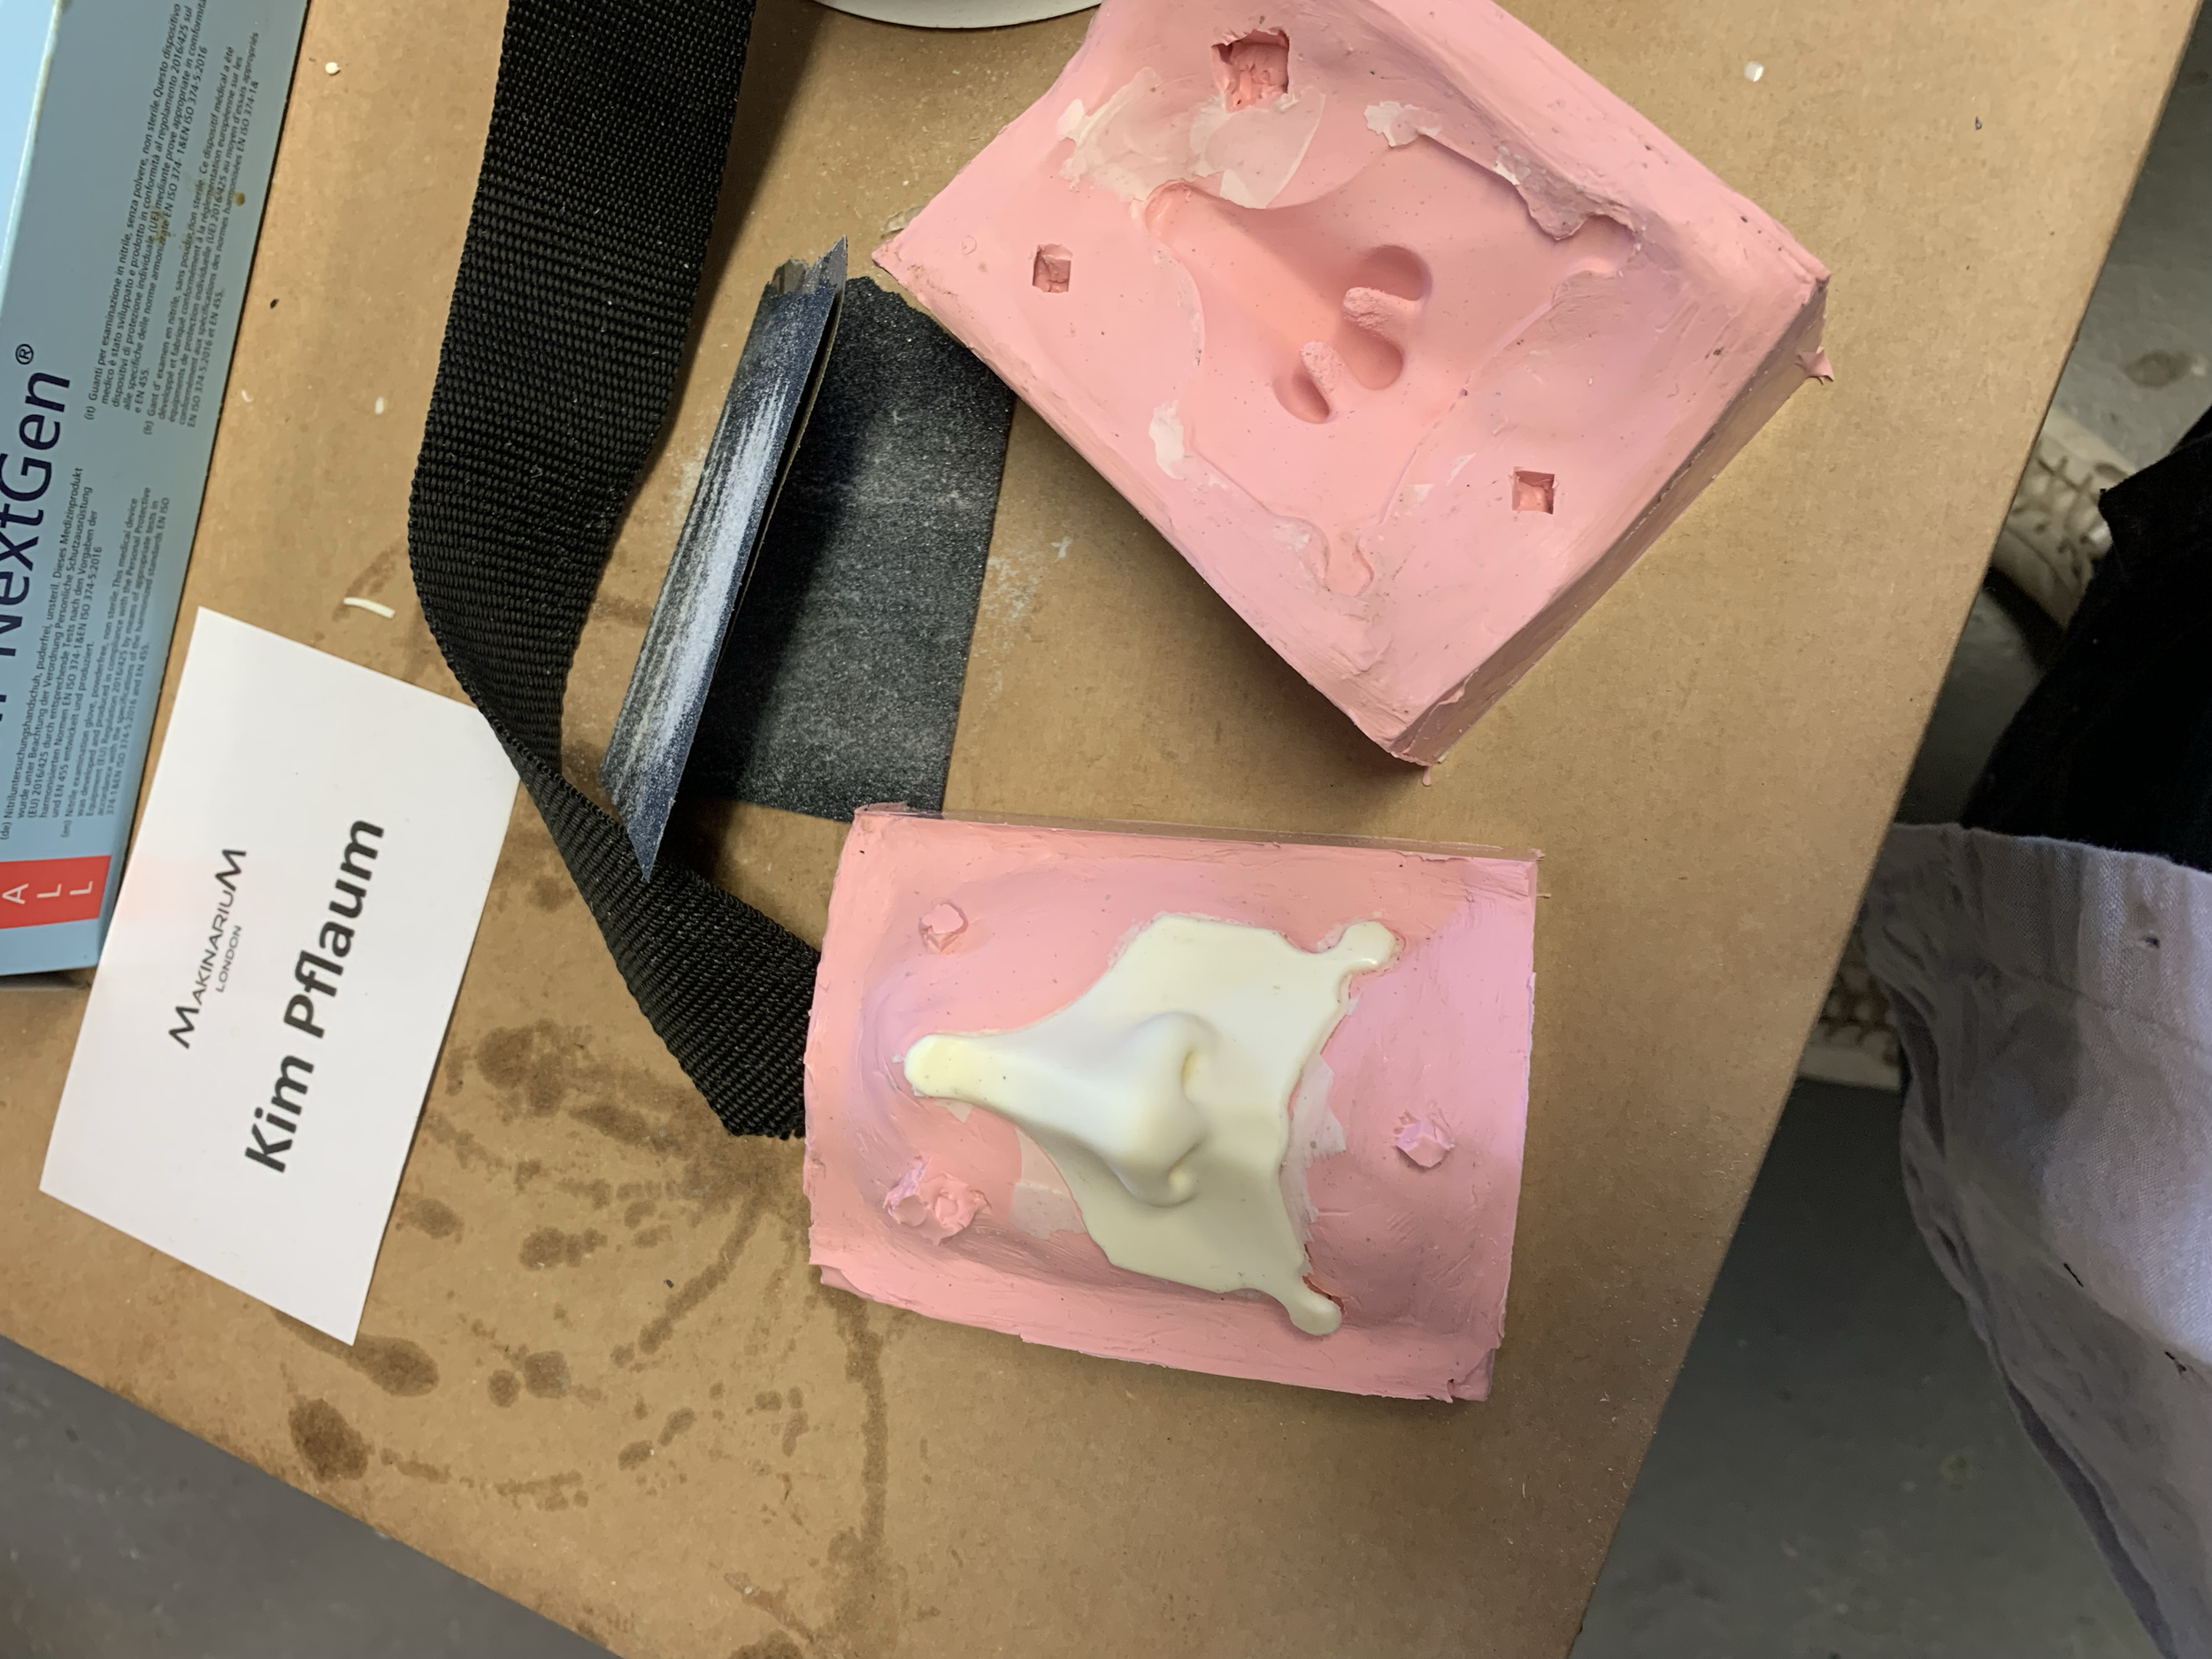
Releasing the cast nose piece, then trimming and lightly sanding
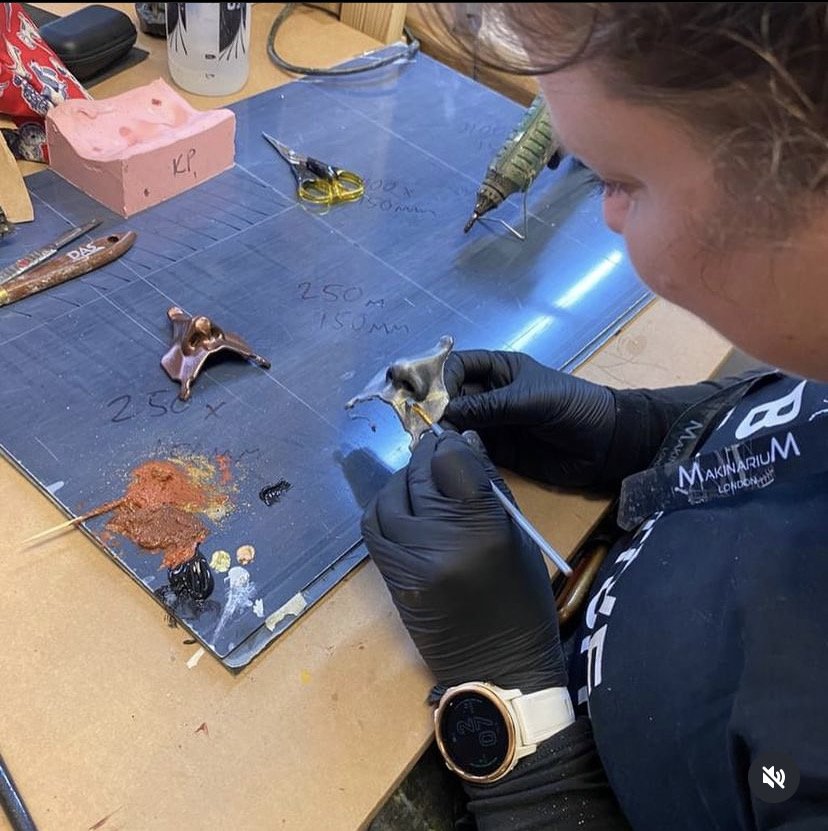
Casting several then painting with various techniques
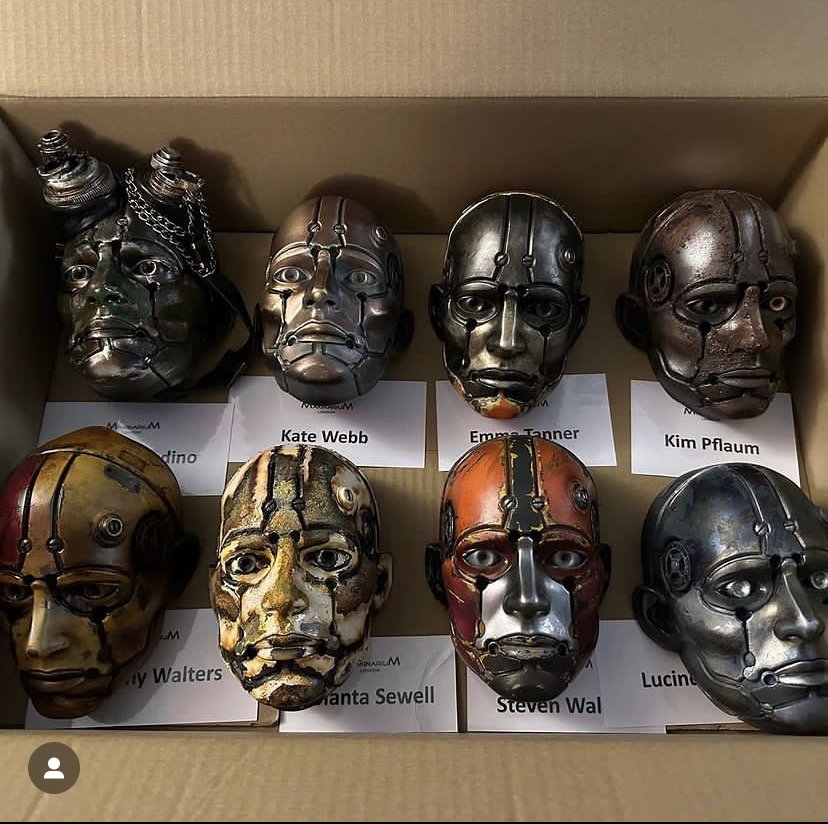
My robot head (top left) alongside those of my classmates’.

Our class outside Mak HQ